
Custom Queries Integration
📢 Introduction
The Custom Queries module allows you to create, run, and automate your own SQL queries within the data stored in your data warehouse — both data collected by WitCloud and data from external sources. This enables you to create custom views, reports, and datasets without modifying the main dataset structure.
📝 Configuration Guide
Follow the steps below to create the Custom Queries module.
🔧 Module Configuration
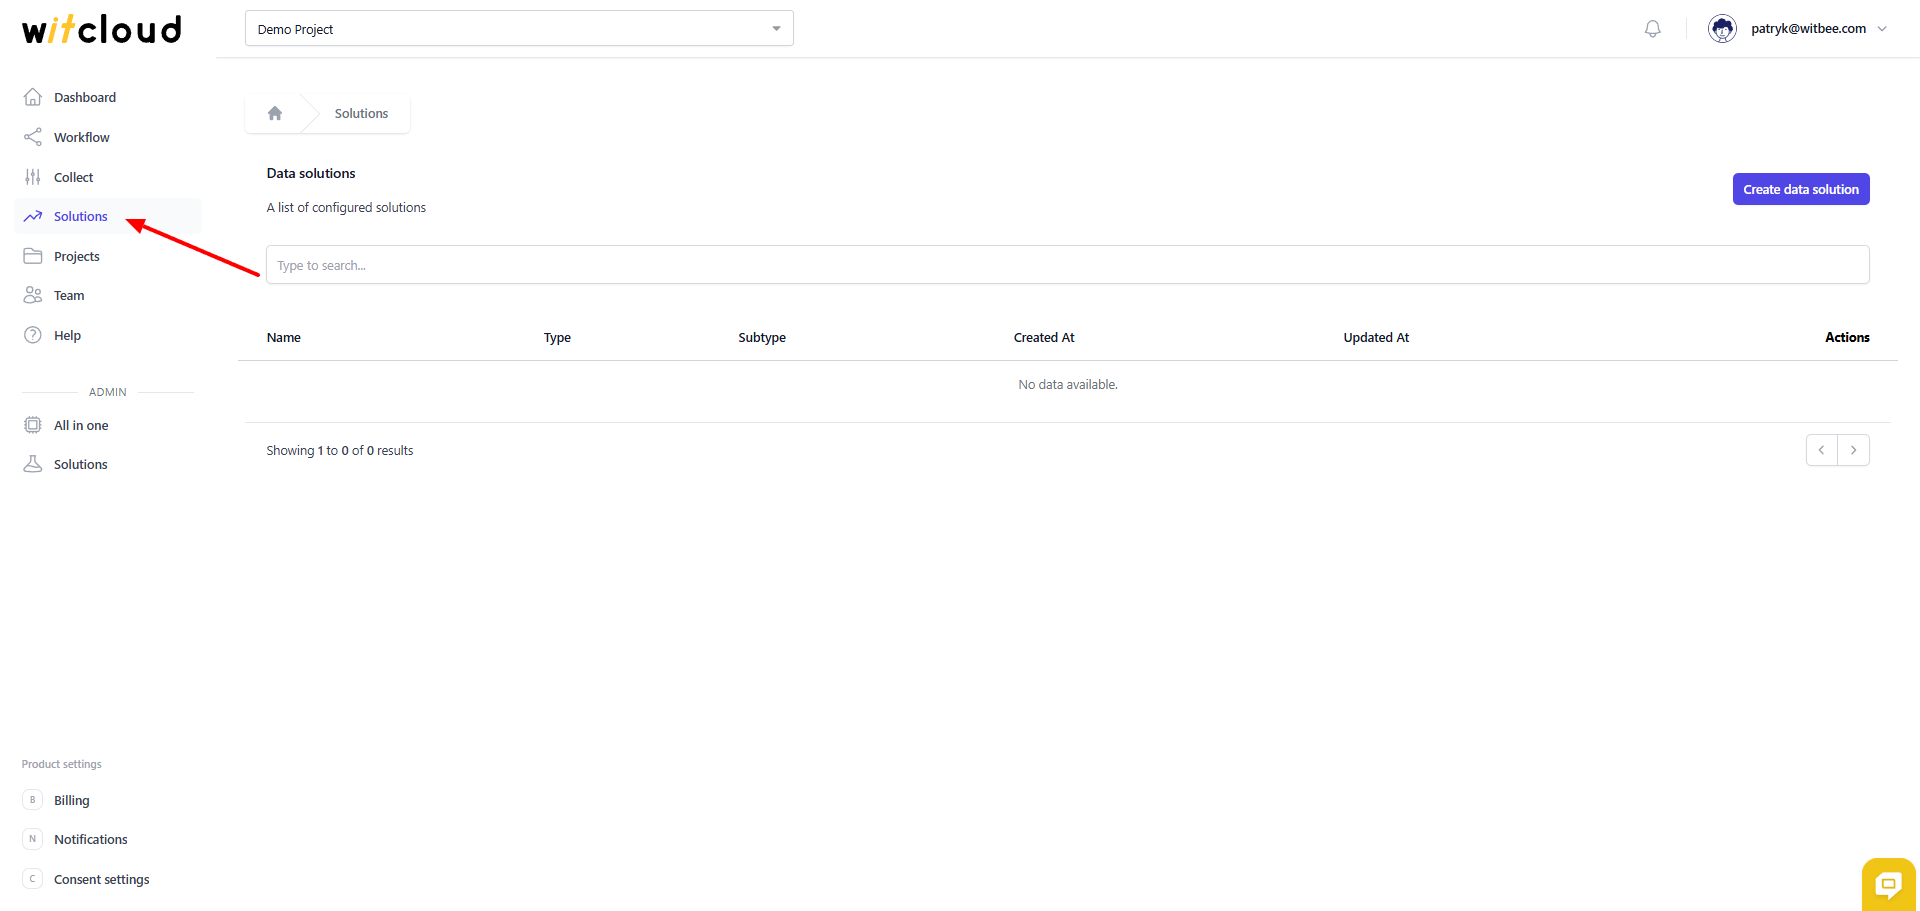
Go to the Solutions section in the menu > Click Create Data Solutions.
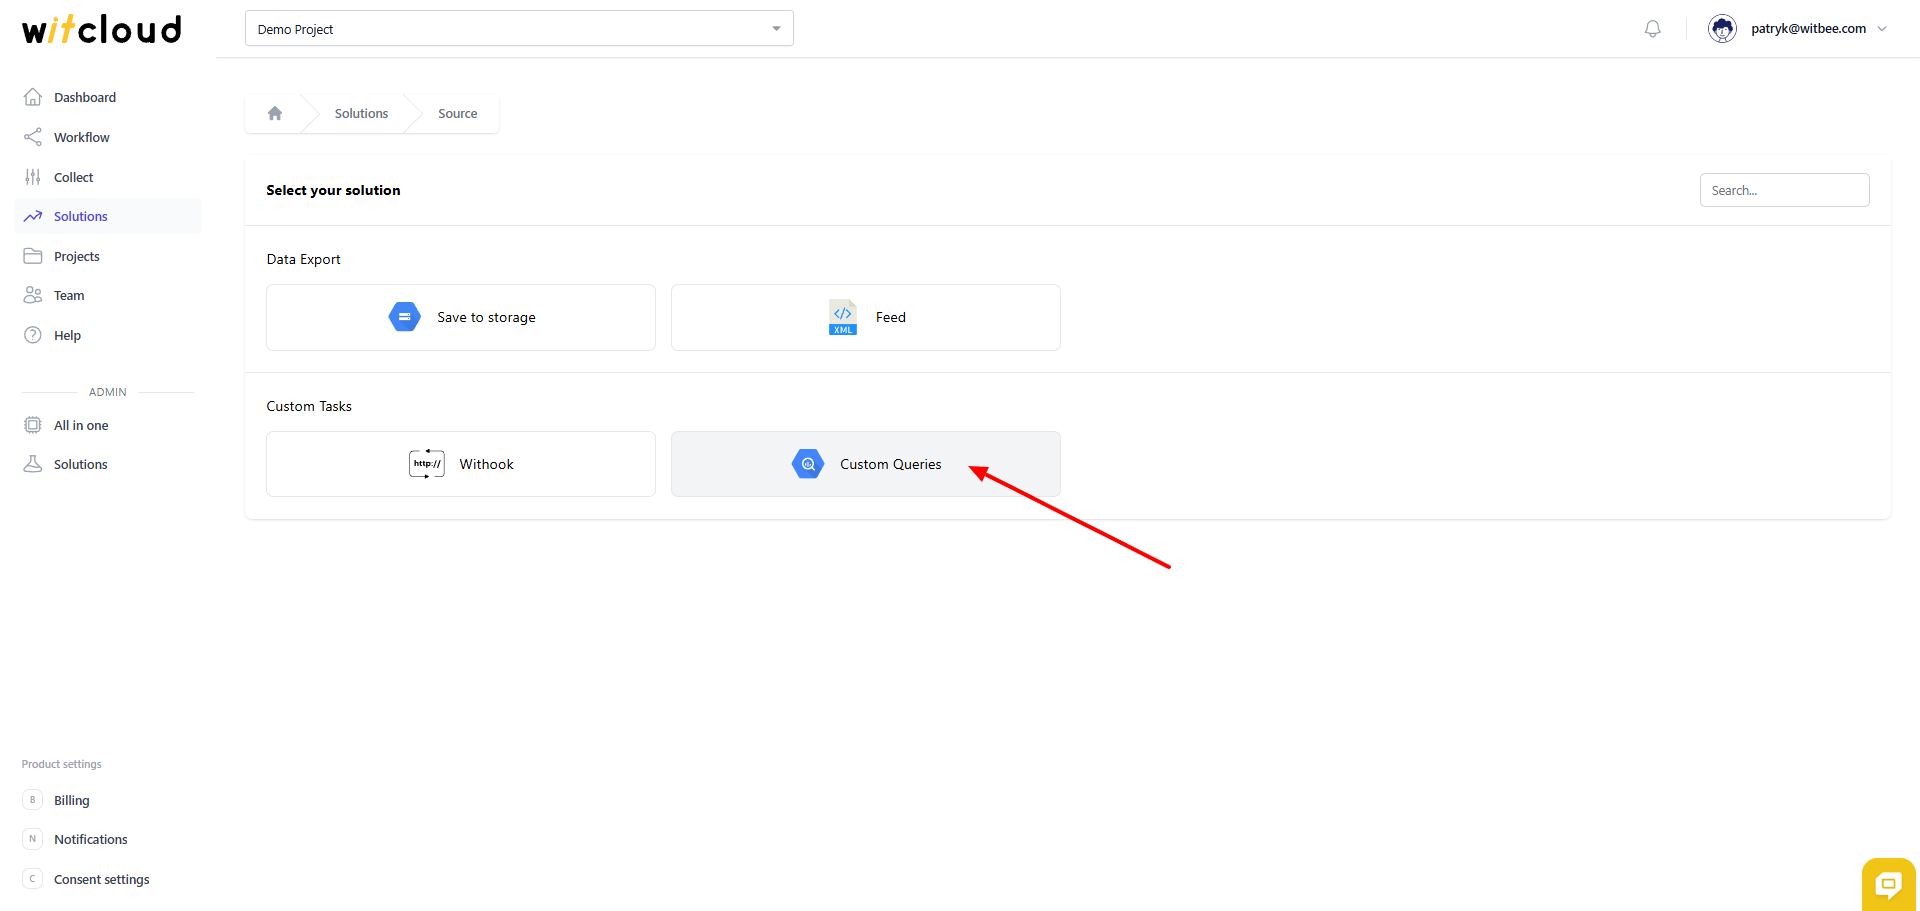
From the list of available integrations, select Custom Queries.
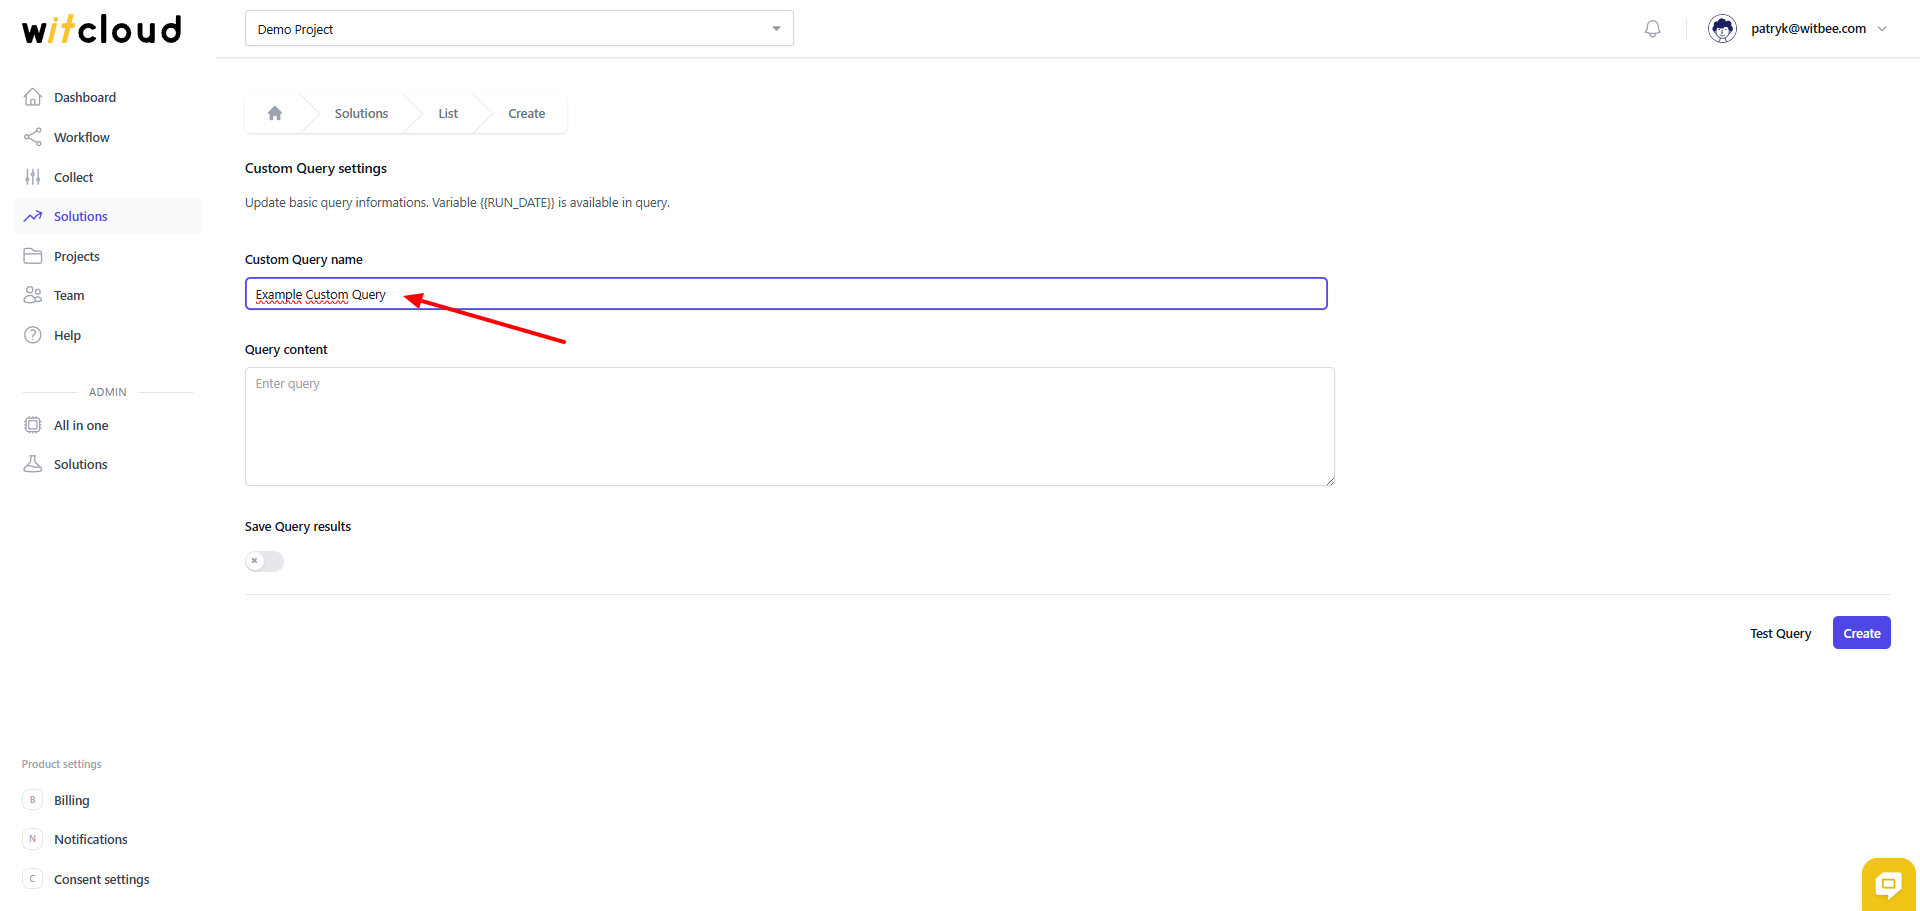
Enter the process name, e.g., "Example Custom Query".
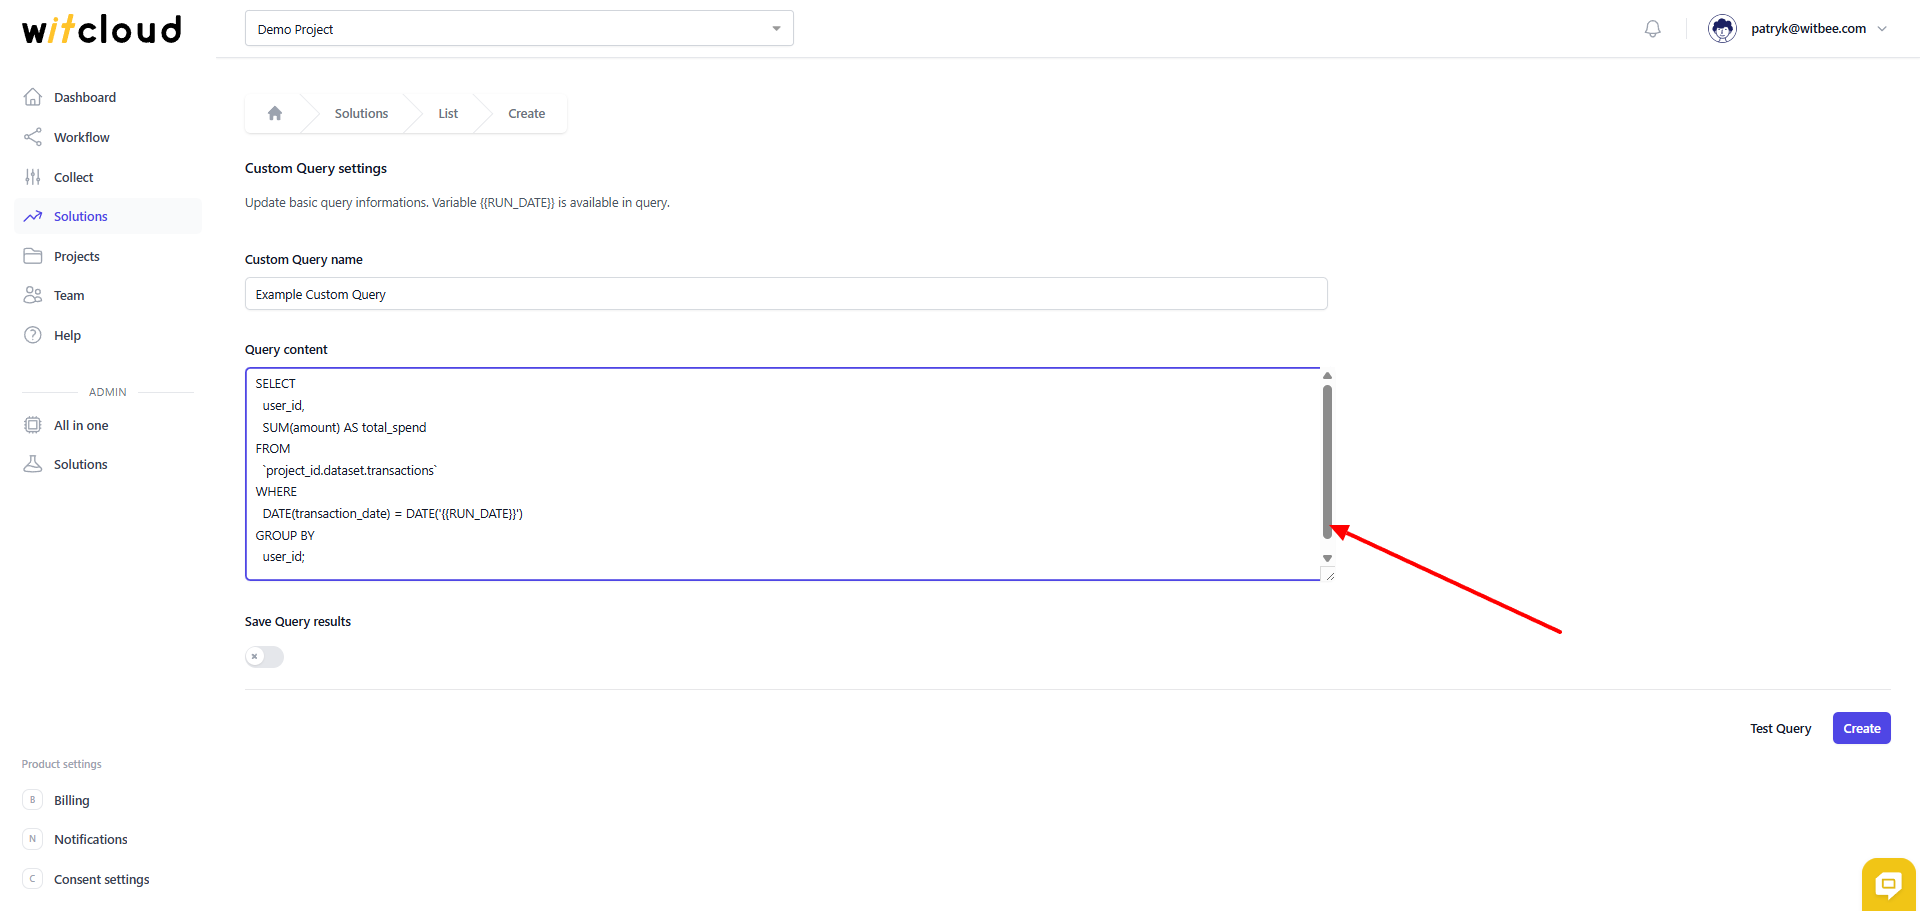
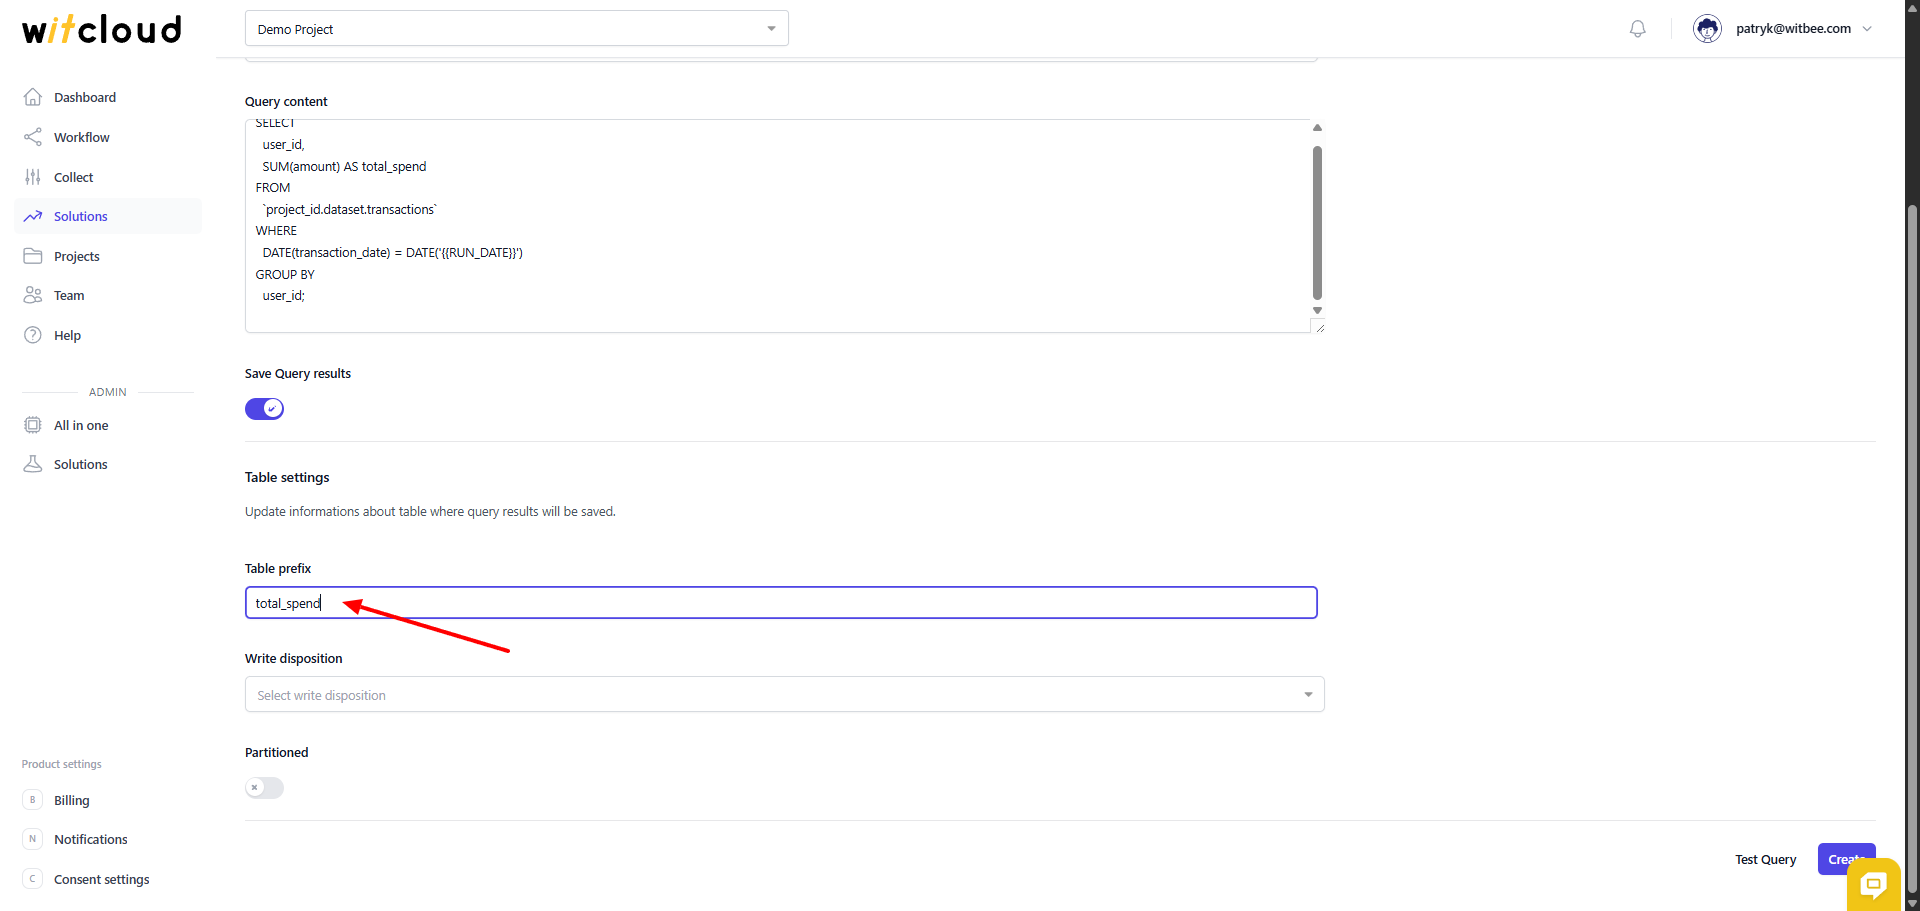
Enter the SQL query content in the Query content field.
You can use the full BigQuery syntax and the {{RUN_DATE}} variable, which will automatically be replaced with the process execution date.
The {{RUN_DATE}} variable follows the YYYYMMDD format and corresponds to the scheduled task execution date or the manual run date.
💾 Saving Results
To save the query results in BigQuery, enable the Save Query results switch.
In the Table settings section, you can define save parameters:
Table prefix – the prefix for table names where the results will be stored (e.g., total_spend).
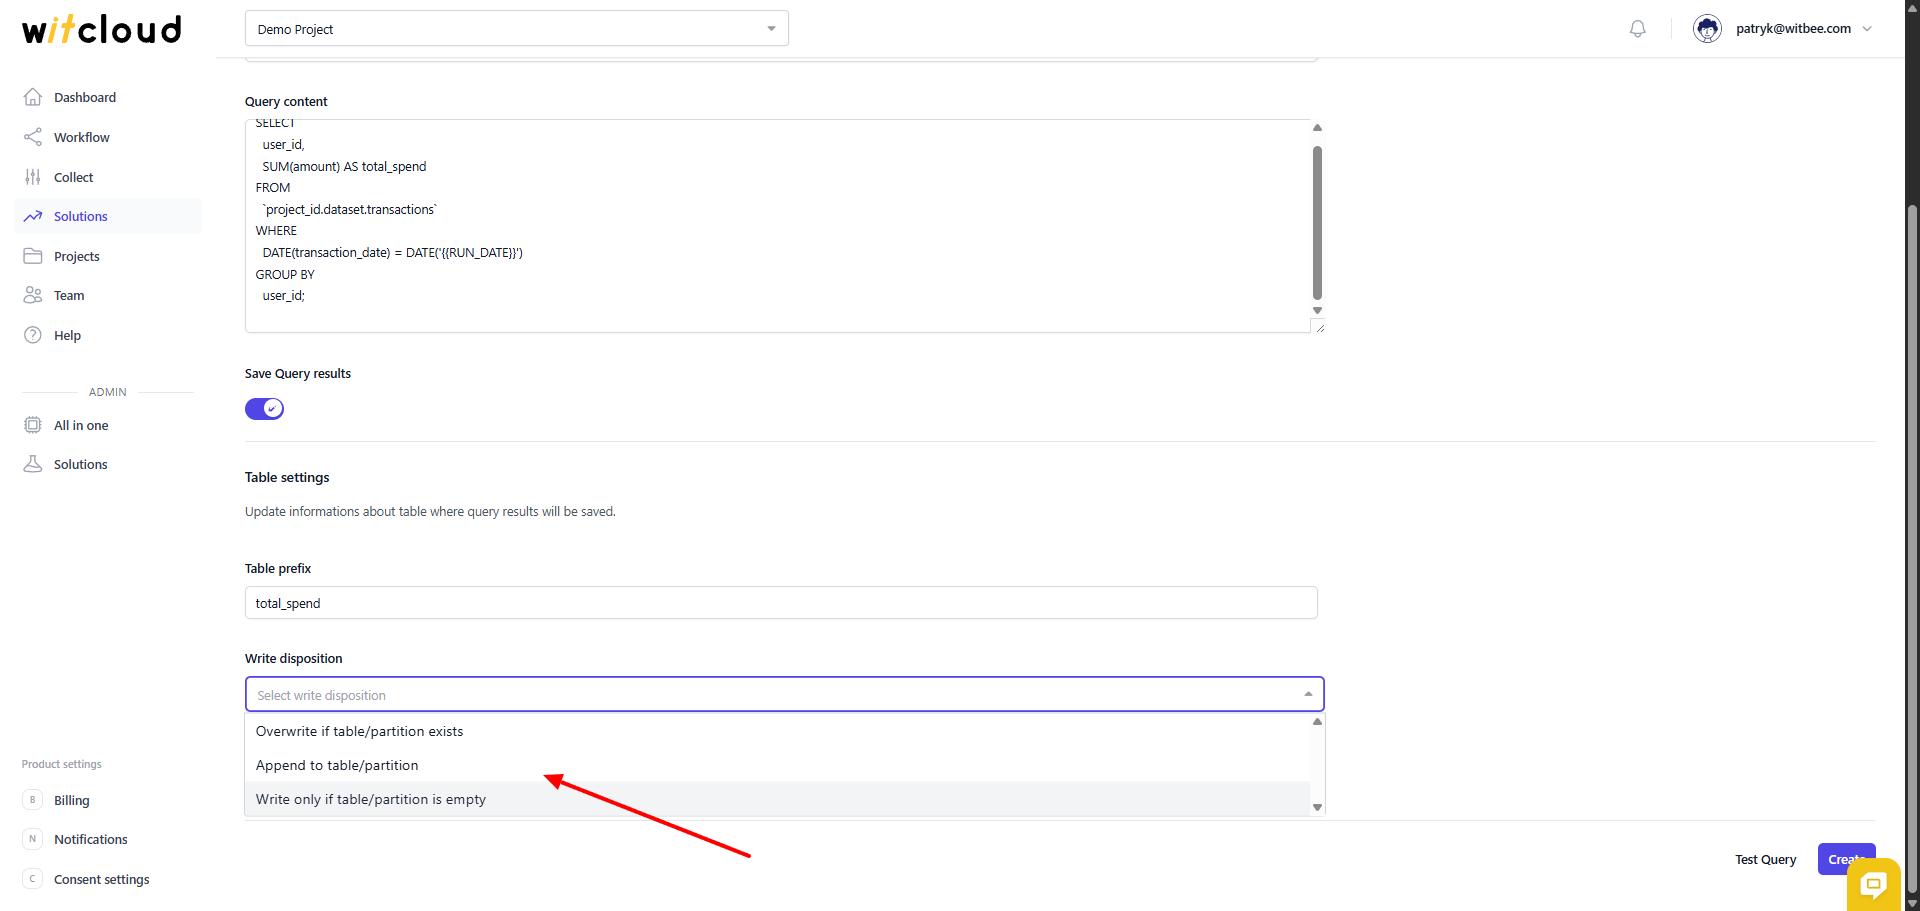
Write disposition – the method of writing data:
Overwrite if table/partition exists– overwrites the existing table or partition.Append to table/partition– appends data to the existing table.Write only if table/partition is empty– writes data only if the table is empty.
🧱 Data Partitioning
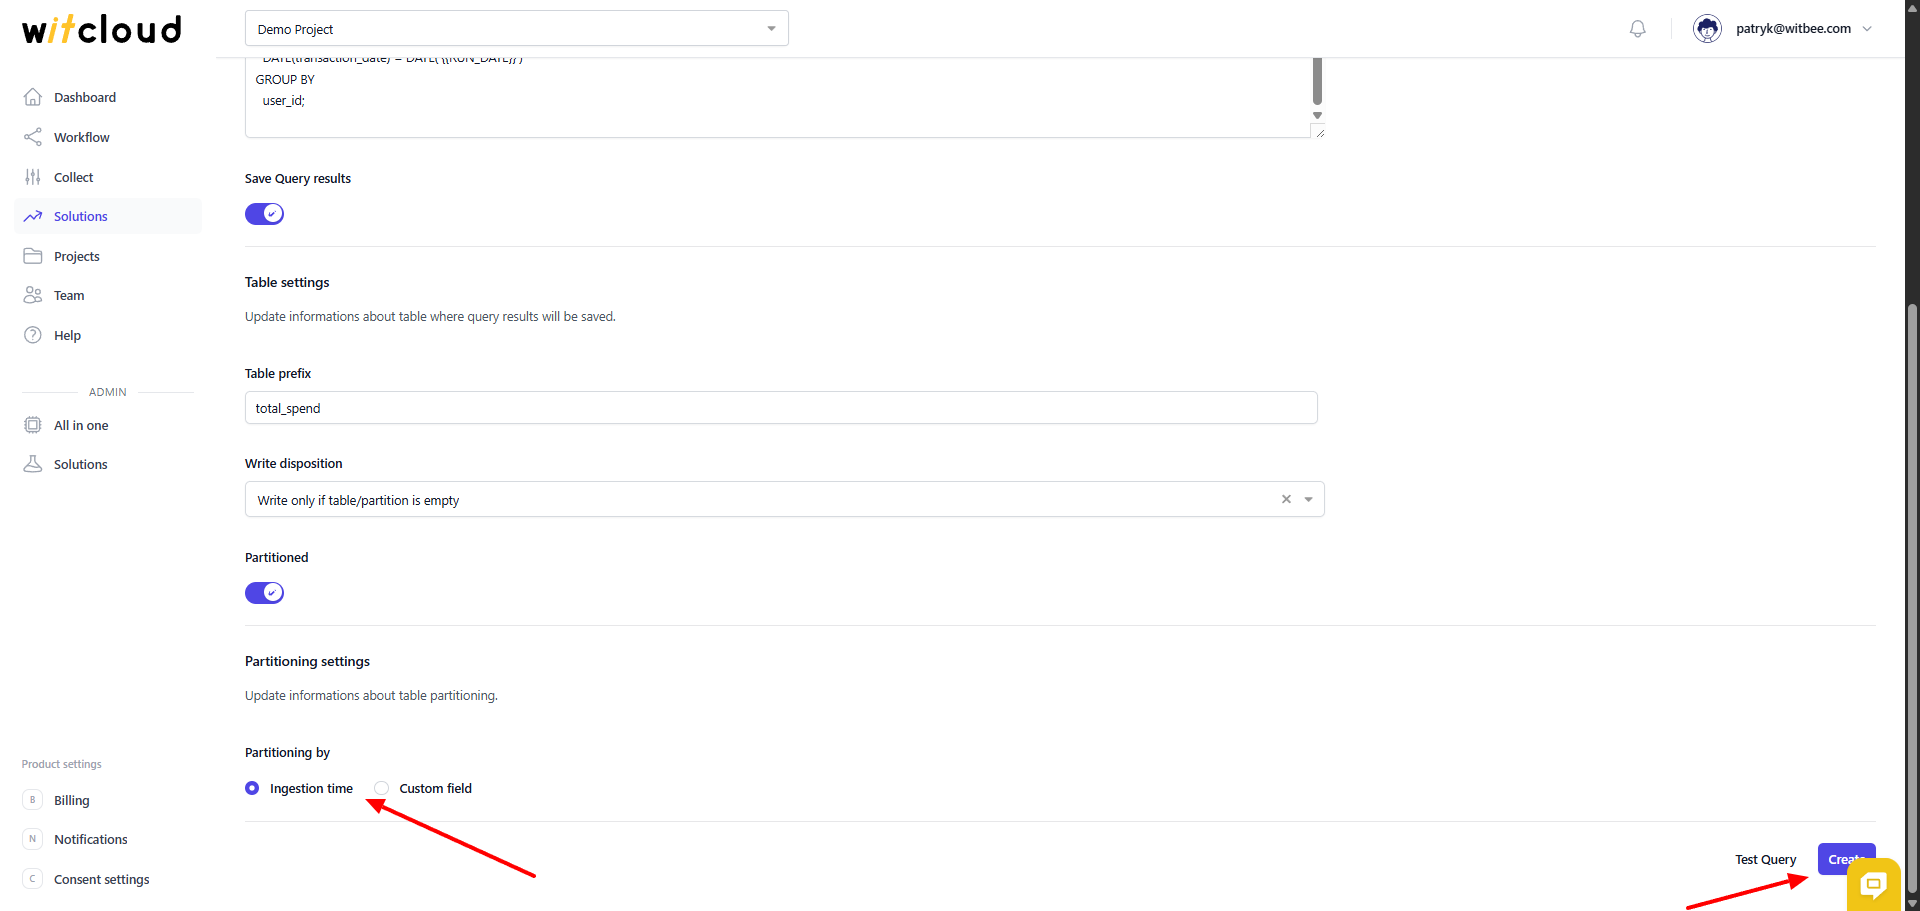
If you want the results to be saved in a partitioned table, enable the Partitioned option.
Then choose the partitioning method:
- Ingestion time – partitions by the time data was ingested.
- Custom field – partitions by a selected field from the query (e.g.,
date,event_date, etc.).
This allows you to easily manage large datasets and speed up processing in BigQuery.
🧪 Query Testing
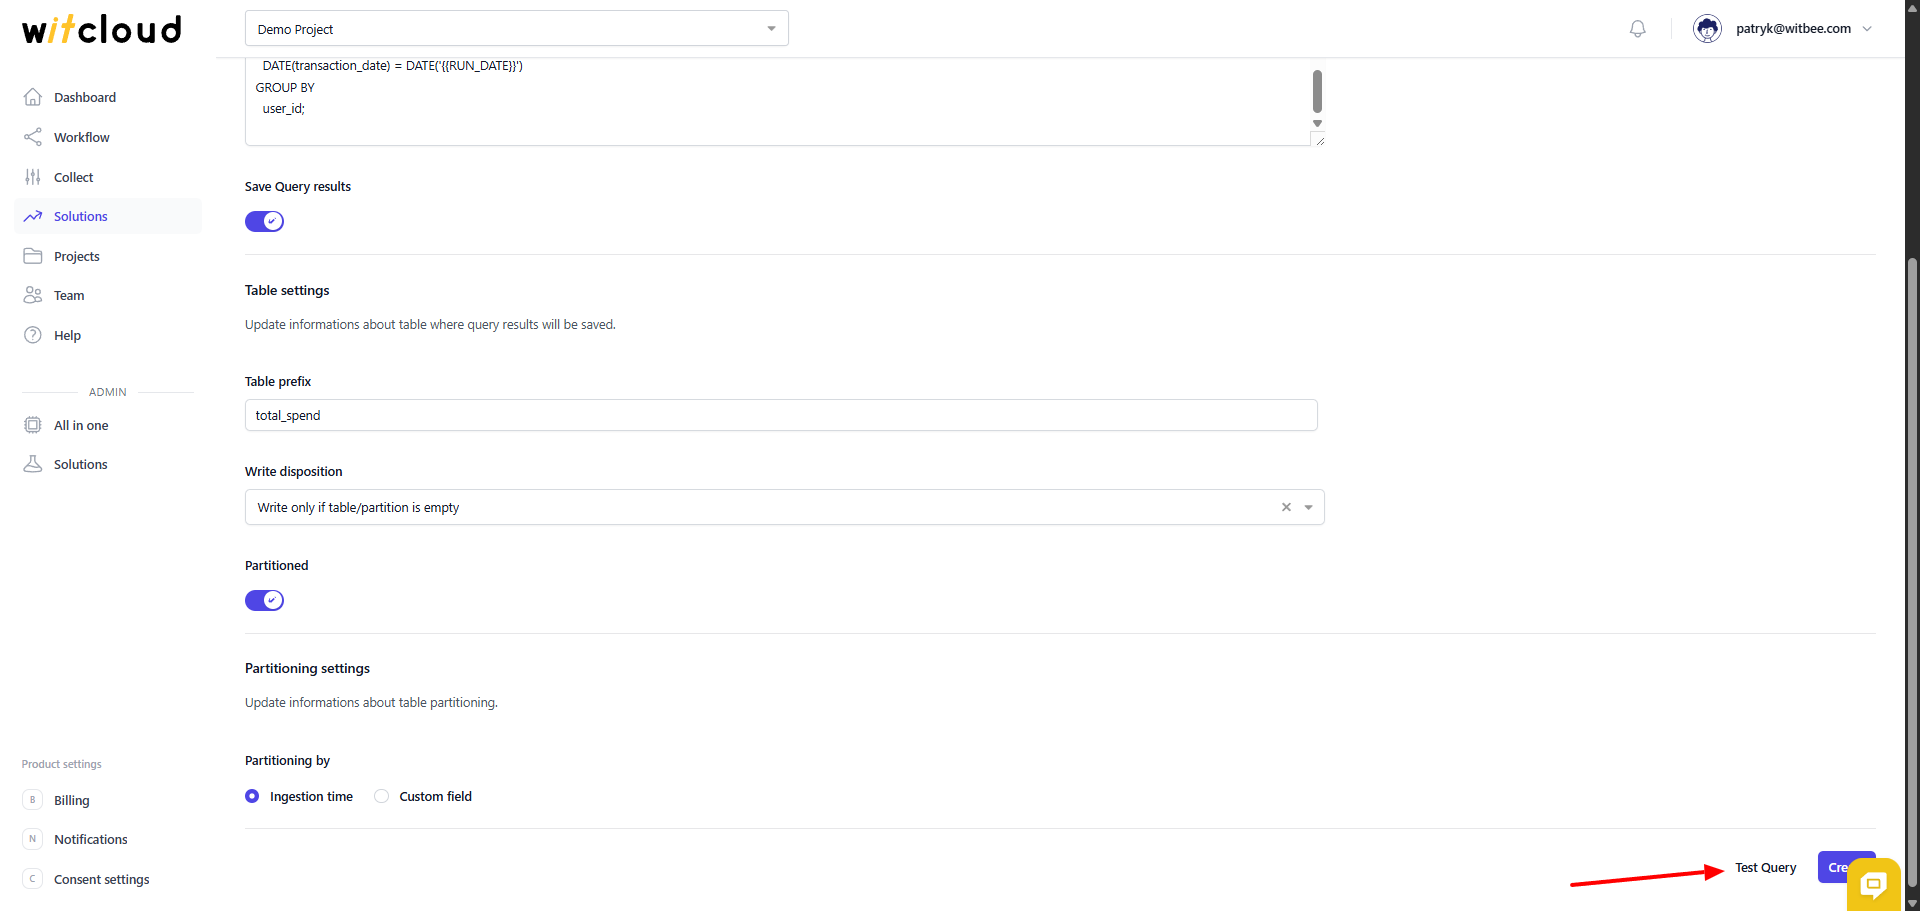
Before saving the configuration, you can perform a test execution by clicking Test Query.
This allows you to verify the syntax and data correctness before adding the task to the schedule.
✅ Done! The Custom Query module has appeared on the Solutions list and is now ready to use.
Remember that the table will appear only after the module is run in the Workflow!
⏳ Execution and Scheduling
To run the module and set up its schedule, you need to configure a Workflow.
You can read more about it here.