Integration of Ceneo with BigQuery
📢 Introduction
This module integrates with the Ceneo API, enabling you to collect campaign data and store it in Google Cloud BigQuery. Gain deeper insights into your data and optimize the performance of your marketing efforts with real-time data collection.
📝 Configuration Guide
Follow the steps below to connect Ceneo with BigQuery. Once the setup is complete, your ad data will be automatically transferred to your BigQuery project.
💡 Tip: Make sure you have admin access to your Ceneo account before starting the configuration.
🔧 Module Setup
Go to the Collect section in the menu > Click Create Data Collect.
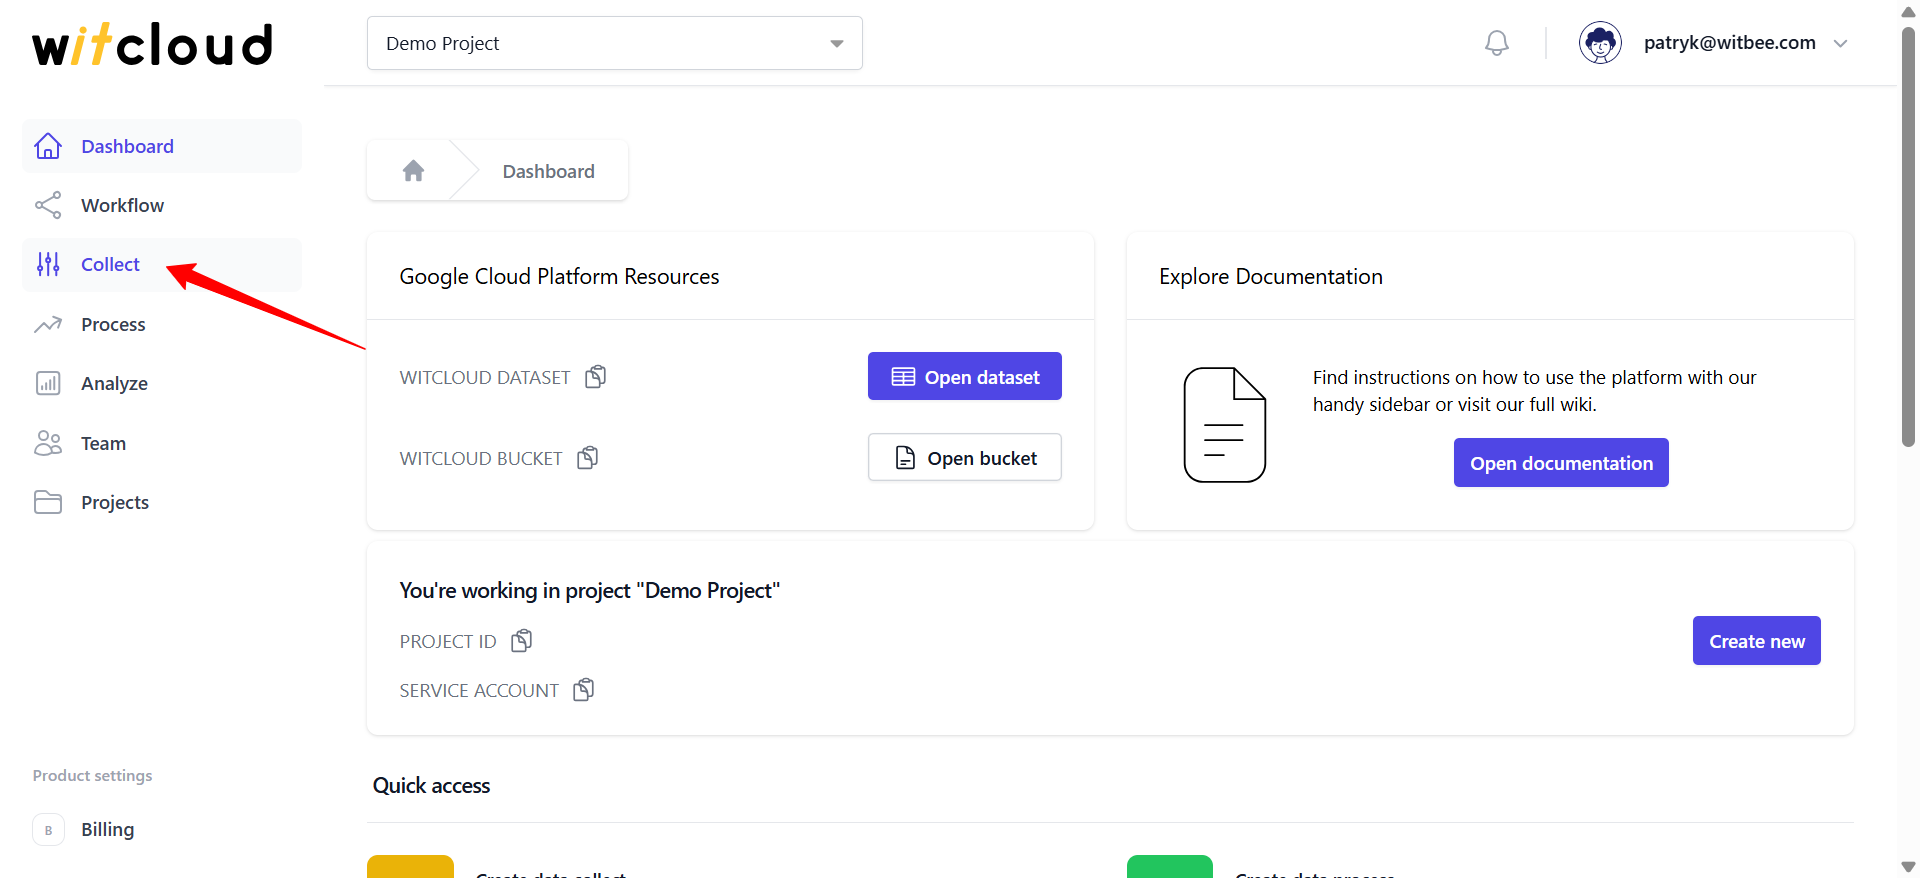
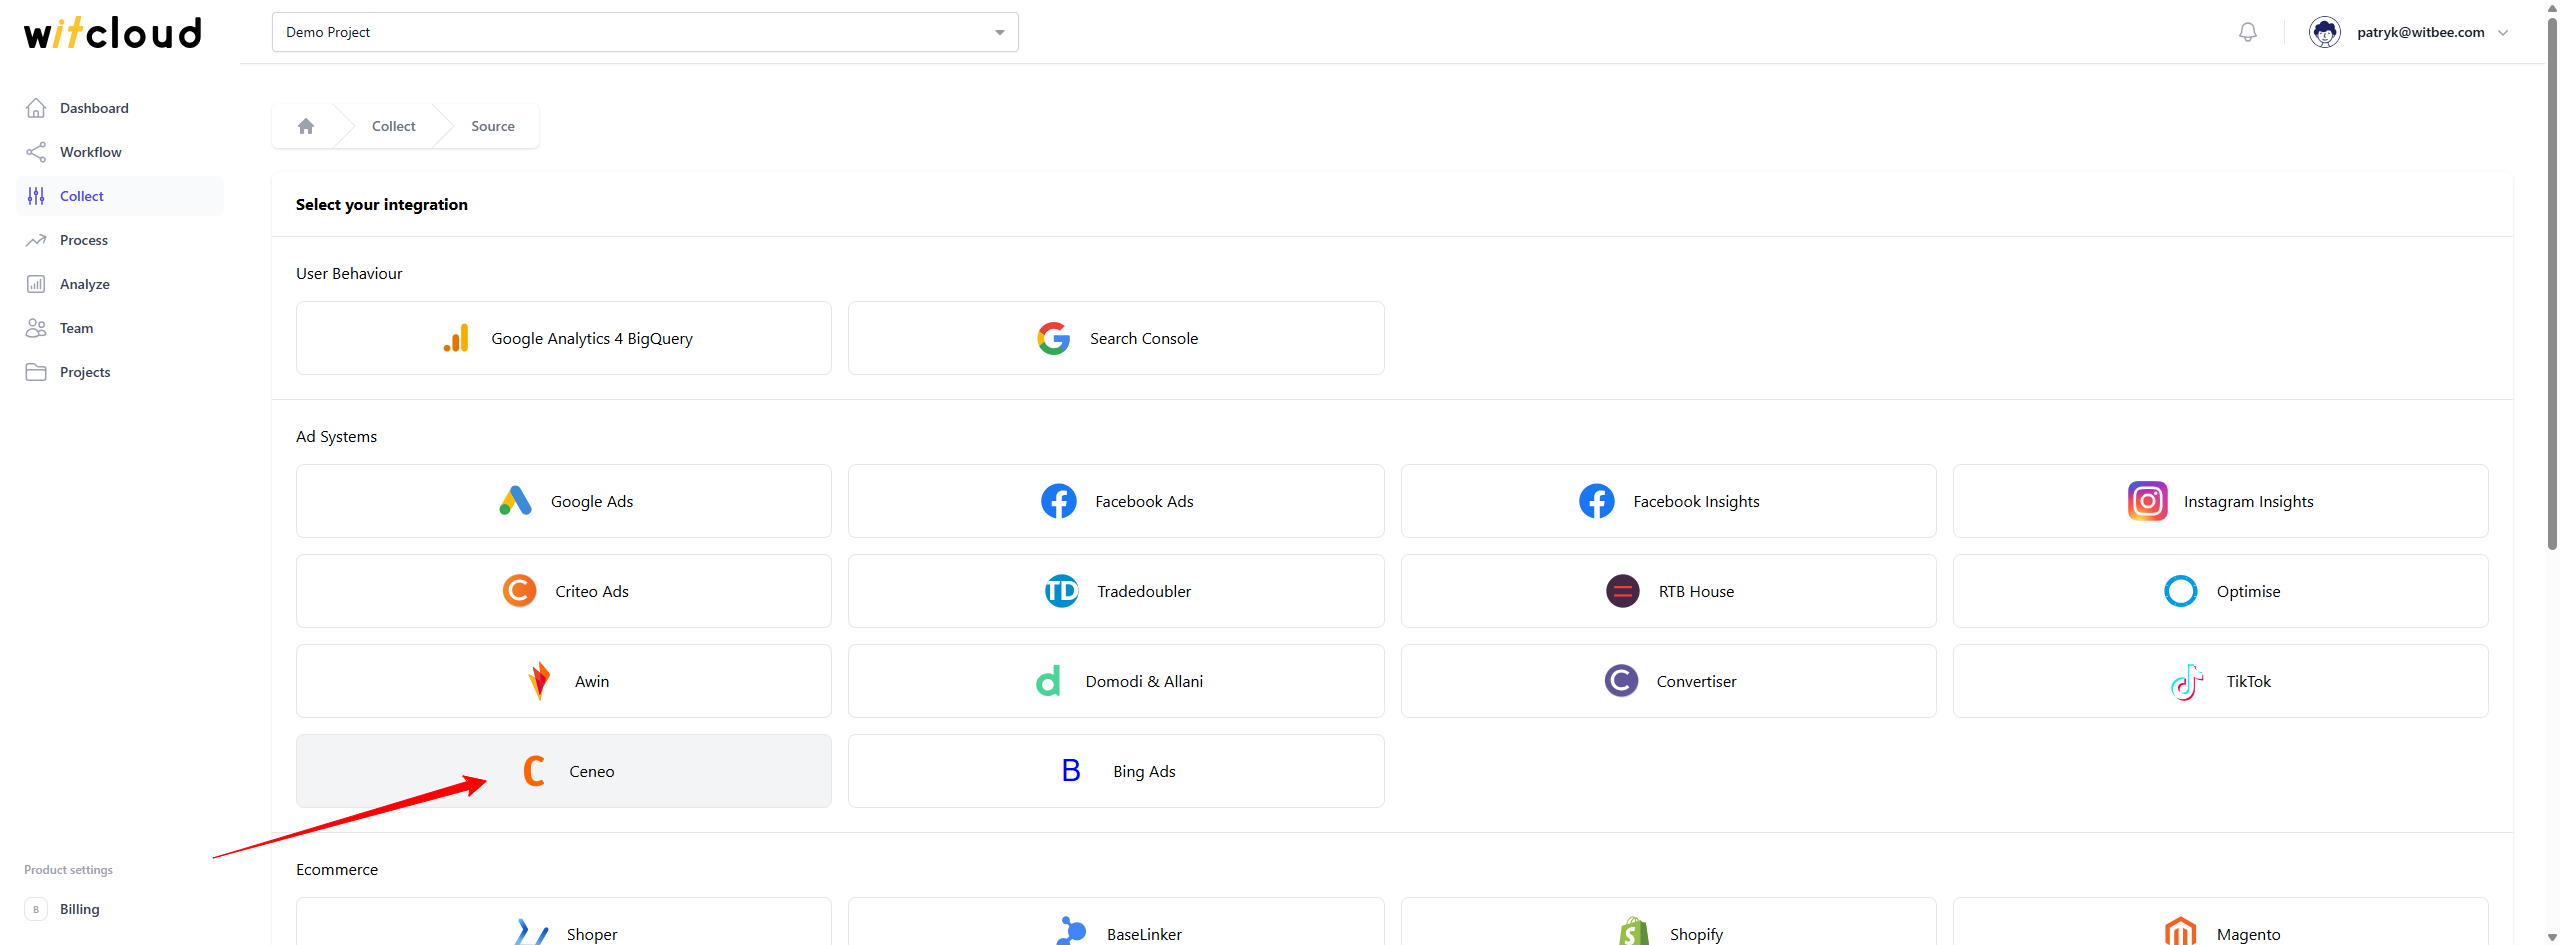
Select Ceneo from the list of available integrations.
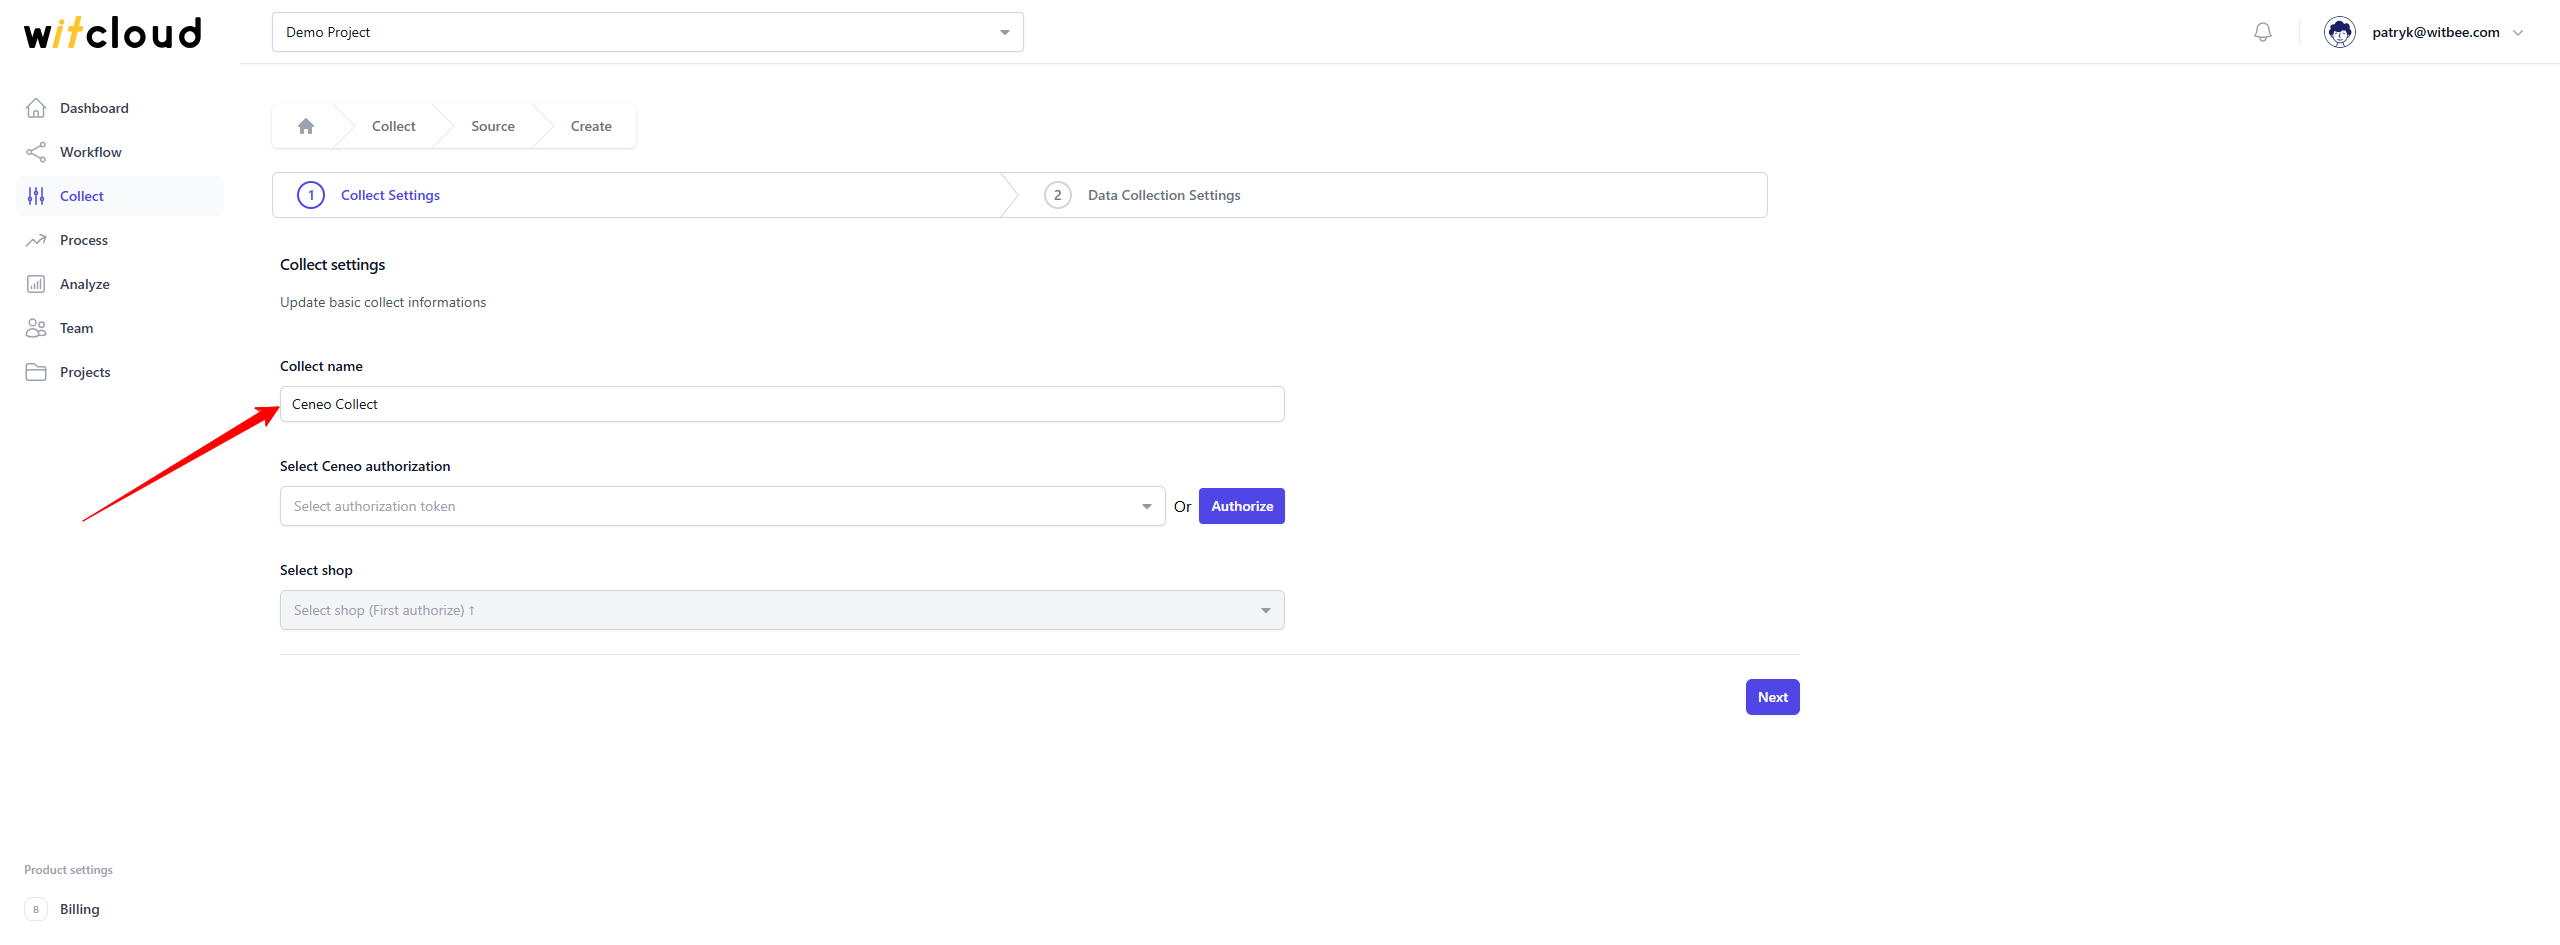
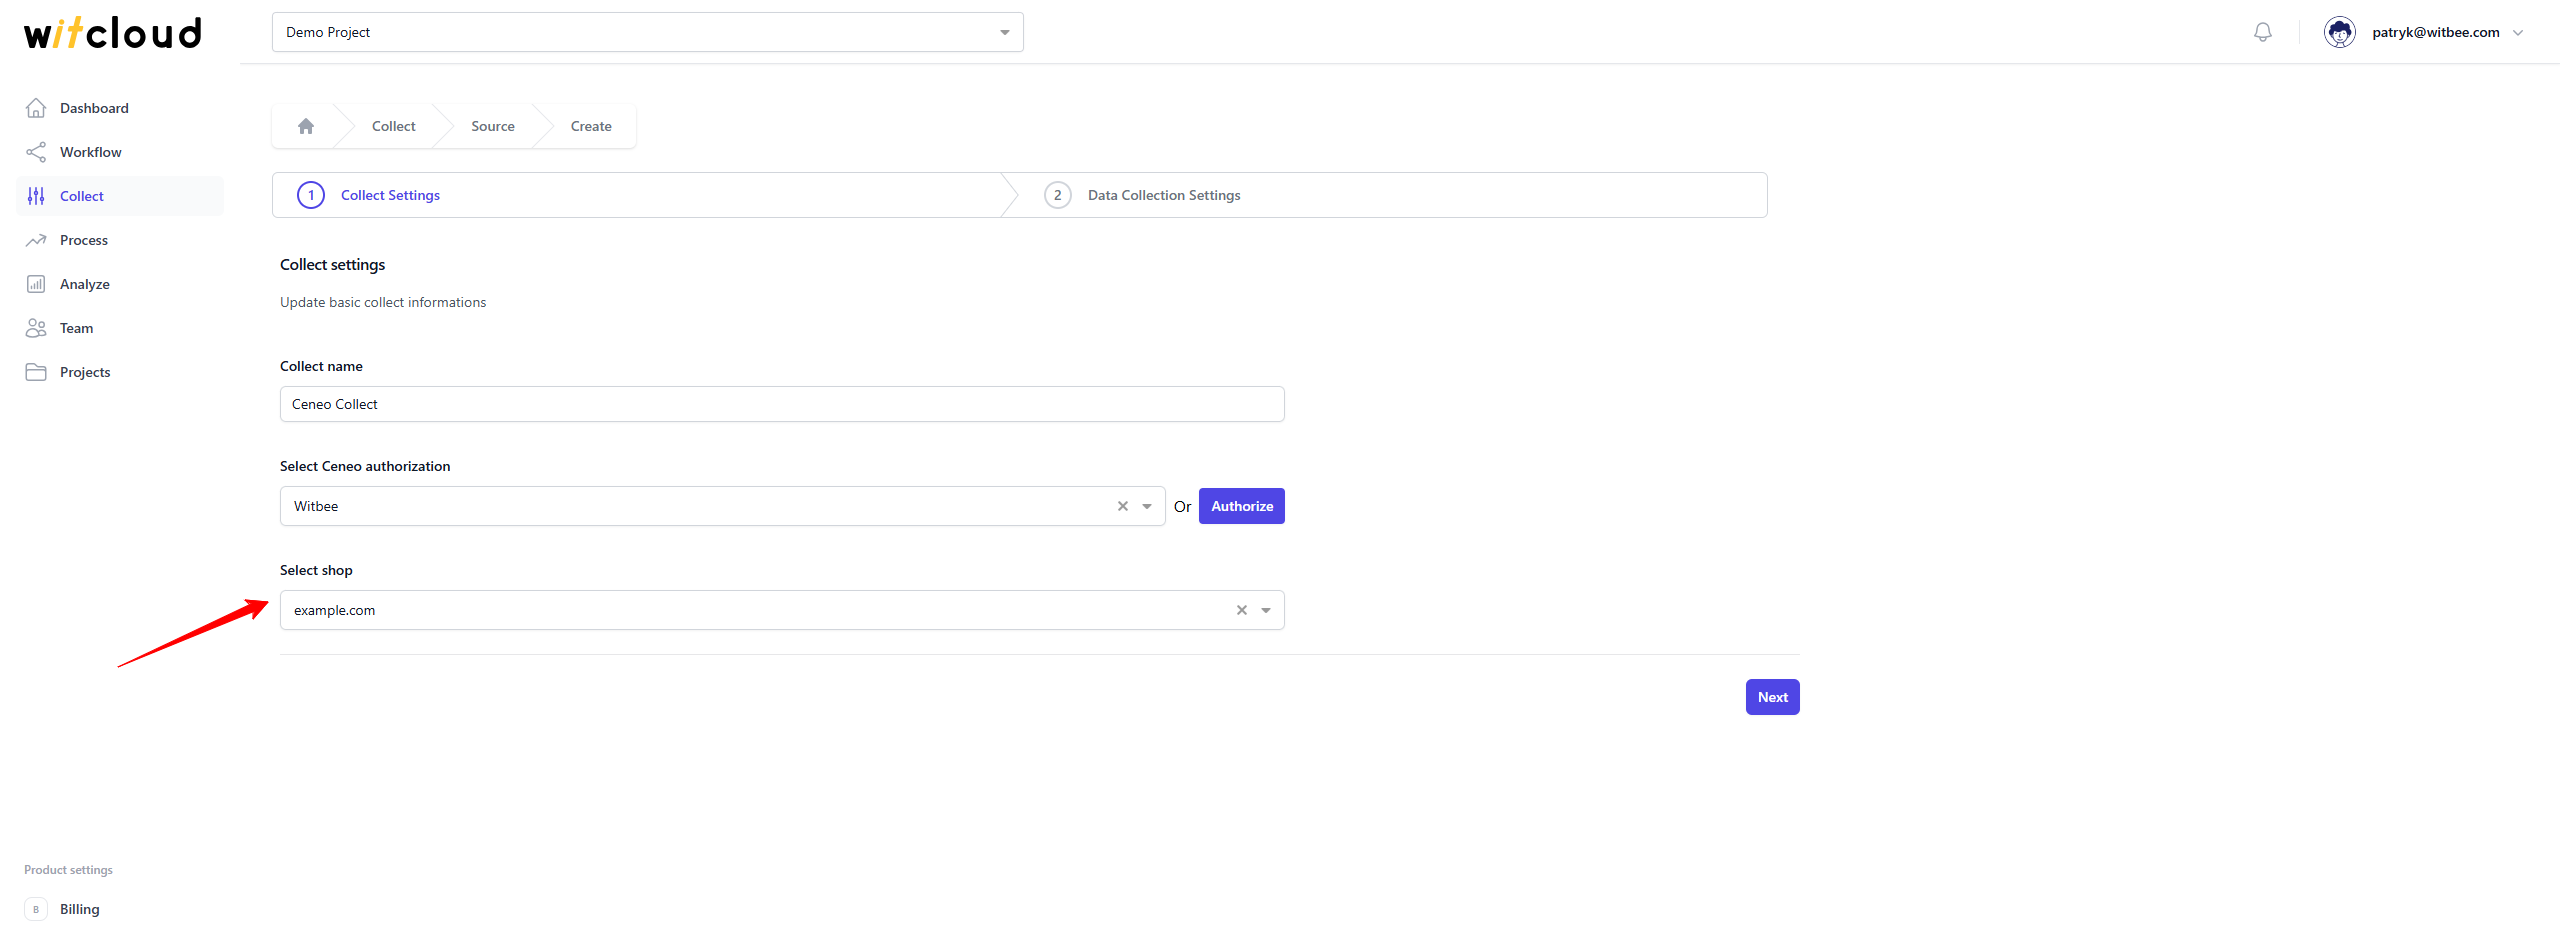
Enter the Collector Name, e.g., "Ceneo Collect".
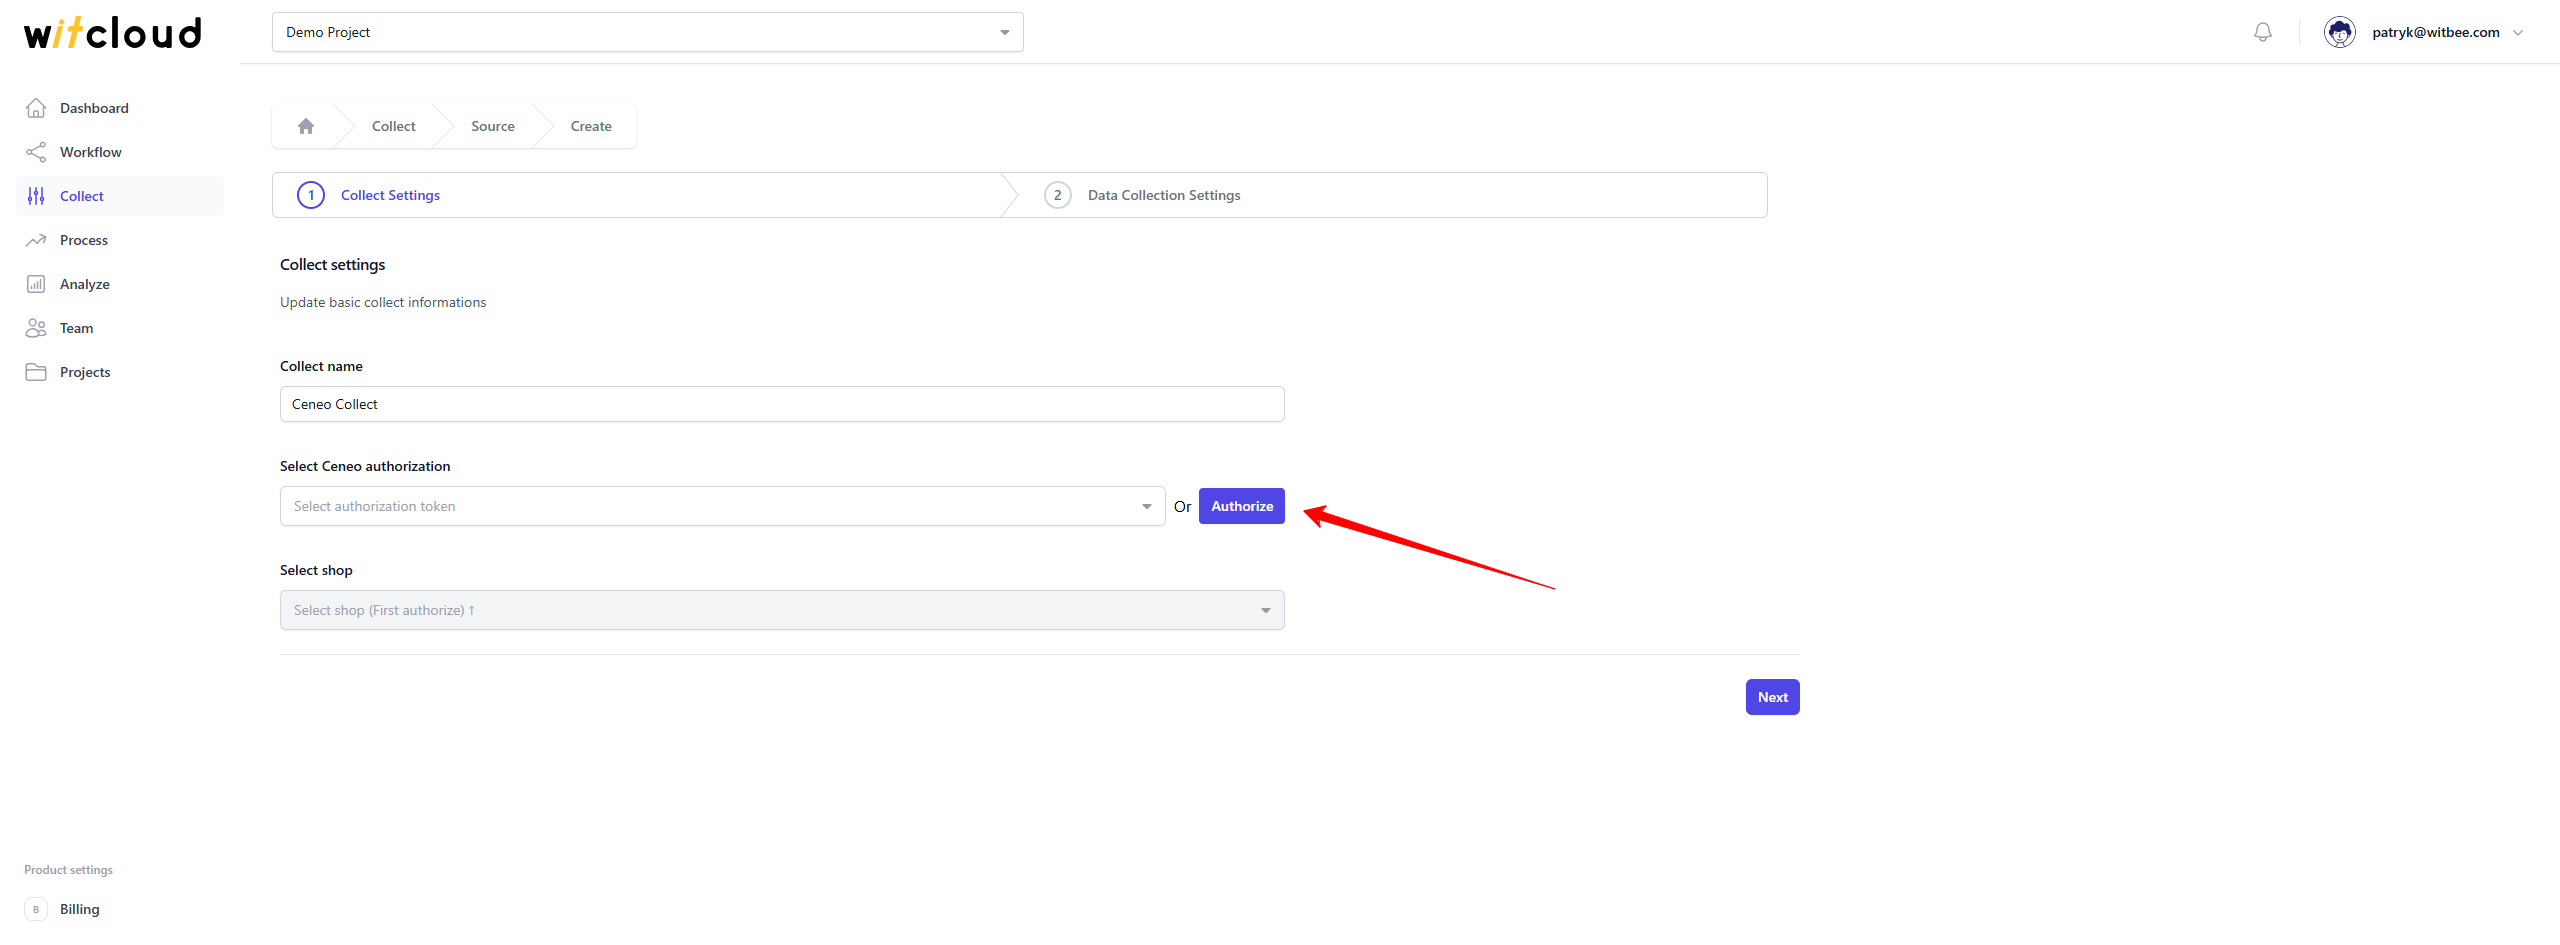
🔑 Authorization
💡 Tip: If you have previously authorized the Ceneo module and do not require additional permissions, you can skip this step.
Click Authorize.
Fill out the authorization form.
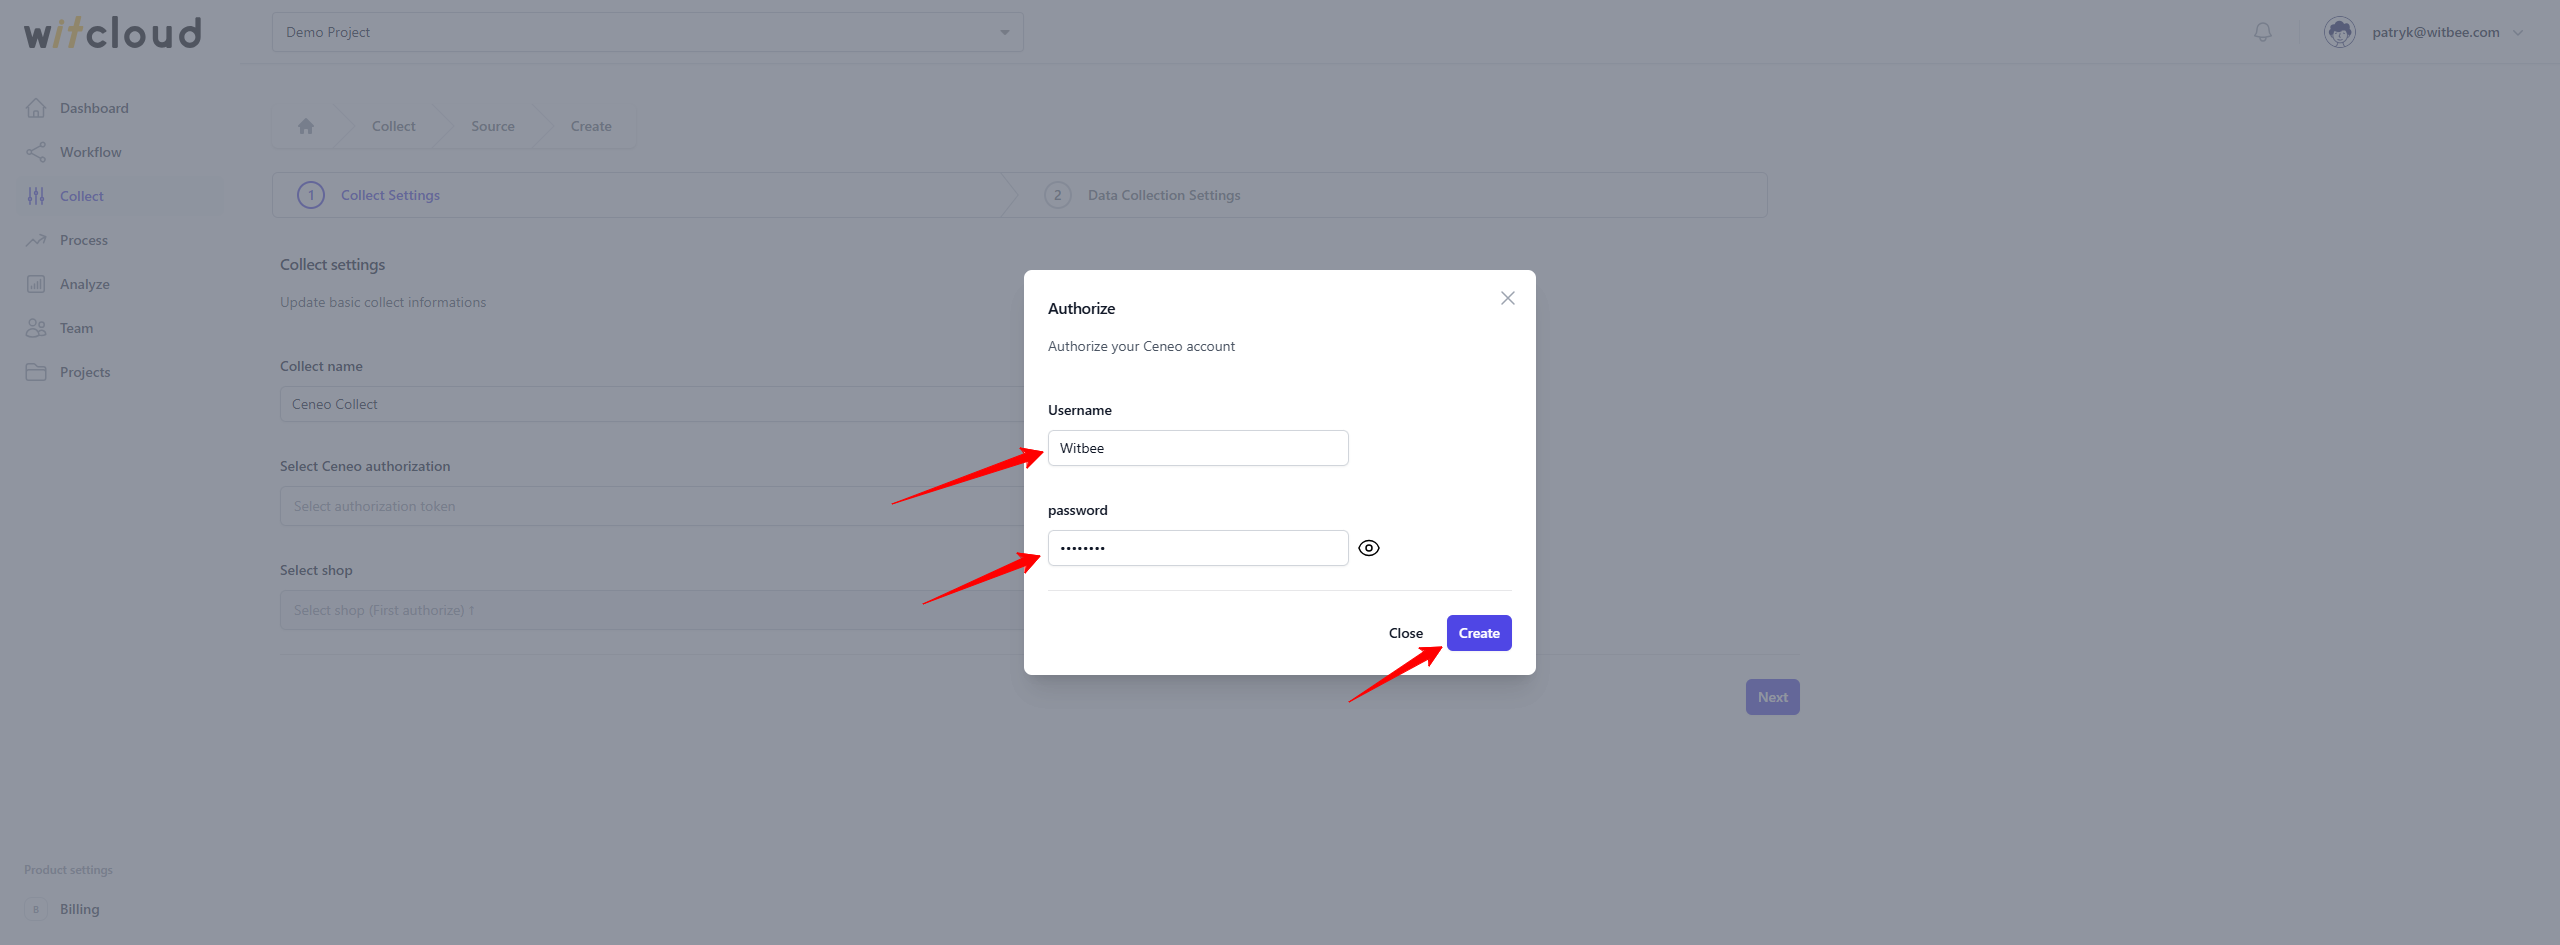
Select the appropriate account from the dropdown list.
⏳ Historical Data and Scheduling
Select the date range for which you want to fetch historical data.
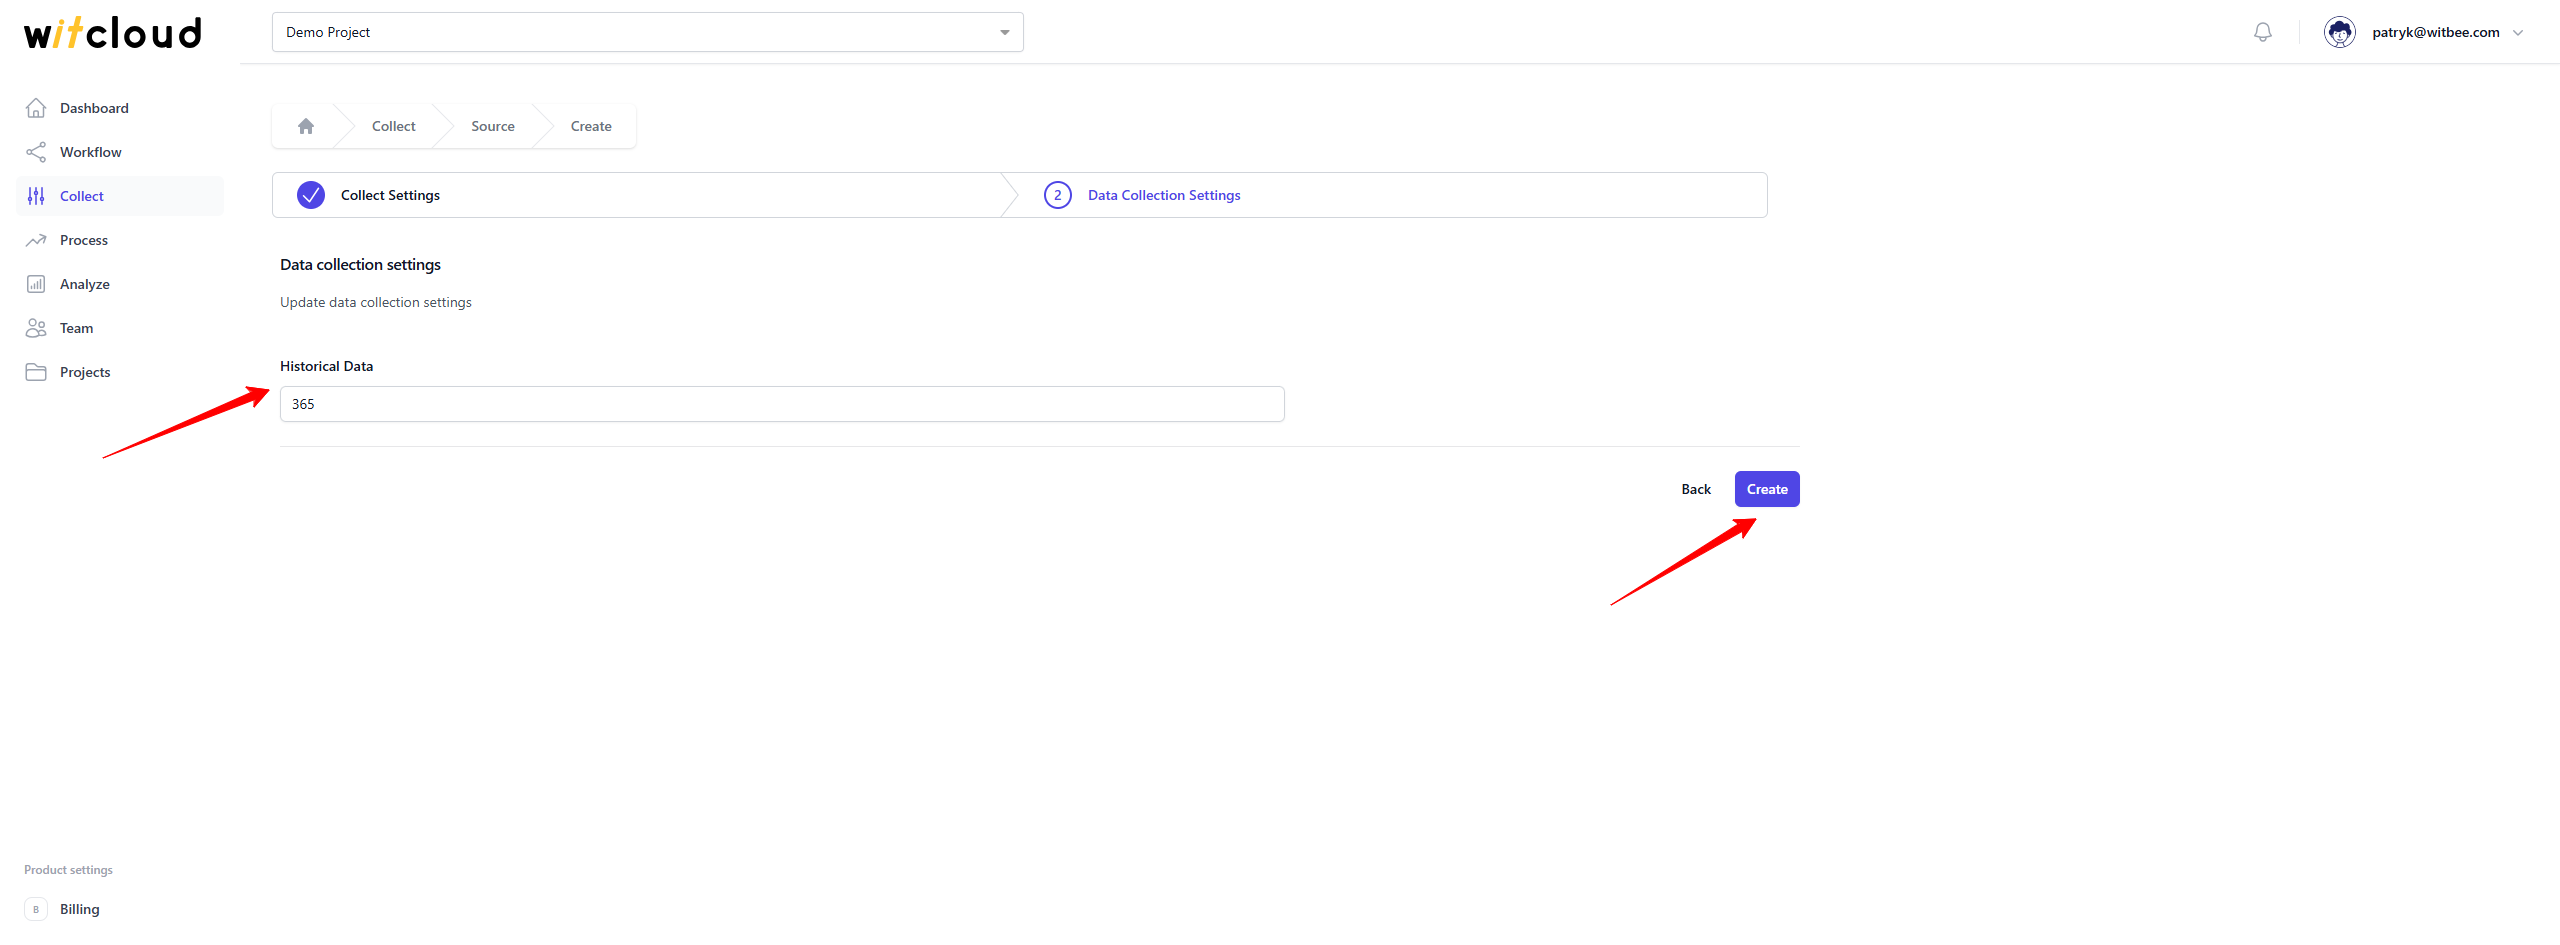
During the initial setup, you can retrieve data going back up to 12 months, with the possibility of importing older data.
A data synchronization schedule will be created automatically. More information on this topic can be found here.
Click Create to complete the configuration.
✅ Done! Your Ceneo data will now be synchronized with BigQuery, providing you with detailed insights into the performance of your ad campaigns.
📊 Data Schema
Expand the tables below to view the full data schema collected from Ceneo.