Project Management
📢 Introduction
WitCloud organizes data and configurations within projects – this is where all the work happens. Each project is an independent workspace where you can:
✅ Add team members – grant access only to those who need it.
✅ Create connectors – integrate various data sources within a single project.
✅ Stay organized – each project has its own BigQuery dataset and Google Cloud Storage bucket, keeping data separate and well-structured.
This solution is ideal when managing data for multiple markets, clients, or businesses – each project operates independently, giving you full control over data organization.
👨💻 Log into Your Account
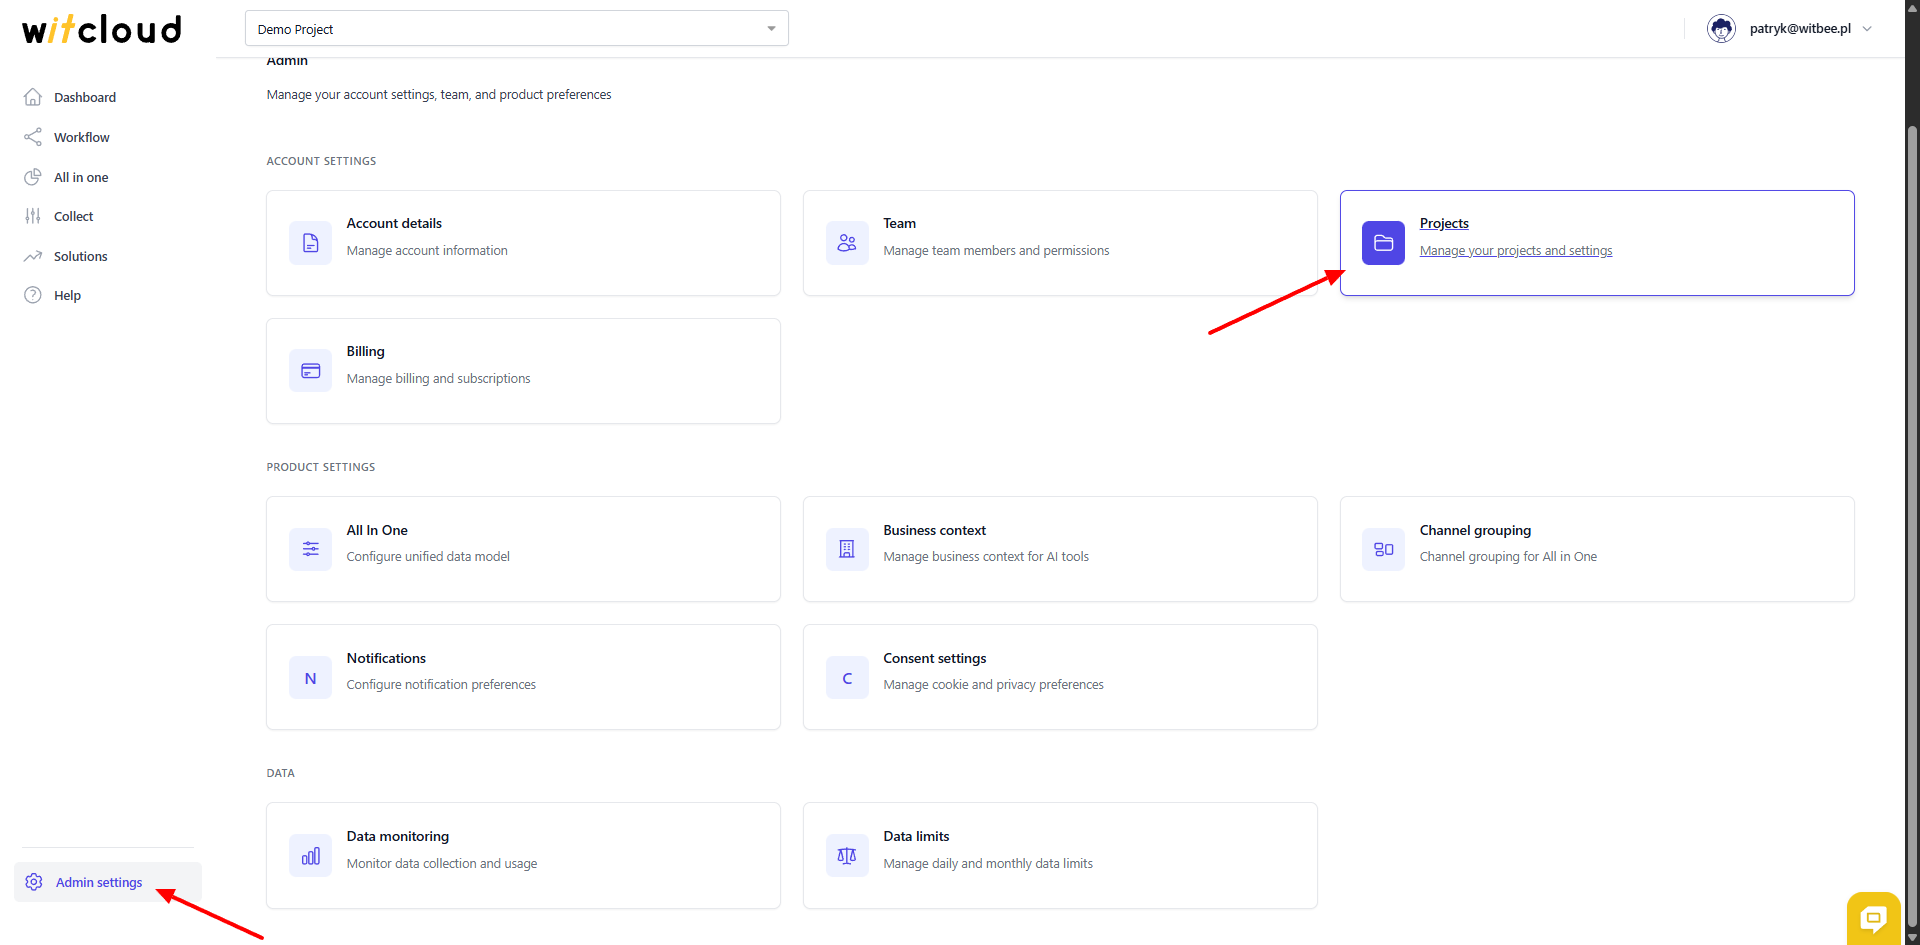
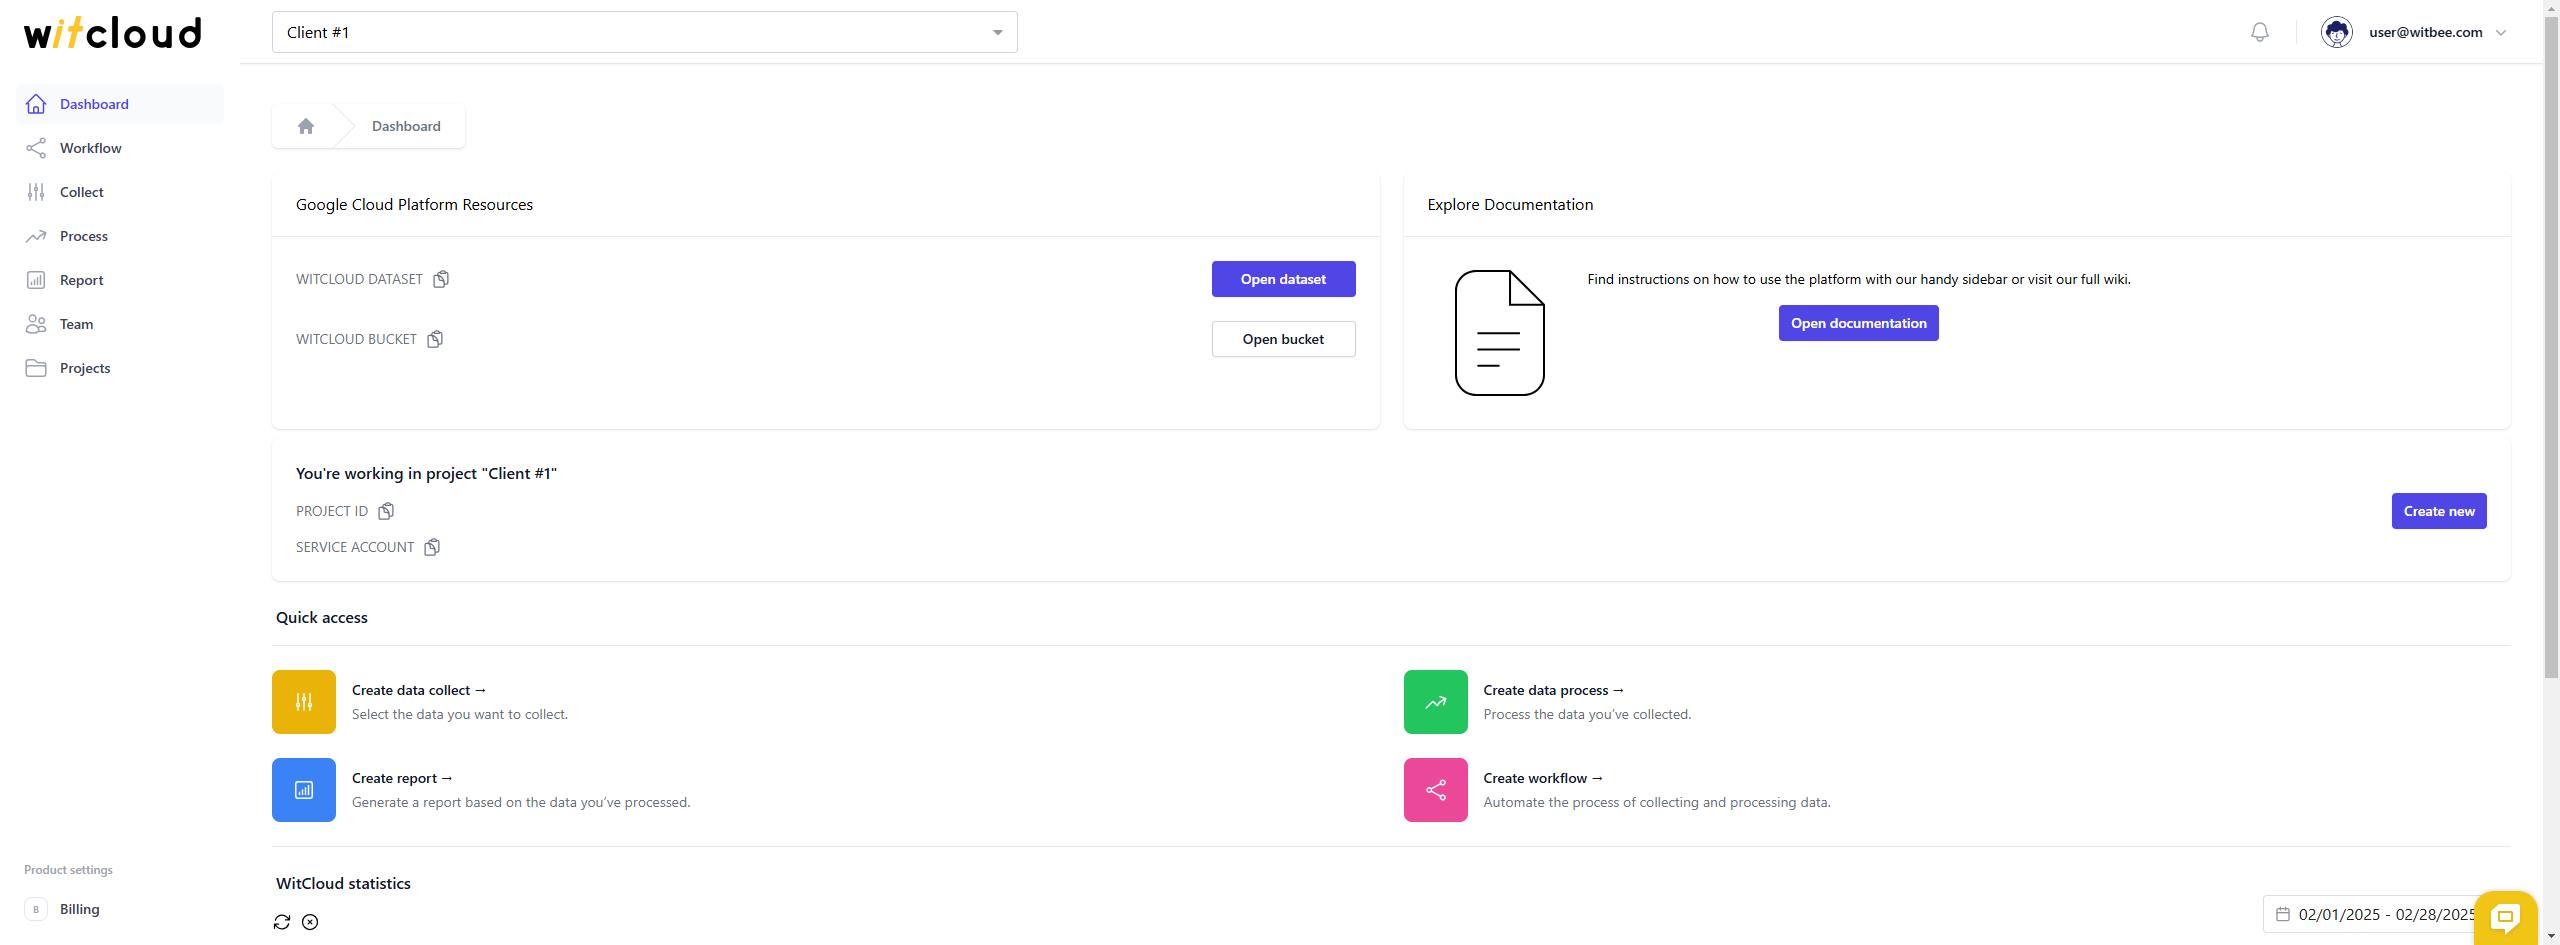
After logging into the platform, navigate to the Admin settings > Projects section by selecting the appropriate option from the left-hand menu.
📁 Creating a Project
Creating a new project in WitCloud consists of three key steps.
✅ Creating a Project in WitCloud
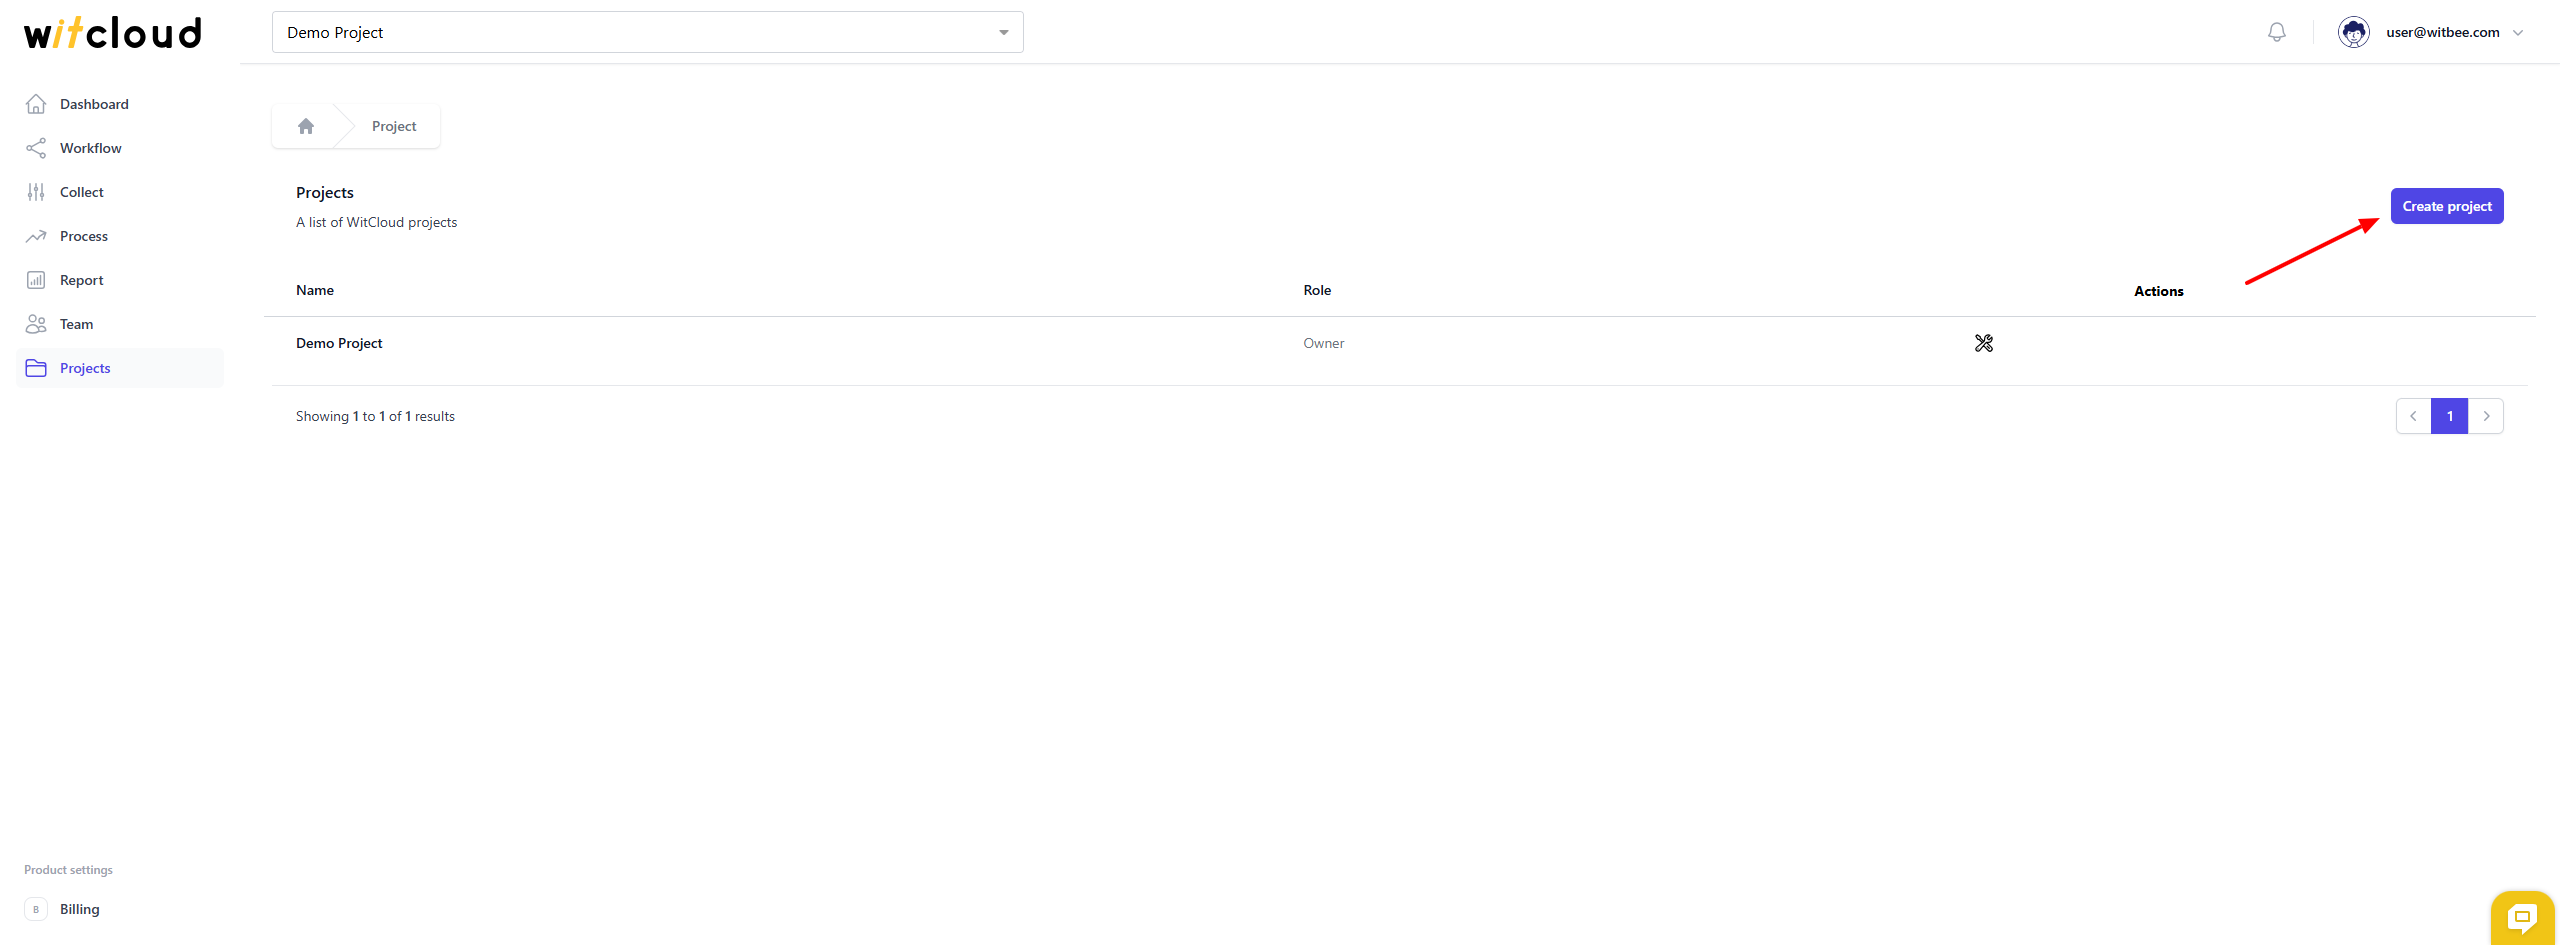
Click the Create project button.
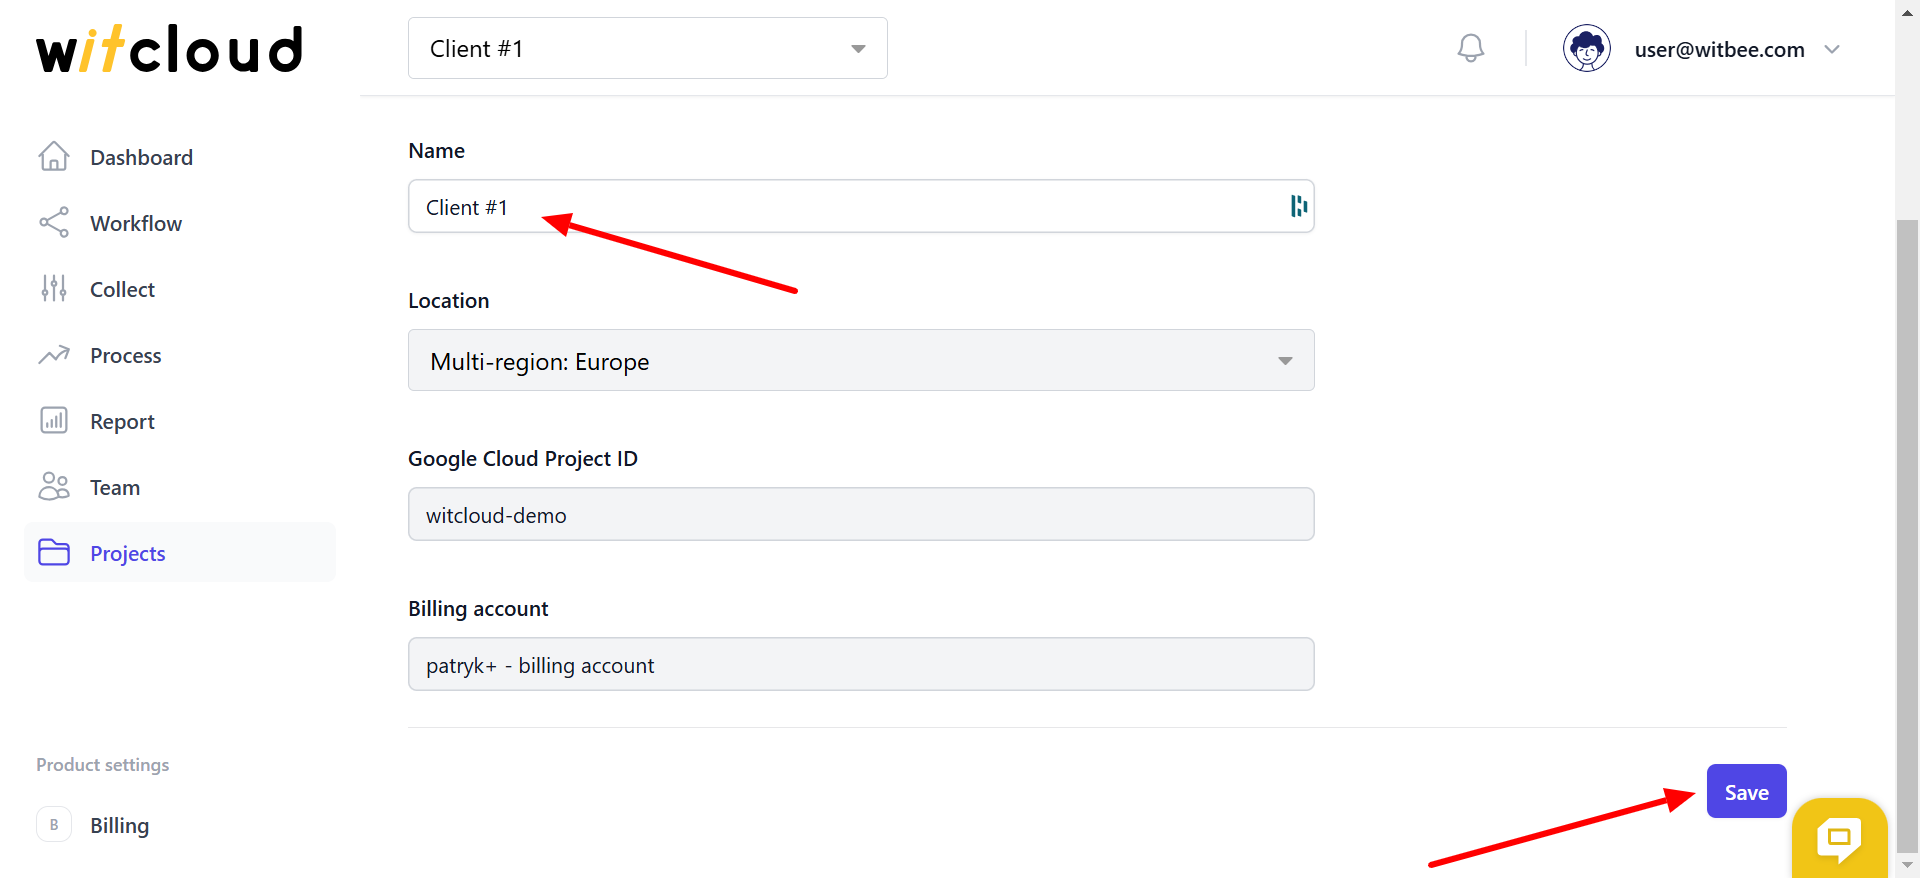
Fill in the two fields in the form:
- Name – the project name, which will allow you to find and select the specific project.
- Location – the project location. This is a critical field – the BigQuery dataset will be created in this location.
Once the form is completed, click Create.

✅ Granting Permissions in Google Cloud
For WitCloud to function properly, it must be granted access to your Google Cloud account.
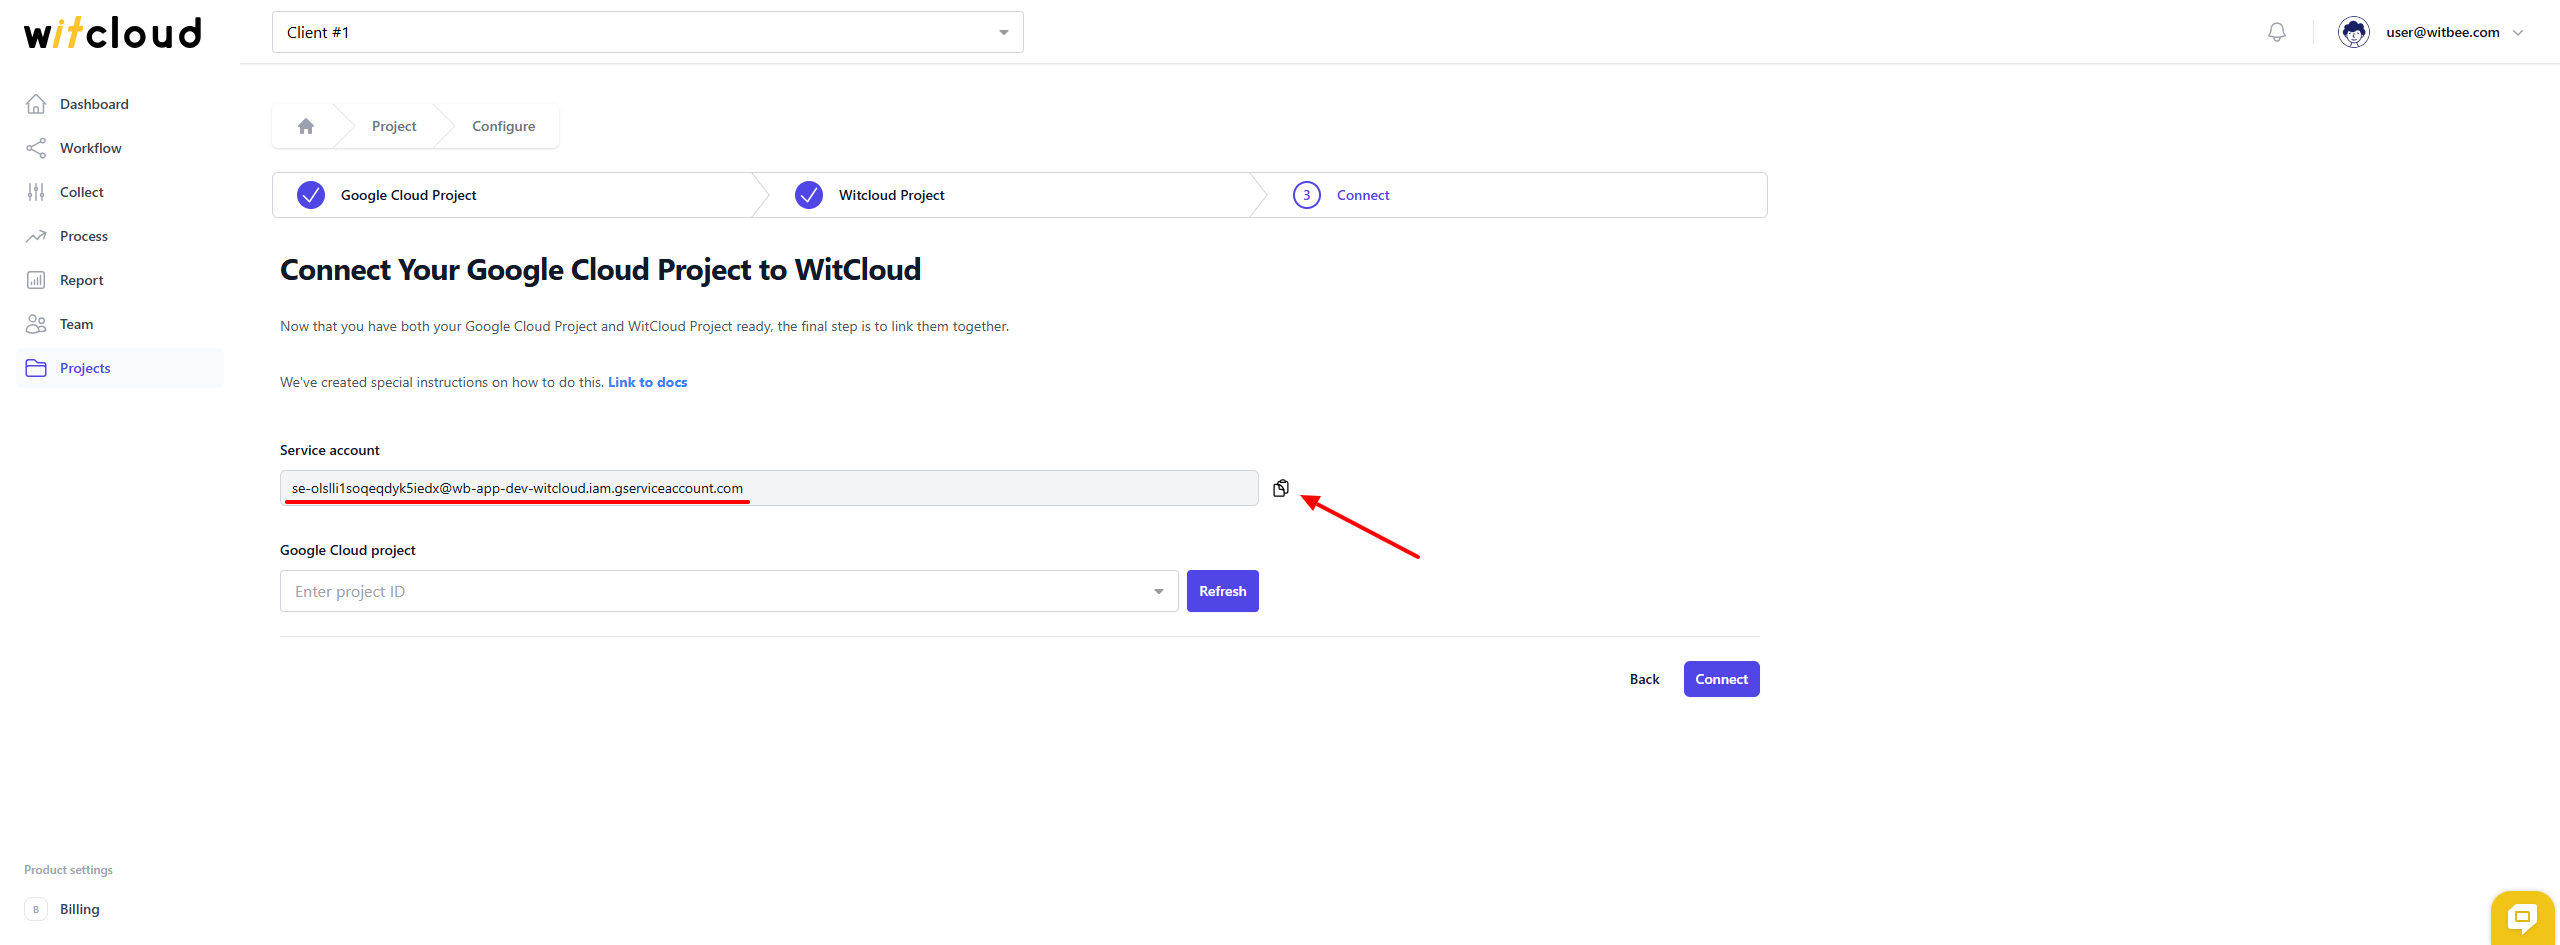
First, copy the service account address generated by WitCloud.
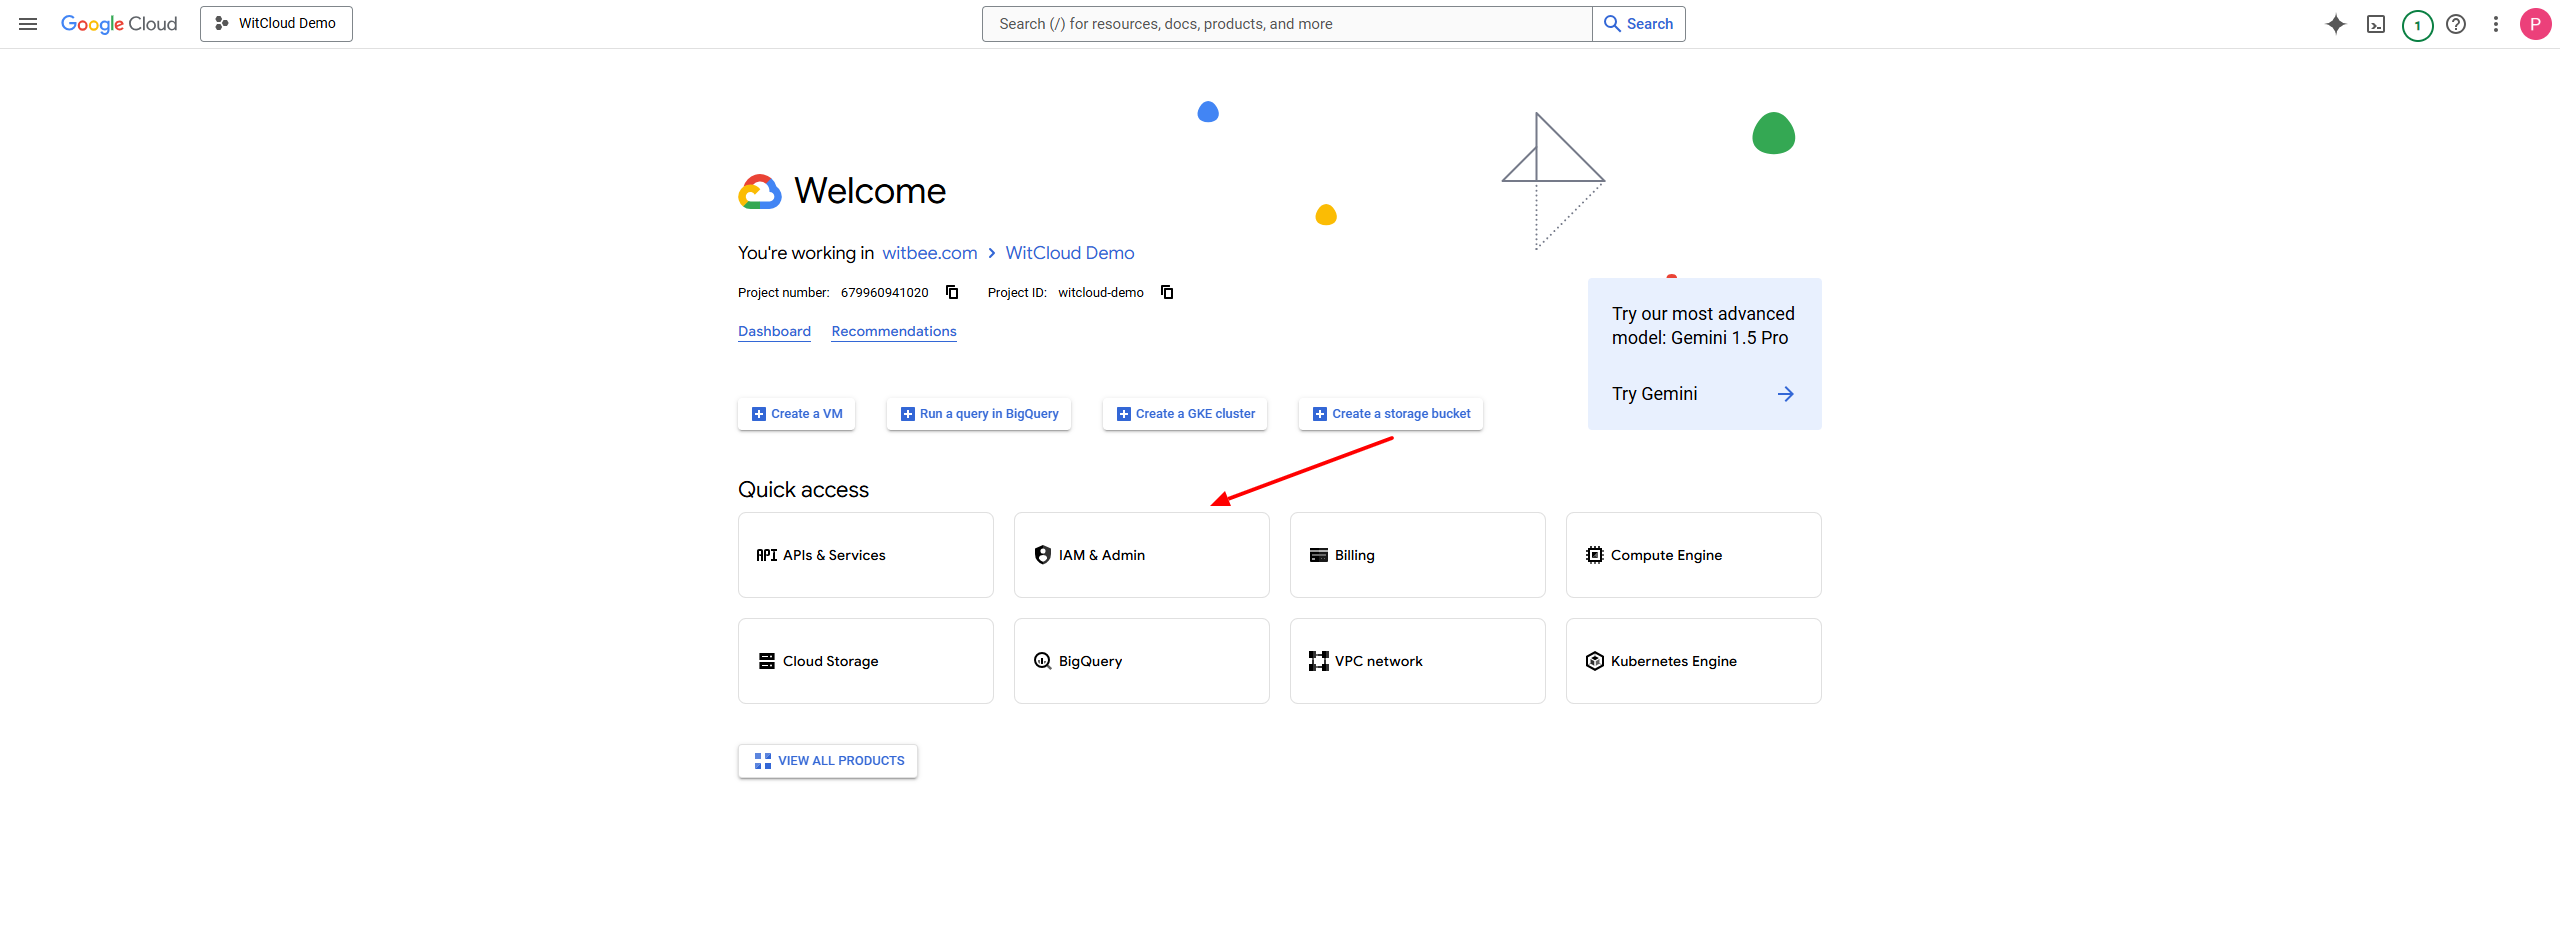
Log into Google Cloud. If you don’t have a dedicated project for WitCloud yet, follow the instructions to create one: Link to instructions.
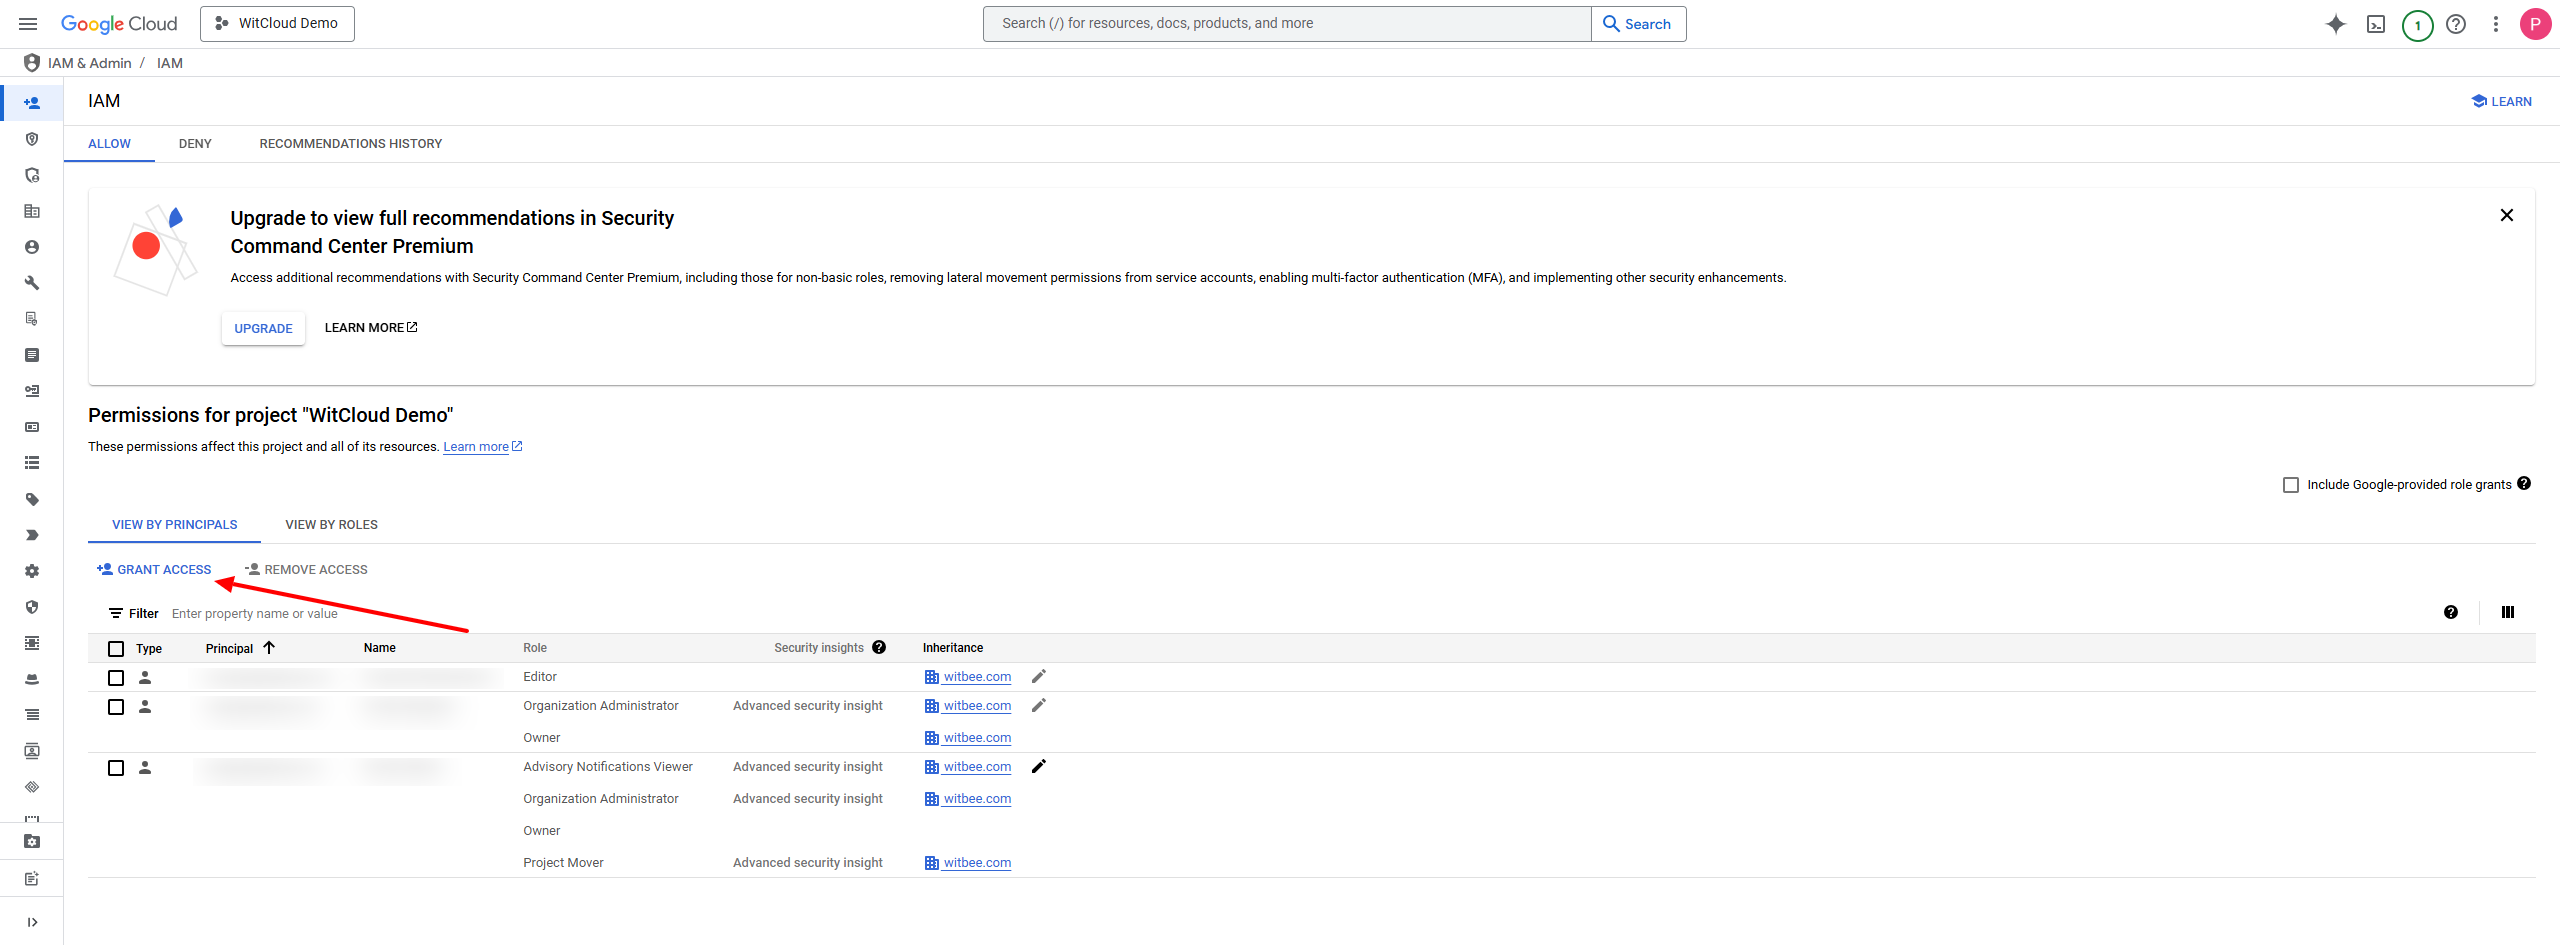
Once logged in, select Administration from the quick access panel.
In the access management section, click Grant Access.
For the user (security entity), enter the service account generated by WitCloud.
Assign the following roles:
- BigQuery Admin
- Storage Admin
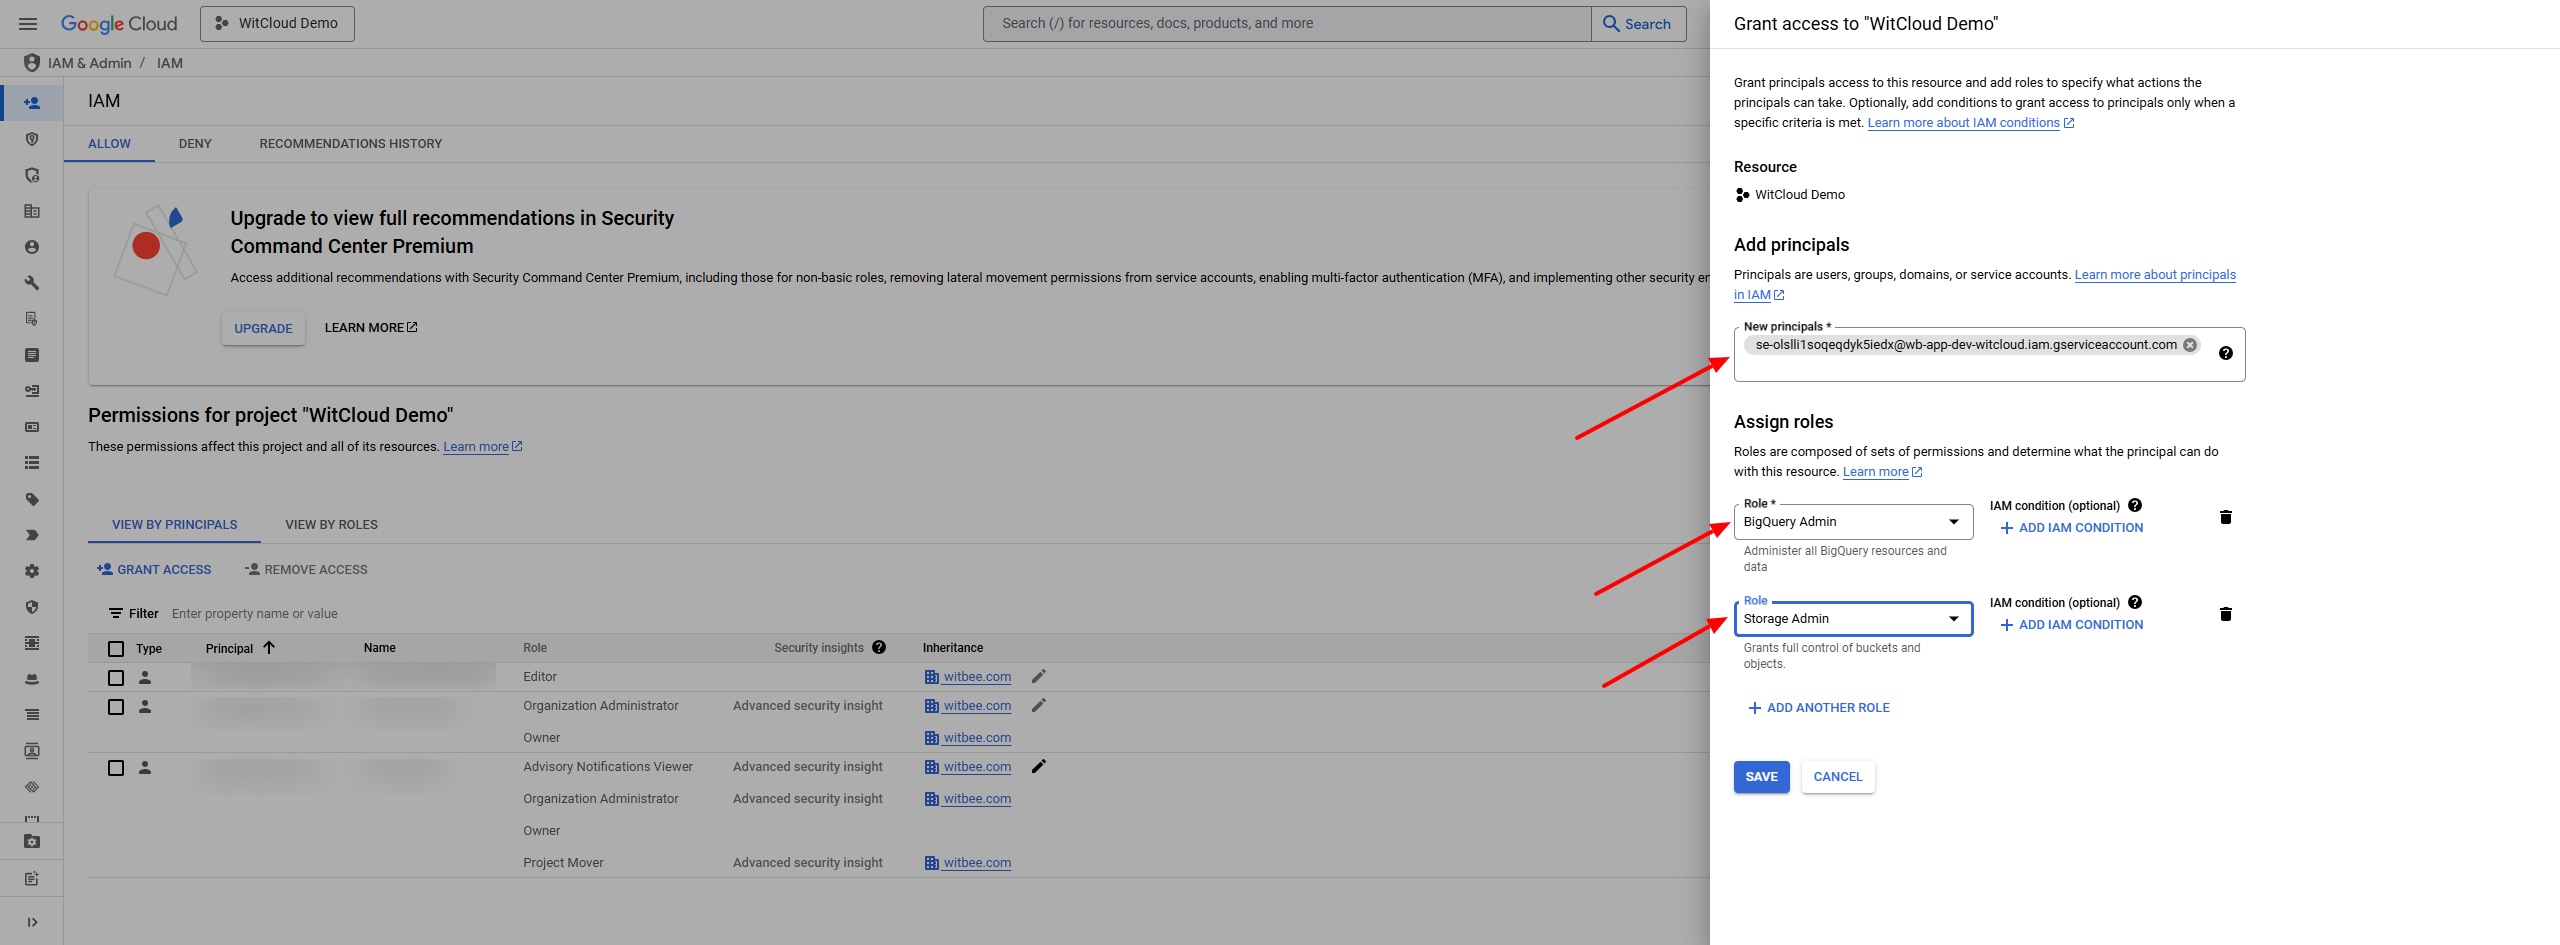
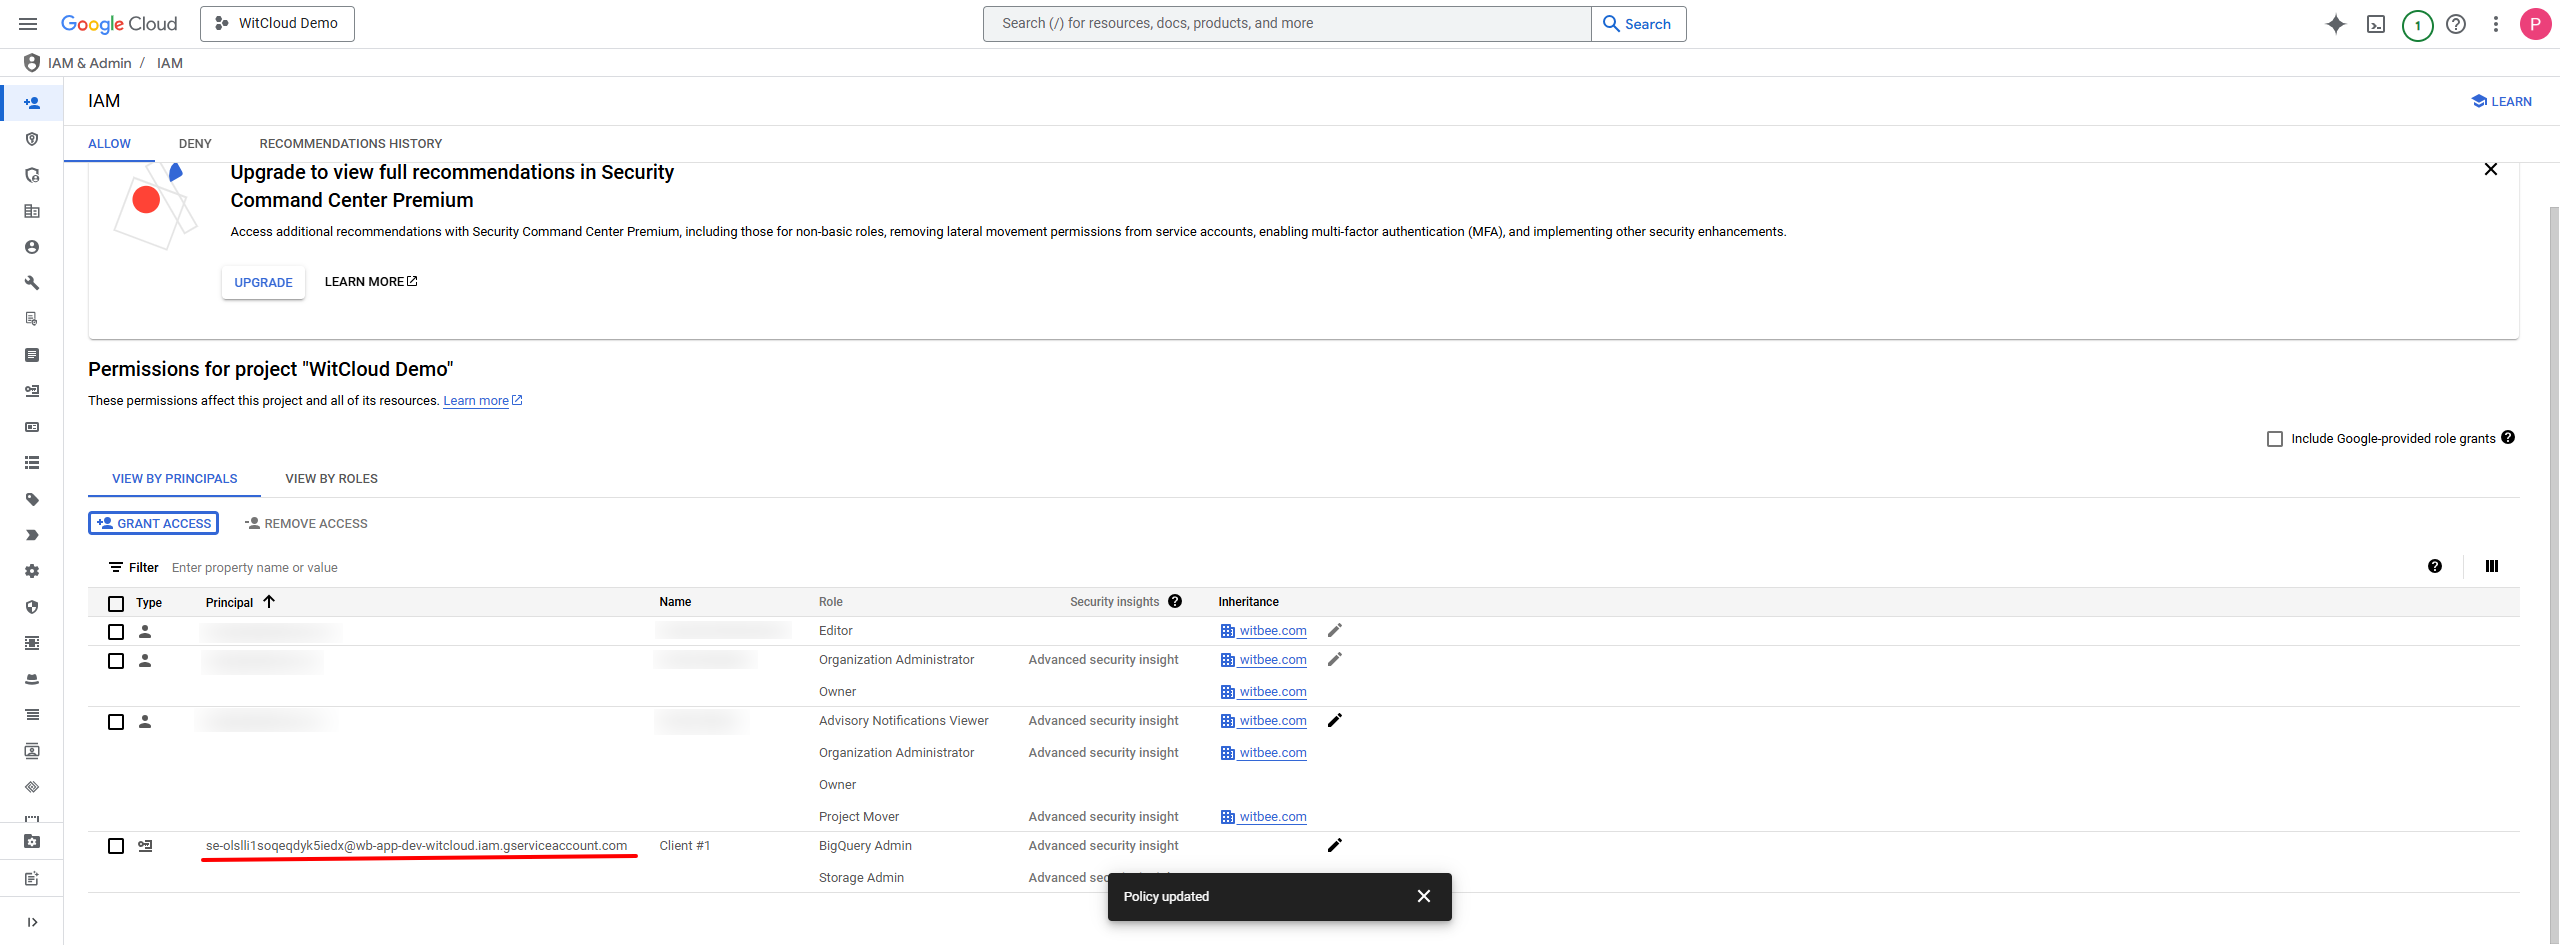
Confirm the changes by clicking Save. The WitCloud service account should now appear in the access list.
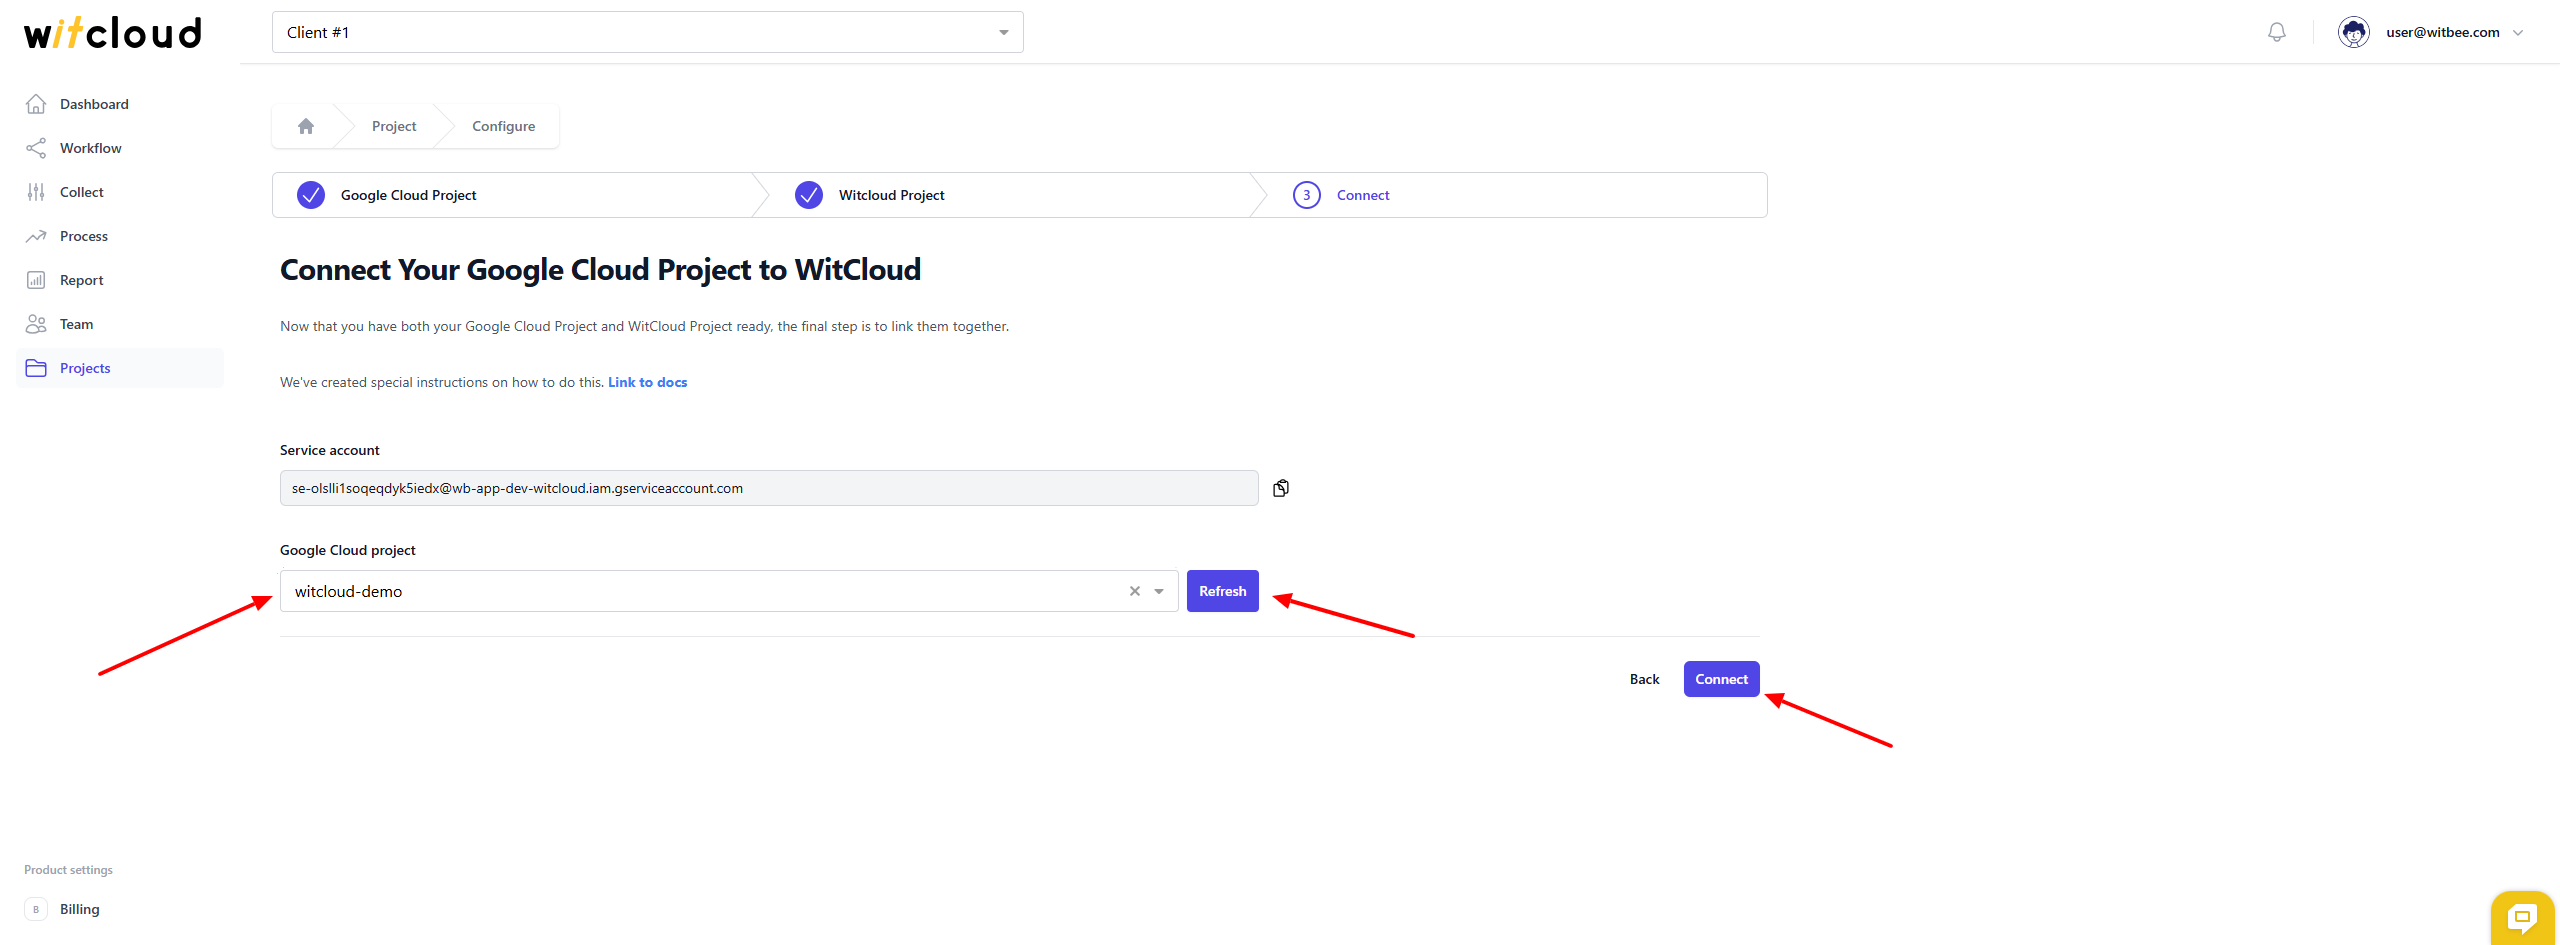
✅ Connecting the Project to WitCloud
Return to the WitCloud panel. In the Google Cloud project selection section, the project you just granted access to should now appear.
💡 Tip: This process can sometimes take a few minutes. If the project does not appear automatically, click Refresh to reload the project list.
Confirm the form by clicking Connect.
🎉 Done!
Your WitCloud project has been successfully created and connected to Google Cloud.
🔧 Editing a Project
If you want to modify project details, click the edit icon in the project list.

Change the name or other fields and confirm by clicking Save.
❌ Deleting a Project
In WitCloud, projects cannot be deleted directly from the panel. If you want to remove your project, please contact us via the contact form or the chat icon in the bottom right corner of the panel.