Integration of Custom Data with BigQuery
📢 Introduction
This module integrates with the Custom Data, enabling you to collect any data from Google SpreadSheet and store it in Google Cloud BigQuery.
If you have any cost or budget data that is not covered by our connectors, you can submit it using this module in our predefined schema. Later, it can be combined with our Data Mart module.
📝 Configuration Guide
Follow the steps below to connect Custom Data with BigQuery. Once the setup is complete, your data will be automatically transferred to your BigQuery project.
🔧 Module Setup
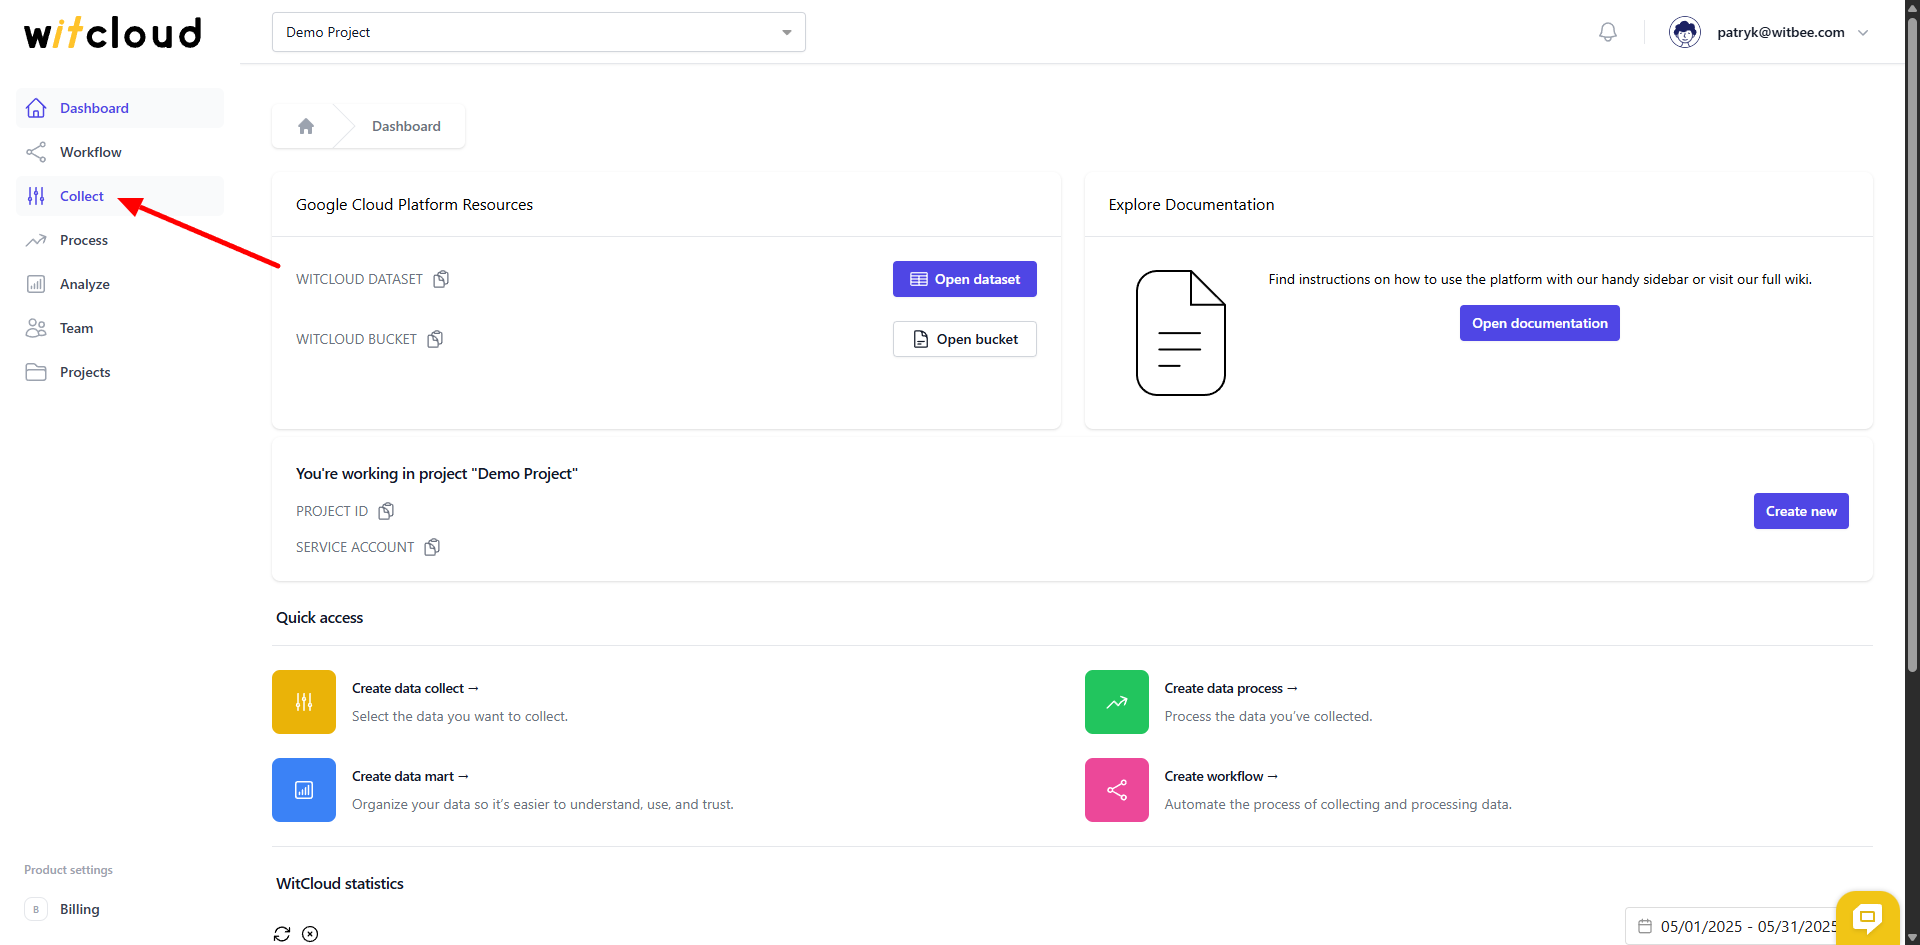
Go to the Collect section in the menu > Click Create Data Collect.
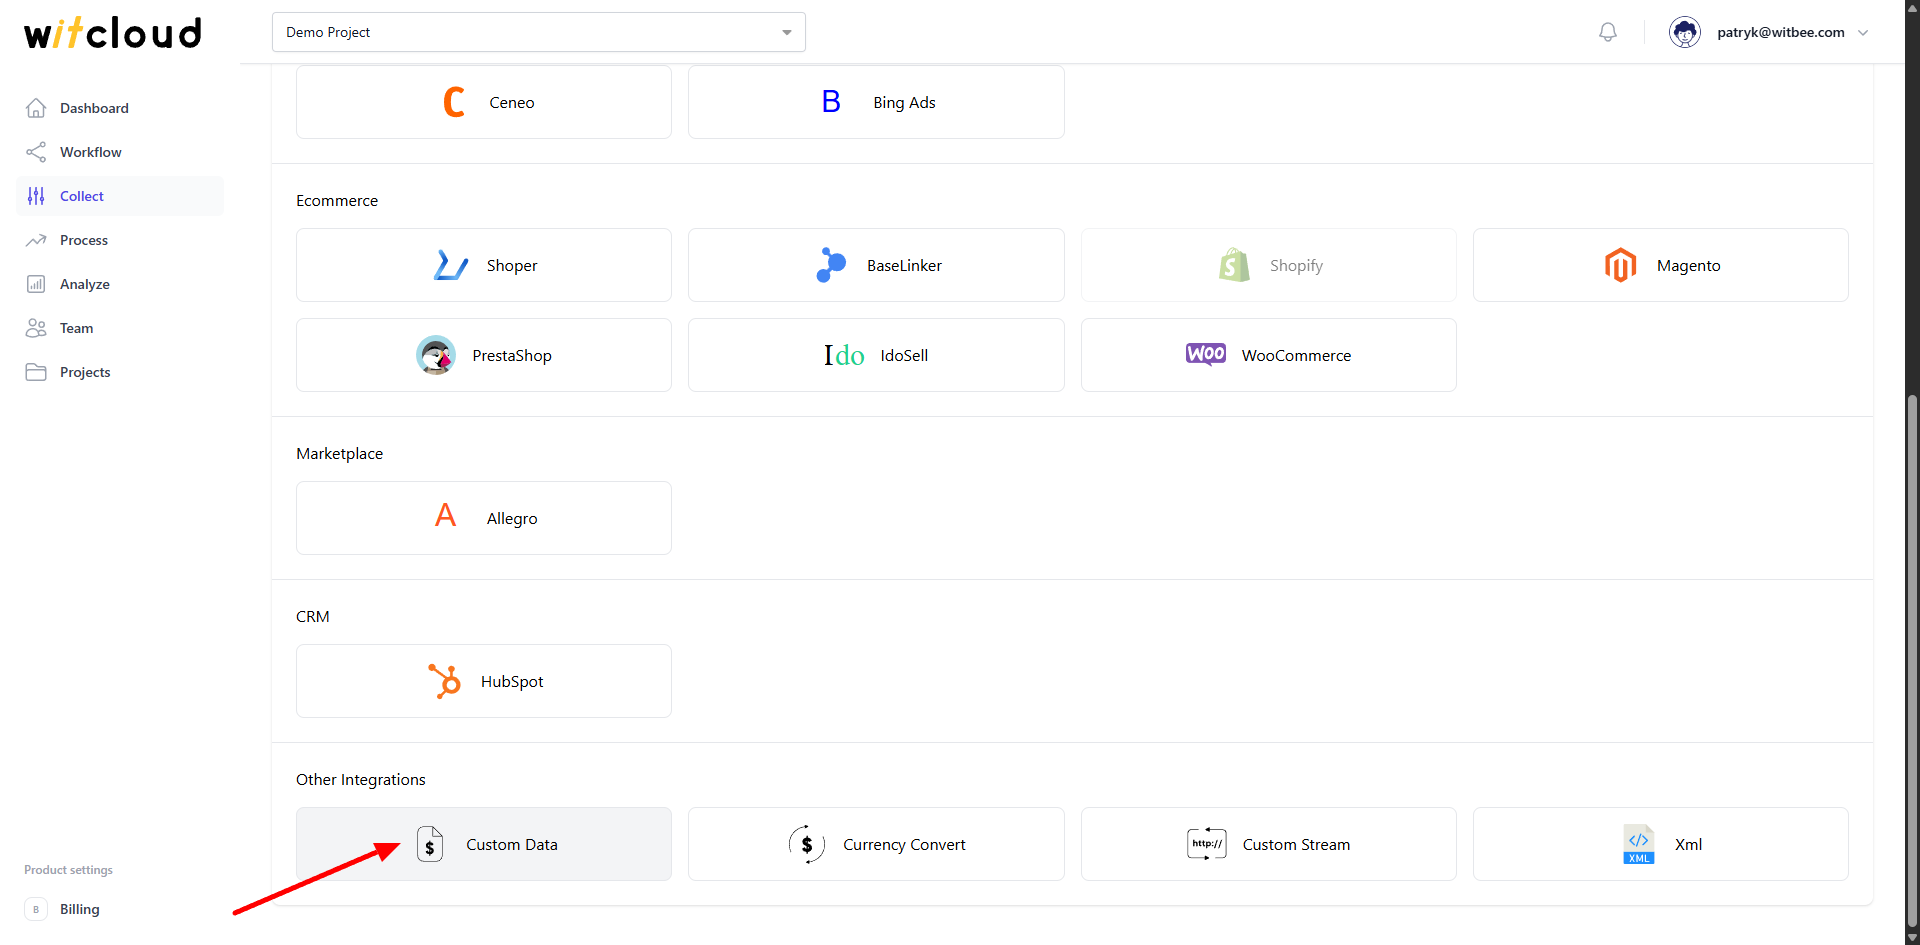
Select Custom Data from the list of available integrations.
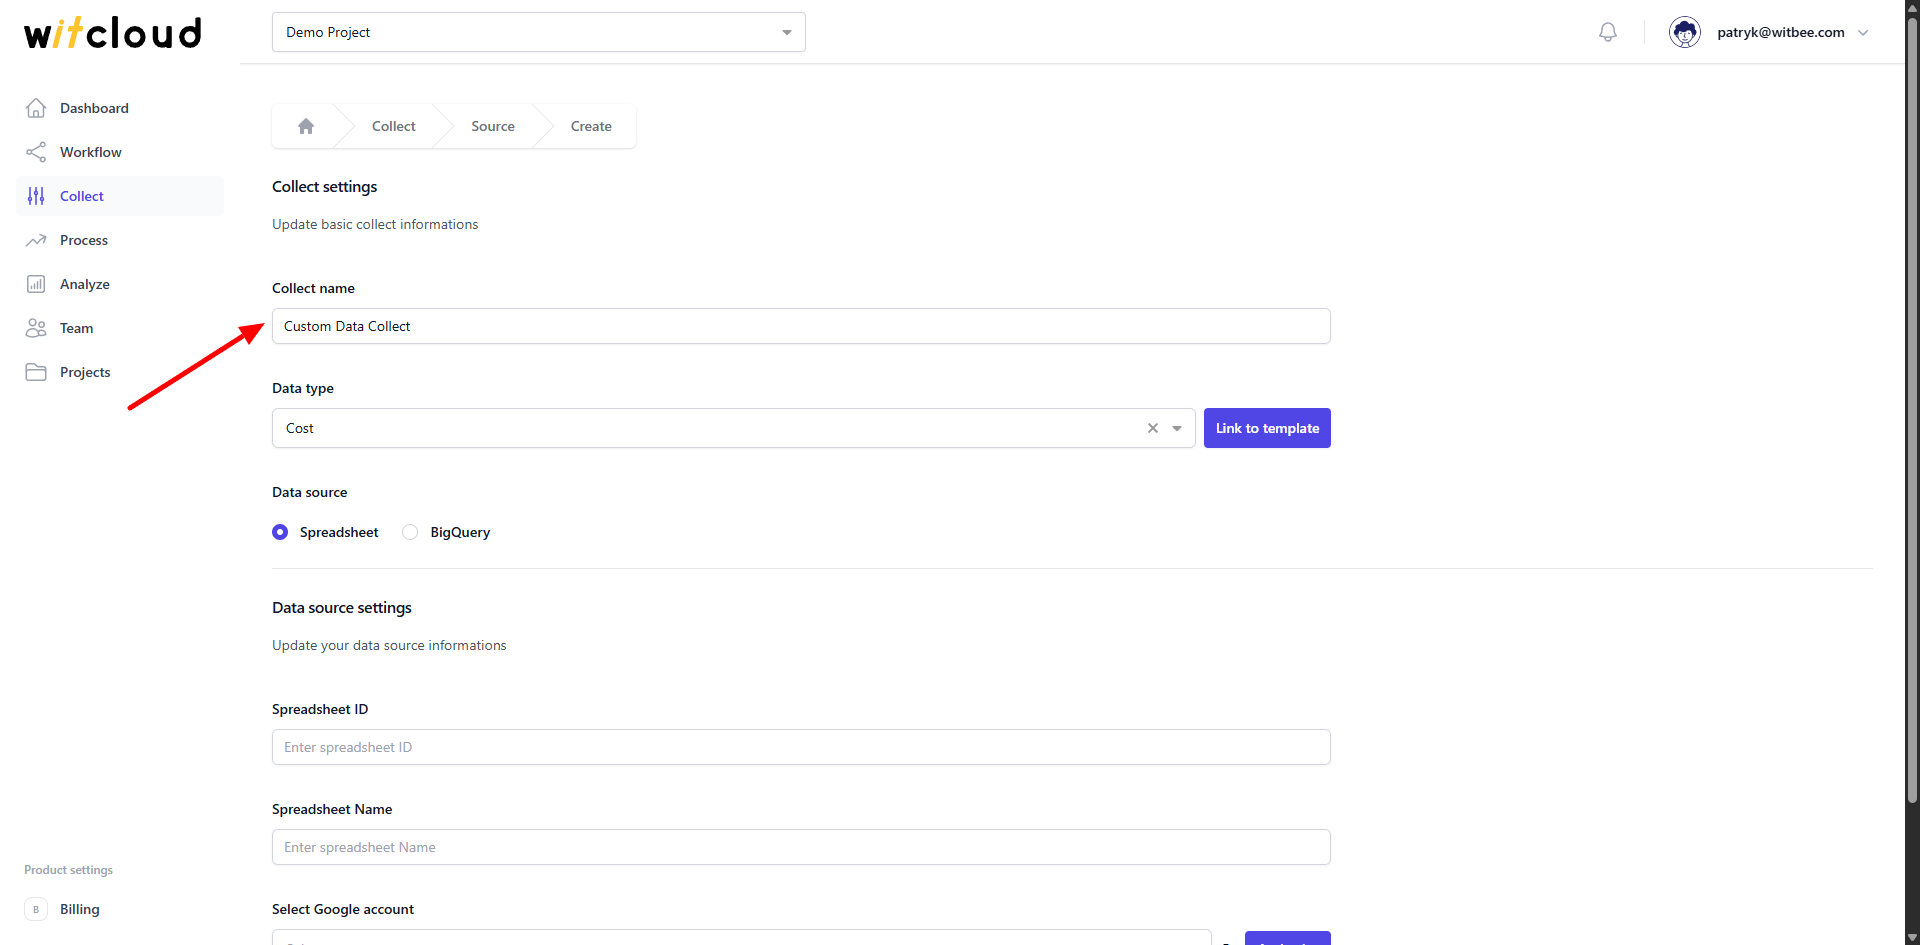
Enter the Collect Name, e.g., "Custom Data Collect".
Select Data type. There are 3 data types to choose from:
- Cost – cost data in a predefined schema.
- Budget – budget data in a predefined schema.
- Custom – custom data without any predefined schema.
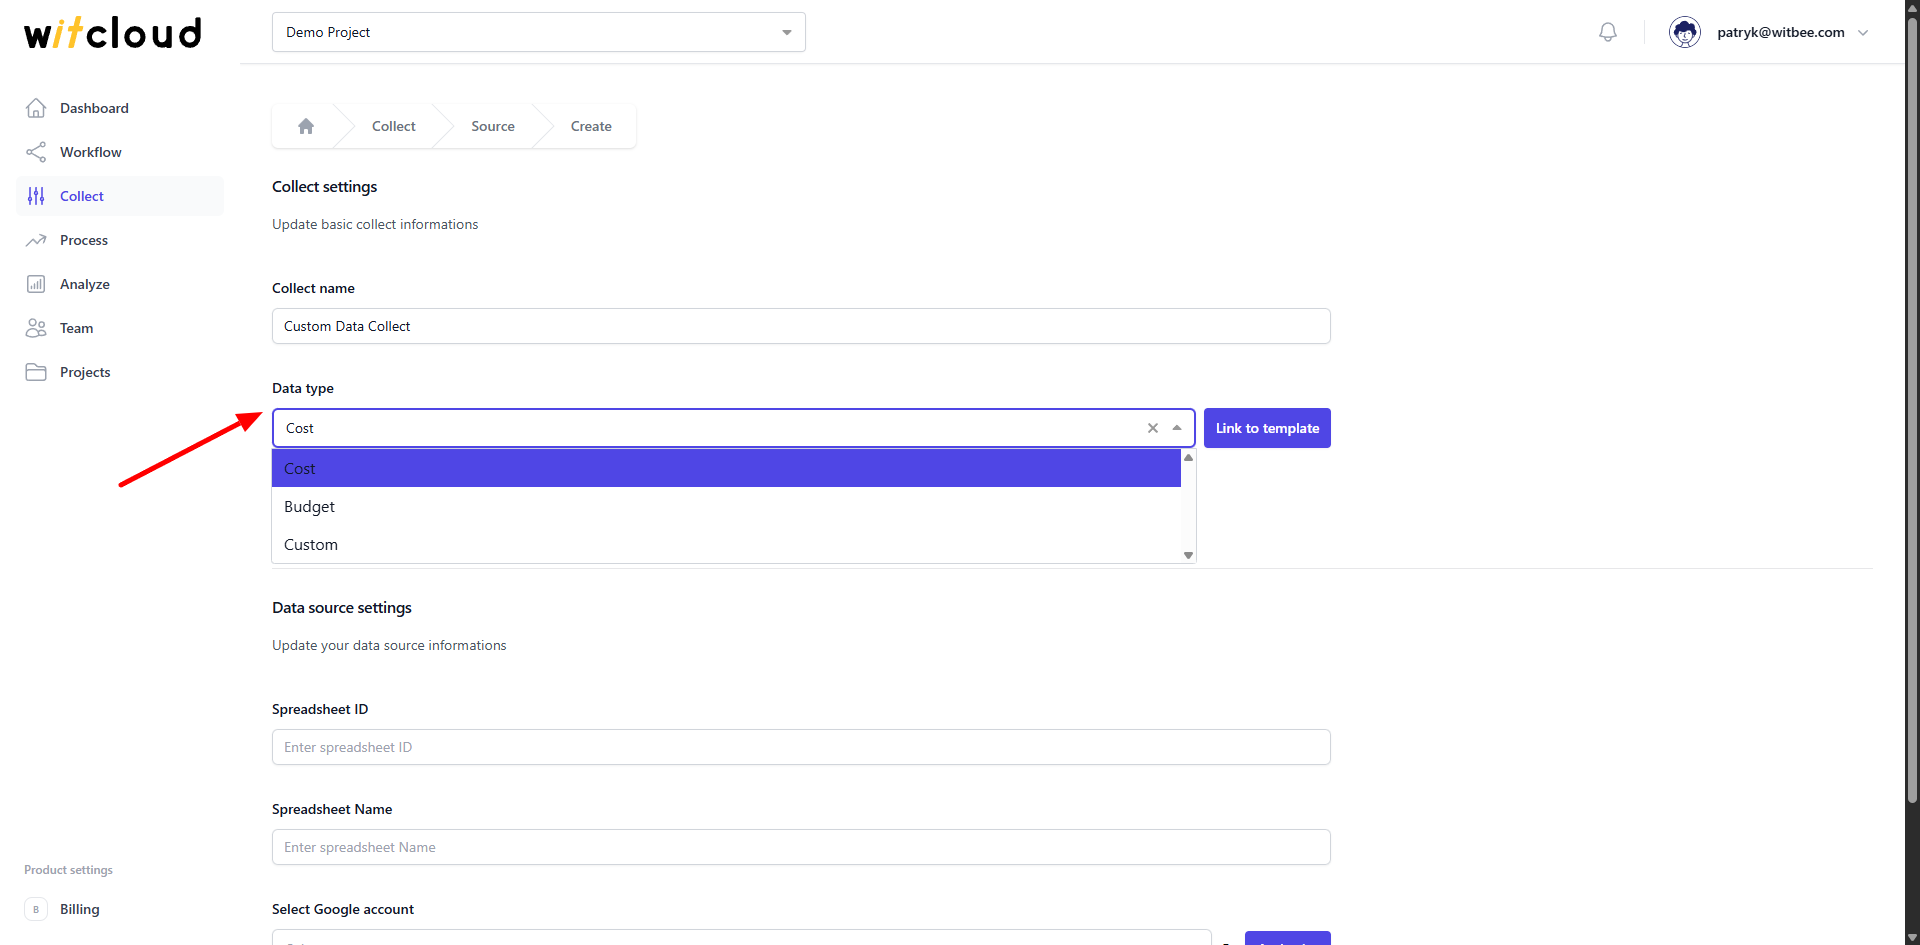
You can check the schema by using Link to template button
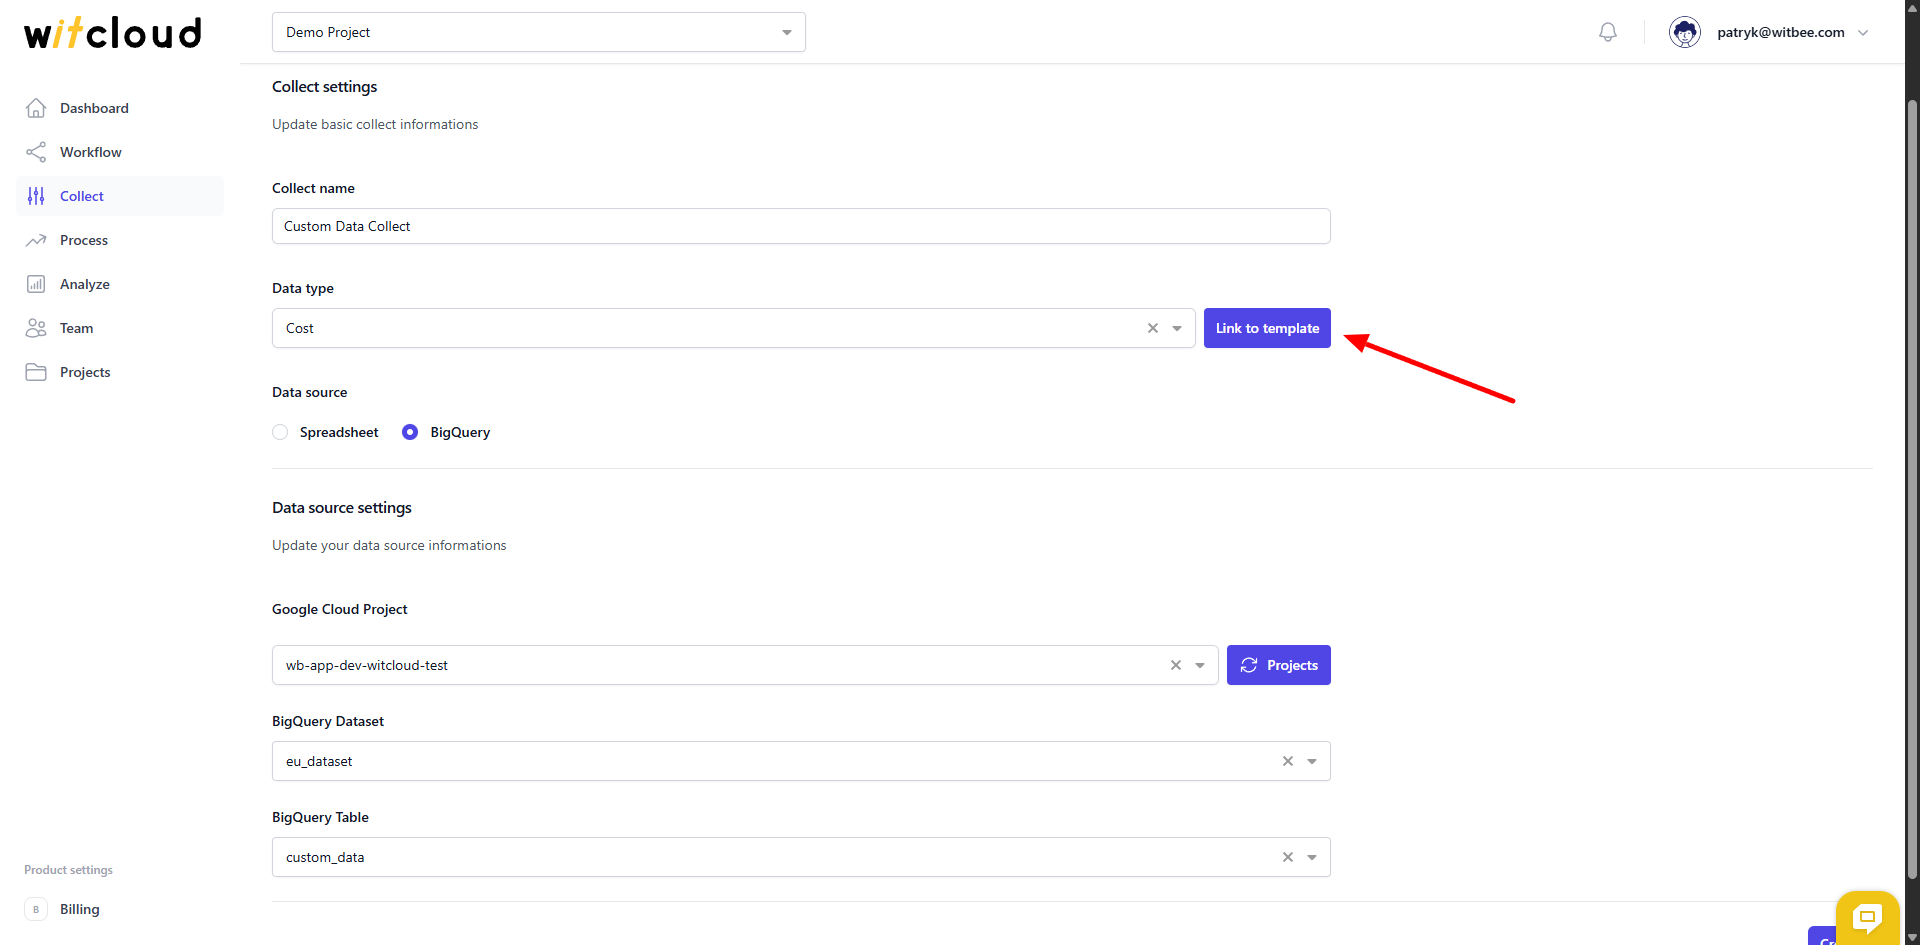
Select Data source, you can collect data from SpreadSheet or BigQuery
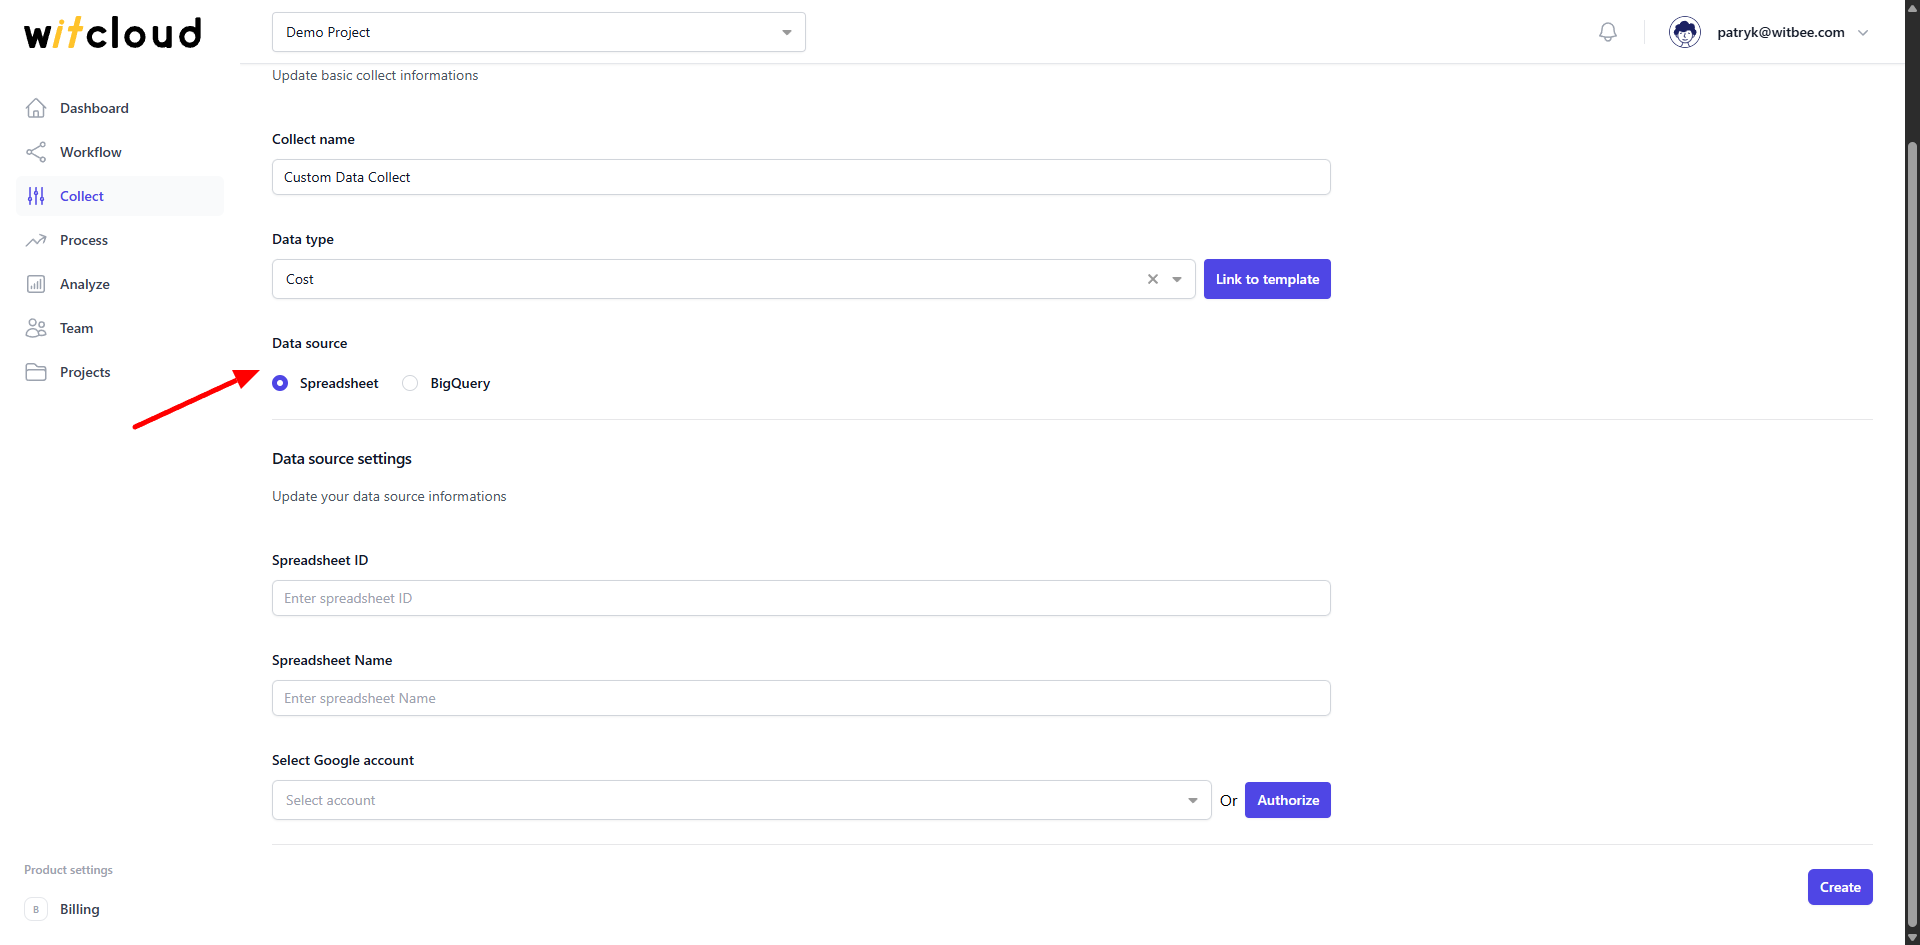
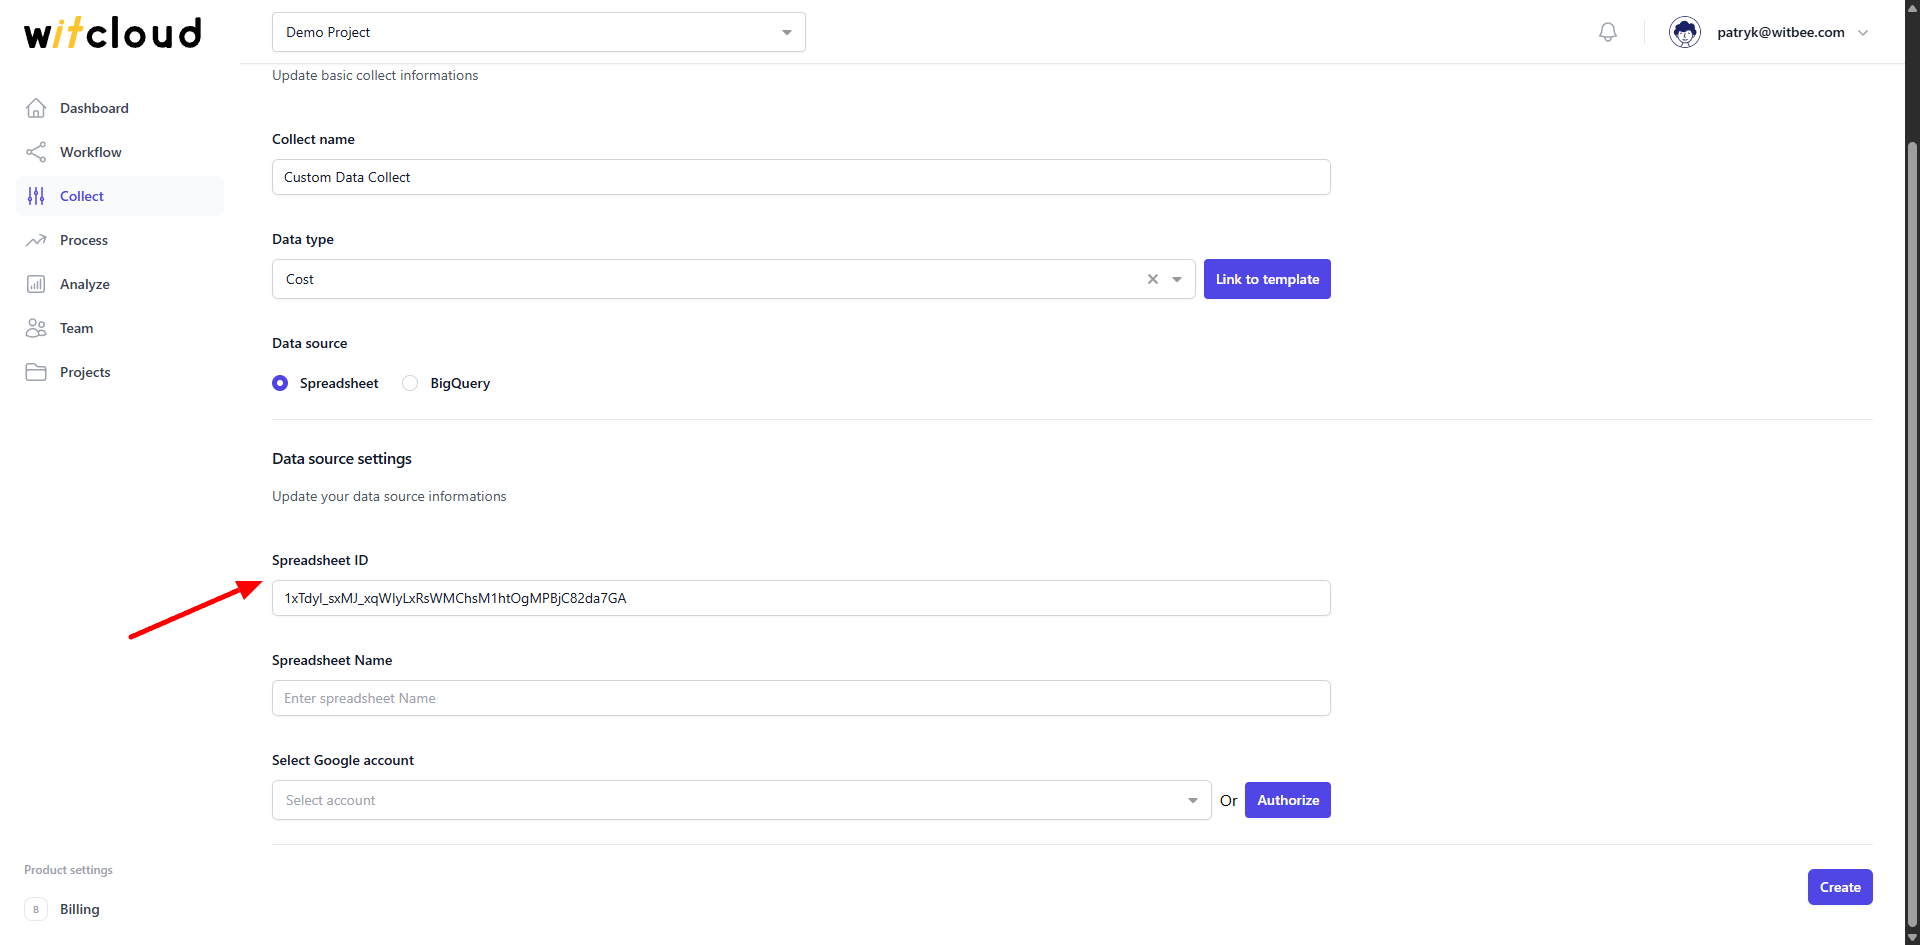
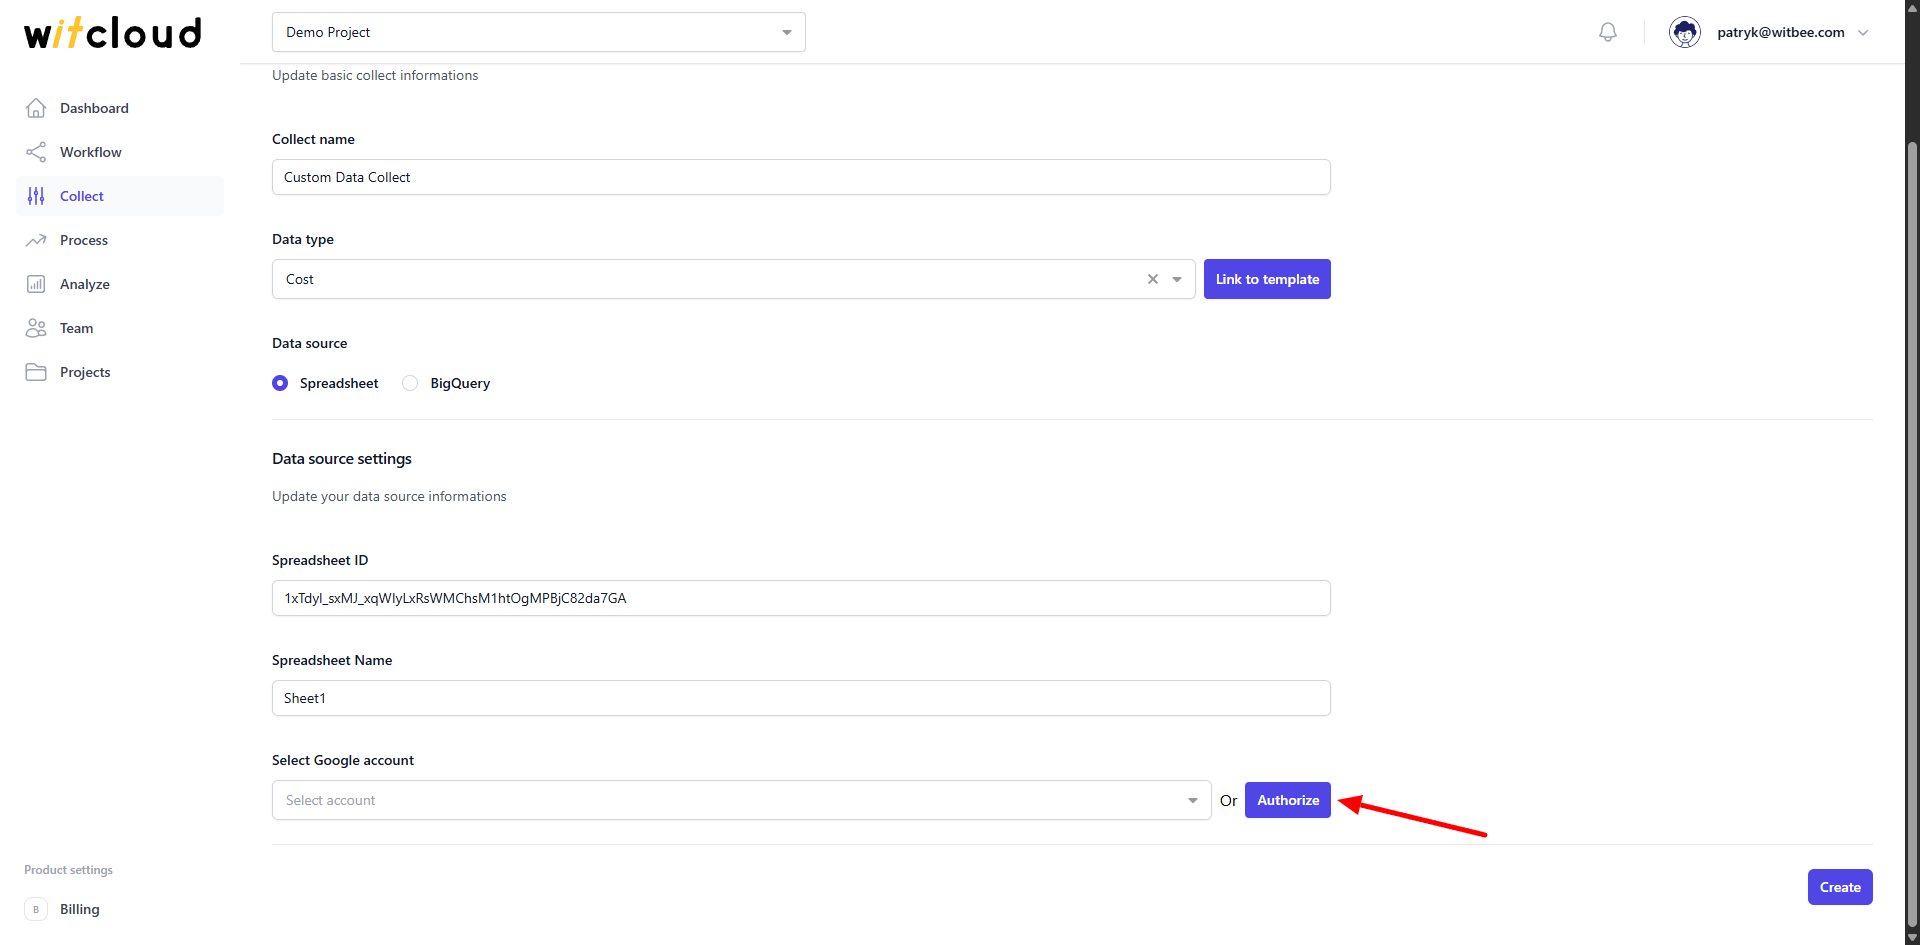
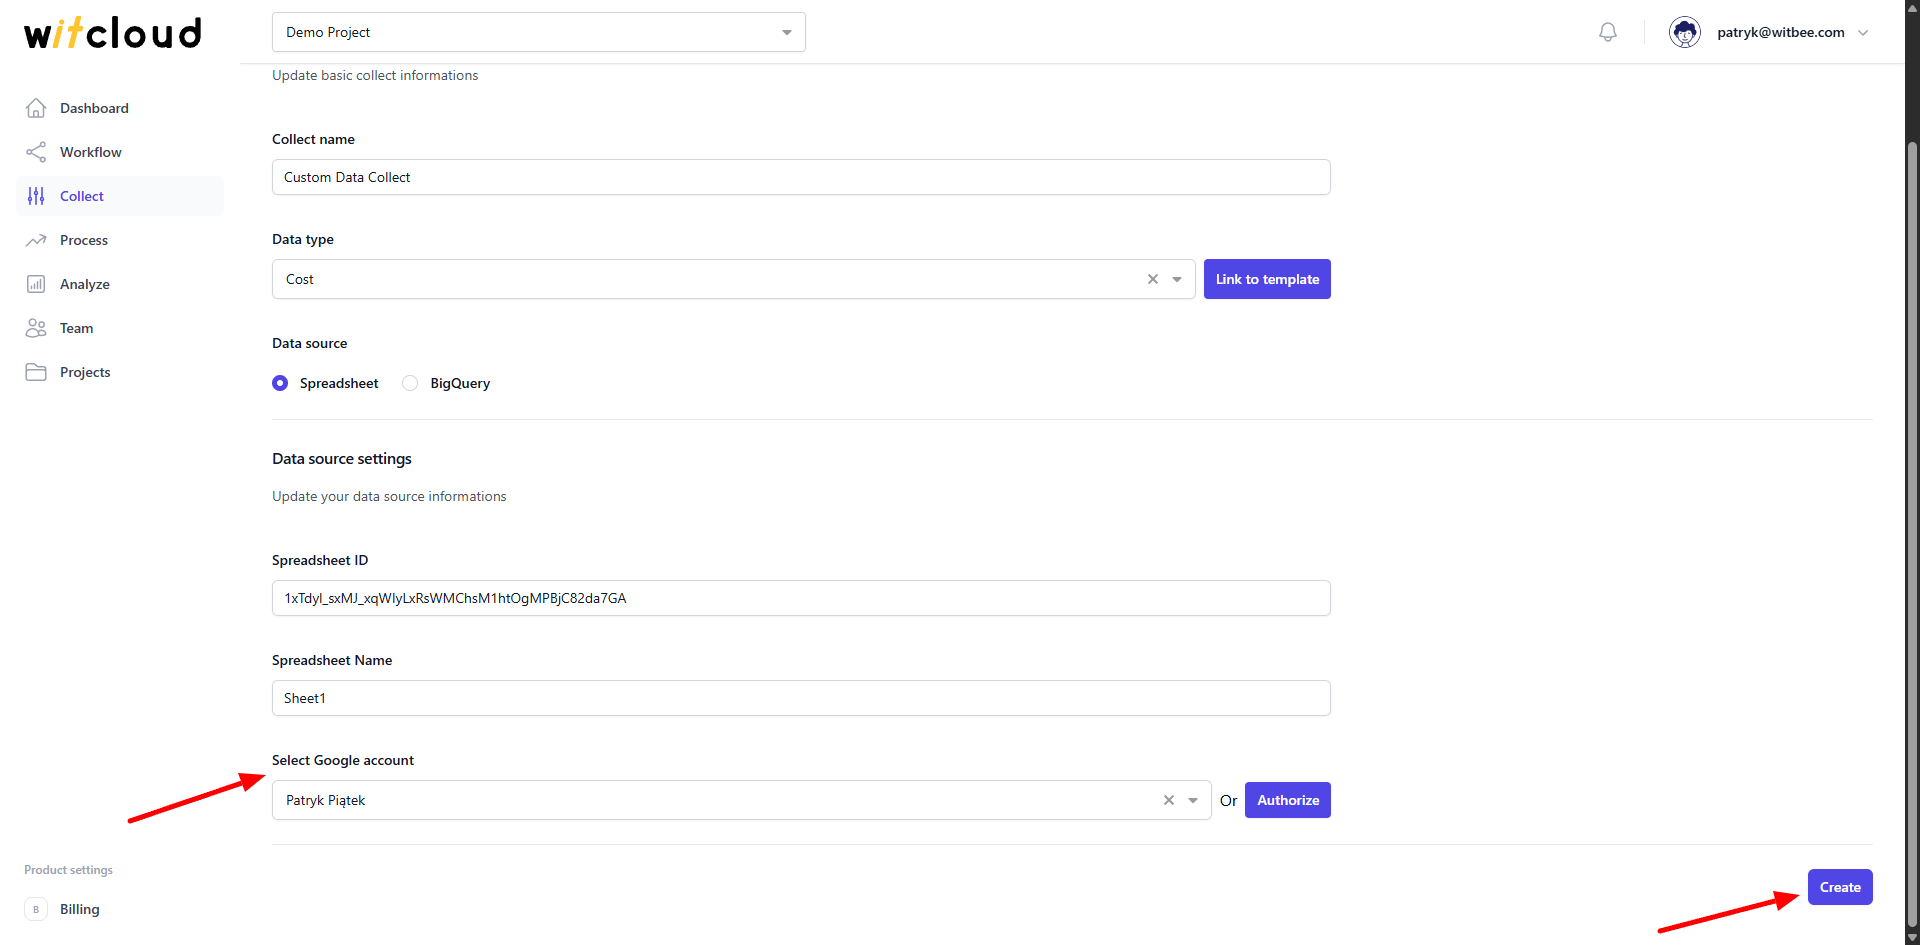
Spreadsheet Data Source
Enter Spreadsheet ID
Enter Spreadsheet Name
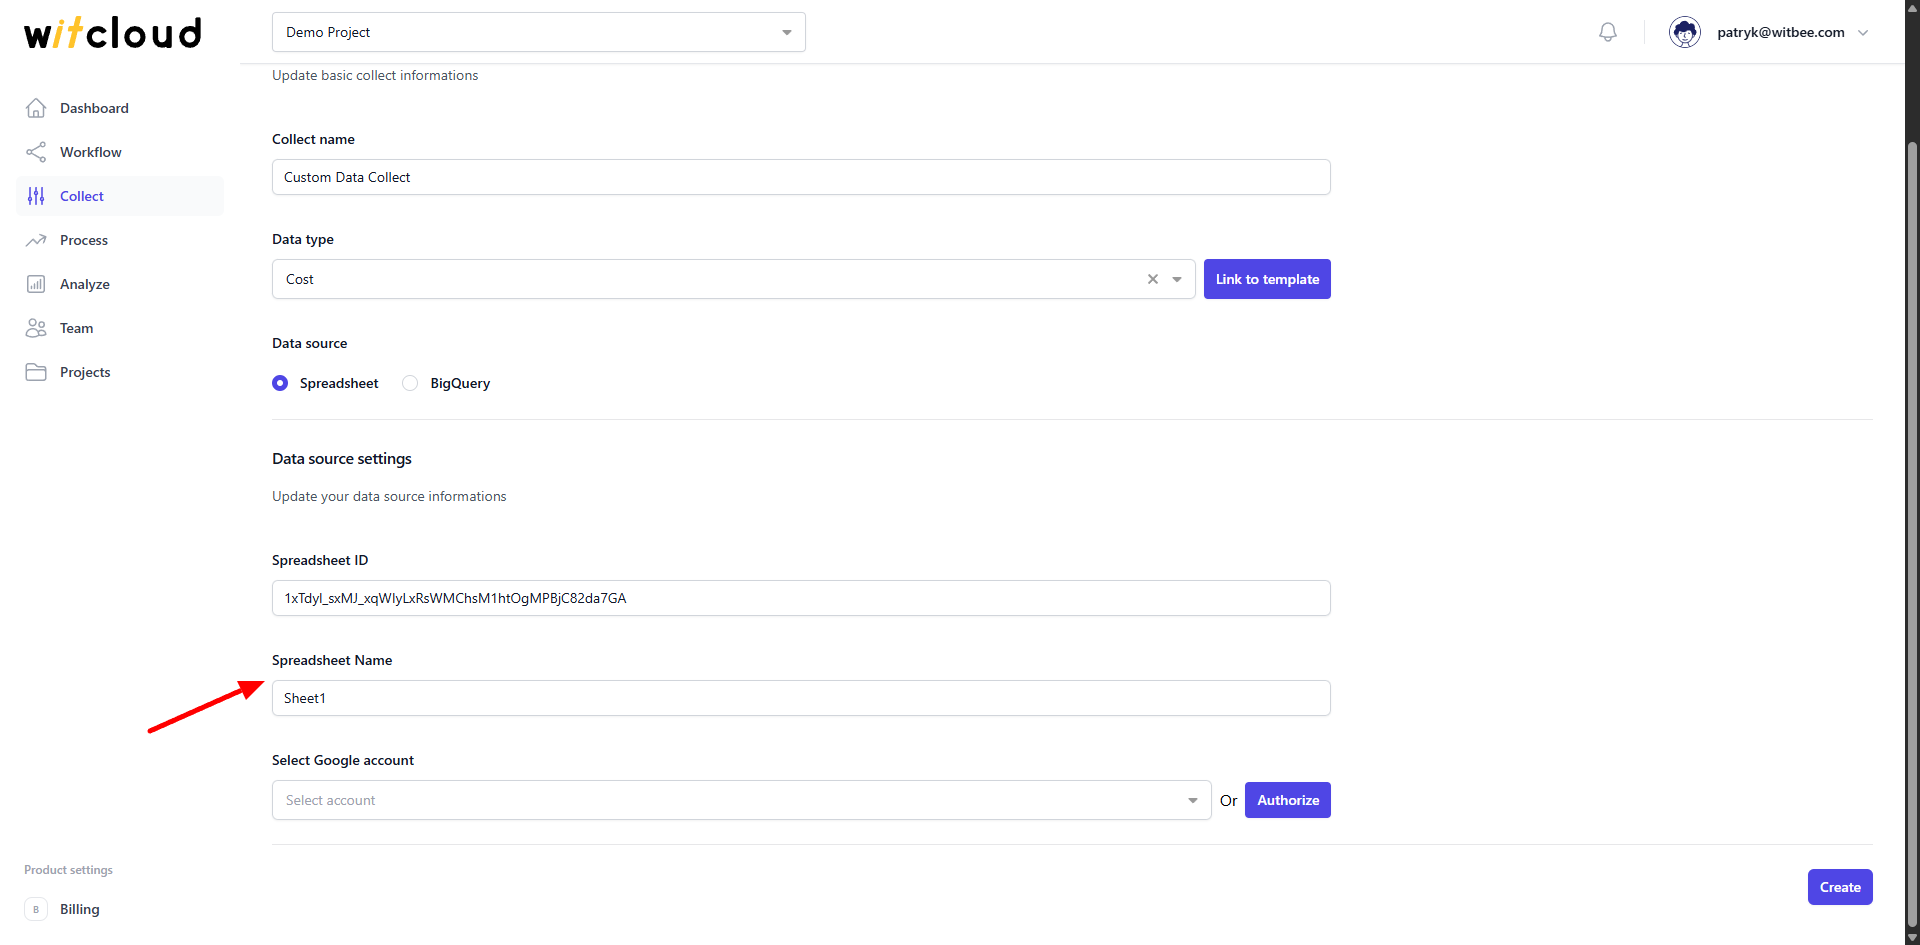
Authorize with Google
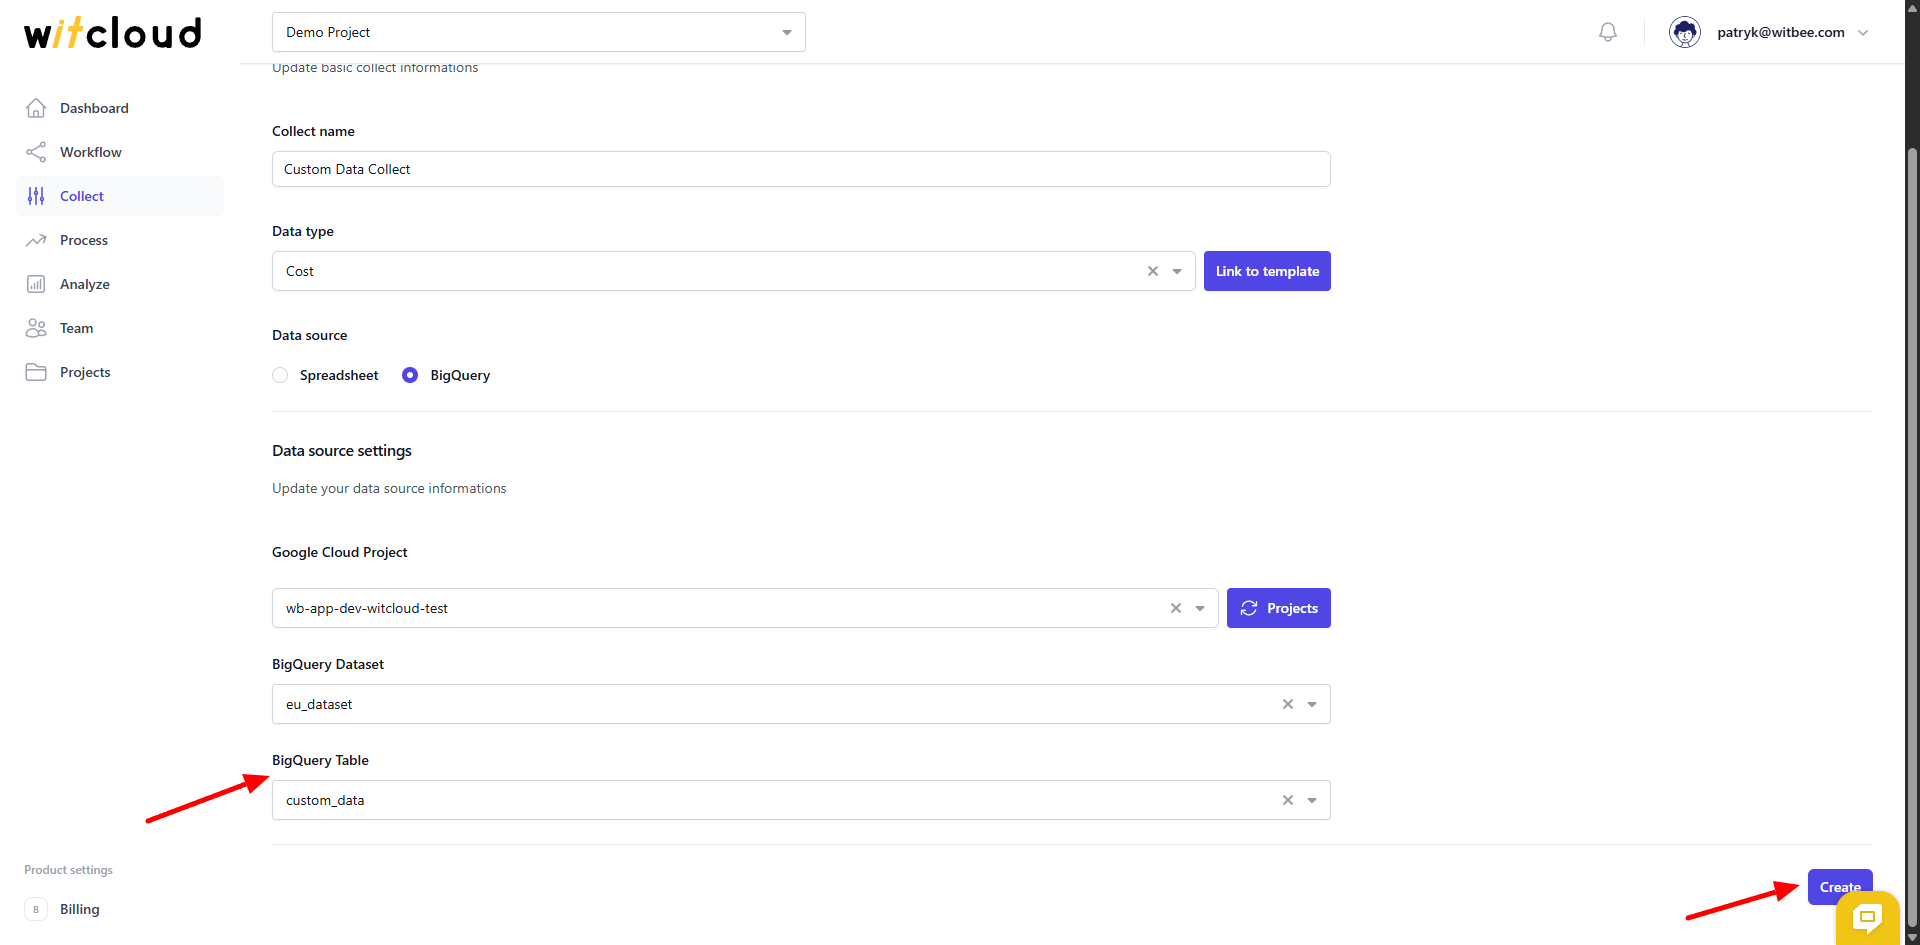
BigQuery Data Source
Select Google Cloud Project
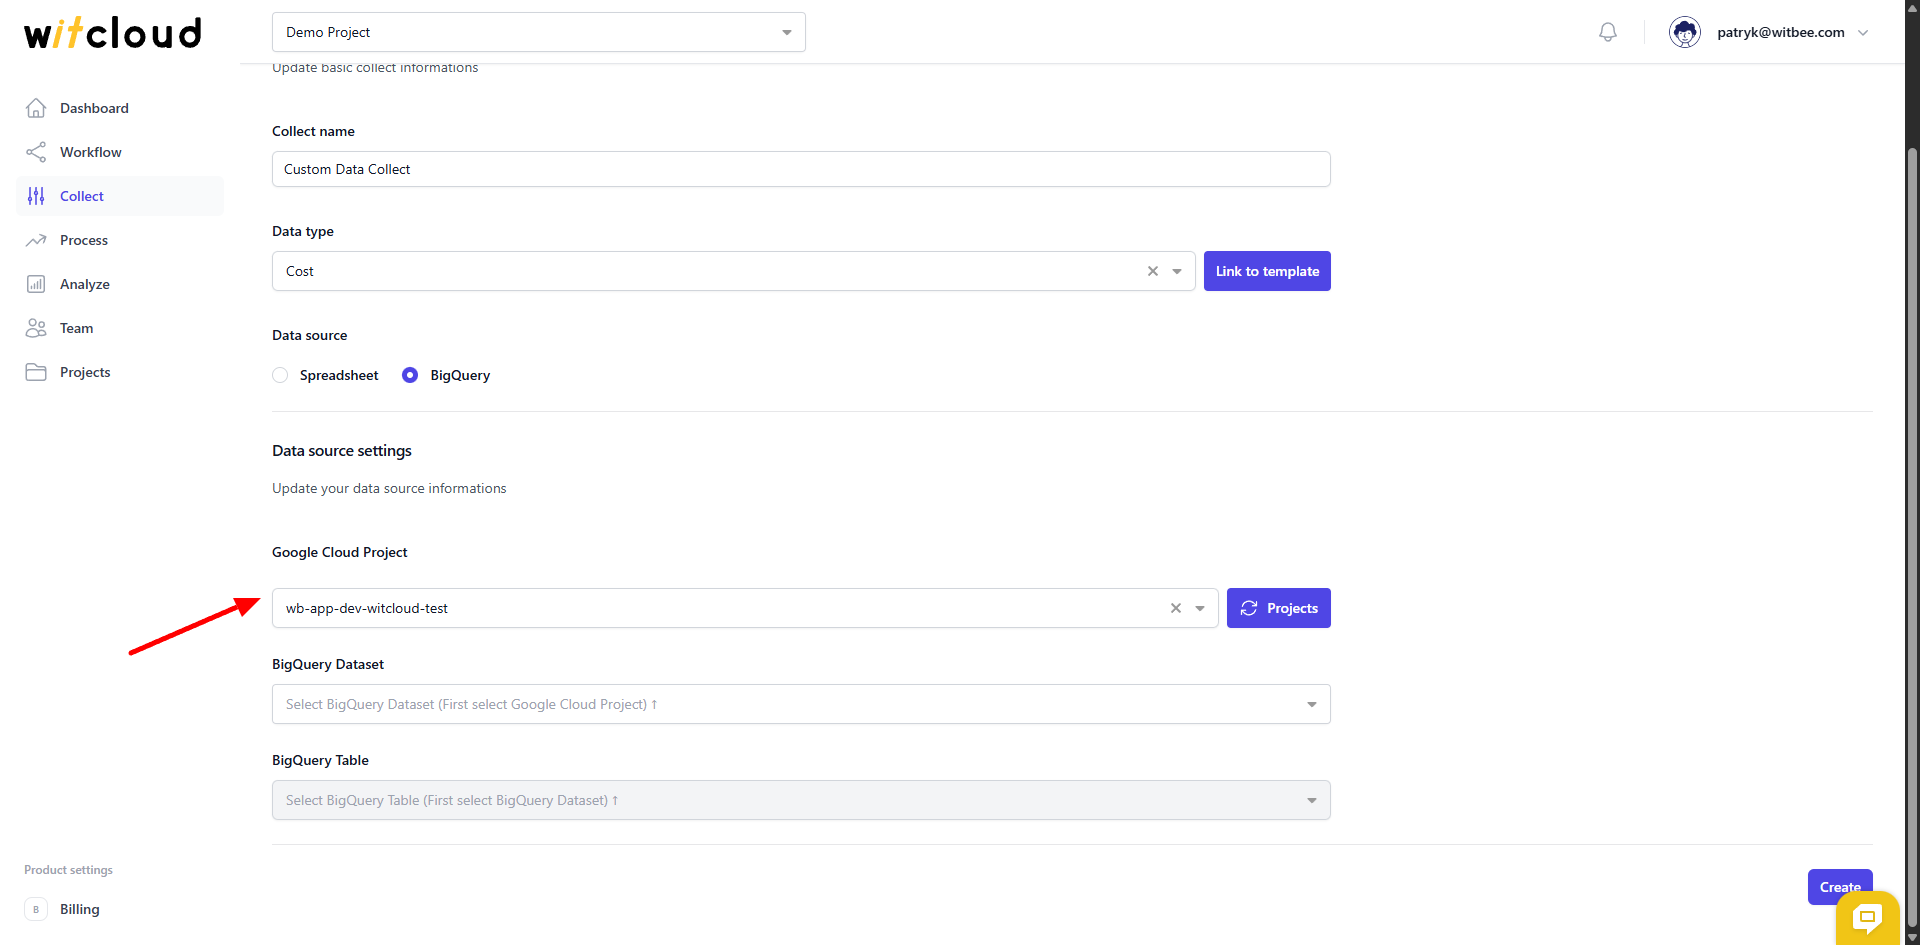
Select BigQuery Dataset
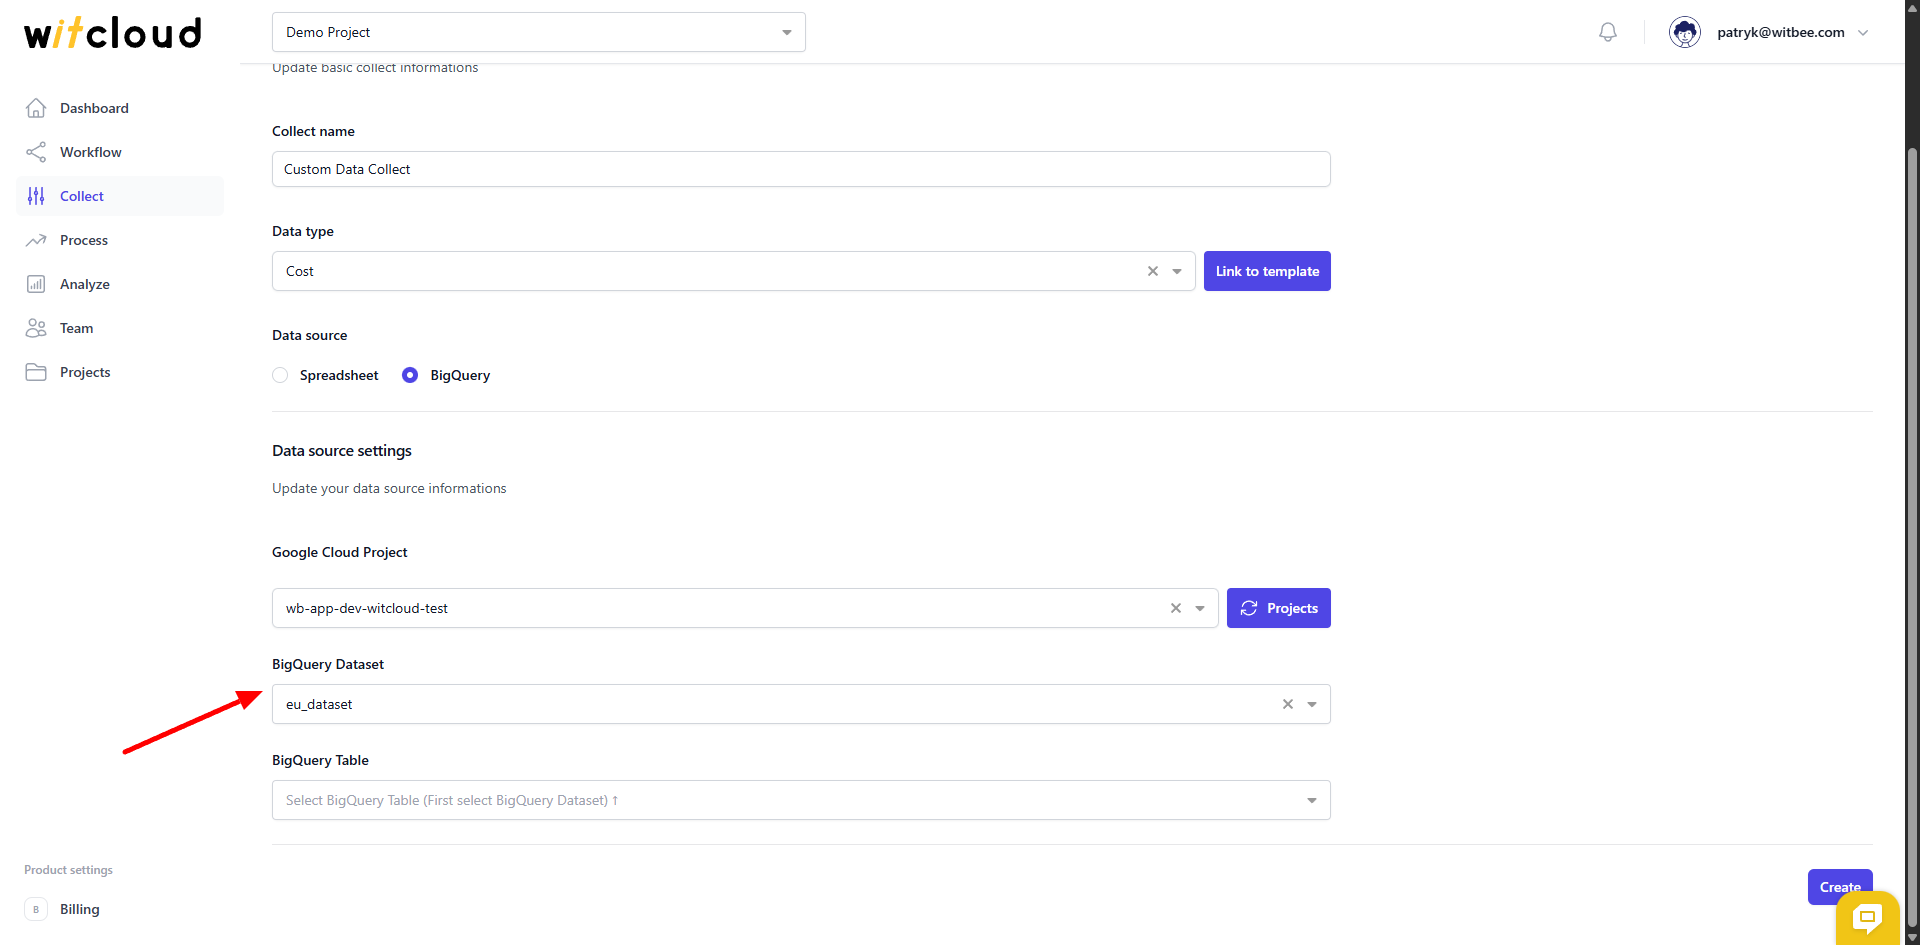
Select BigQuery Table
📊 Data Schema
Expand the tables below to view the full data schema collected from Custom Data.