Analytics 4 BigQuery Integration
📢 Introduction
In response to many challenges related to analyzing Google Analytics 4 data in Google BigQuery, our platform has created a module called "Google Analytics 4 BigQuery". This module solves most data processing issues, e.g., attribution of traffic sources to sessions and attribution of traffic sources to conversions.
The module provides session and attribution tables in models, i.e., Google Analytics 4, Universal Analytics Cross-Device, and Universal Analytics Device.
WitCloud does not modify Analytics 4 data directly — the data is first copied to the WitCloud dataset and then enriched with additional information.
💡 Important: Before configuring the module, make sure that Google Analytics 4 data is exported to BigQuery. 🎥 Watch the tutorial on YouTube Remember that the BigQuery dataset location must match the location selected in WitCloud. Example: if your WitCloud location is europe-central2, the GA4 export must also be configured for europe-central2. If you choose a different location (e.g., EU), the connector will not work properly.
▶️ Video Tutorial – Step-by-Step Configuration
To make the setup process easier, we’ve prepared a complete video tutorial showing how to configure the Google Analytics 4 BigQuery integration in WitCloud.
Watch the video before starting to better understand each configuration step:
📝 Setup Guide
Follow the steps below to configure the Google Analytics 4 module. Once the configuration is complete, the data will automatically appear in your WitCloud dataset.
💡 Tip: If you want to connect Google Ads campaign data with the Google Analytics 4 BigQuery module, we suggest configuring the Google Ads connector first.
🔧 Module Configuration
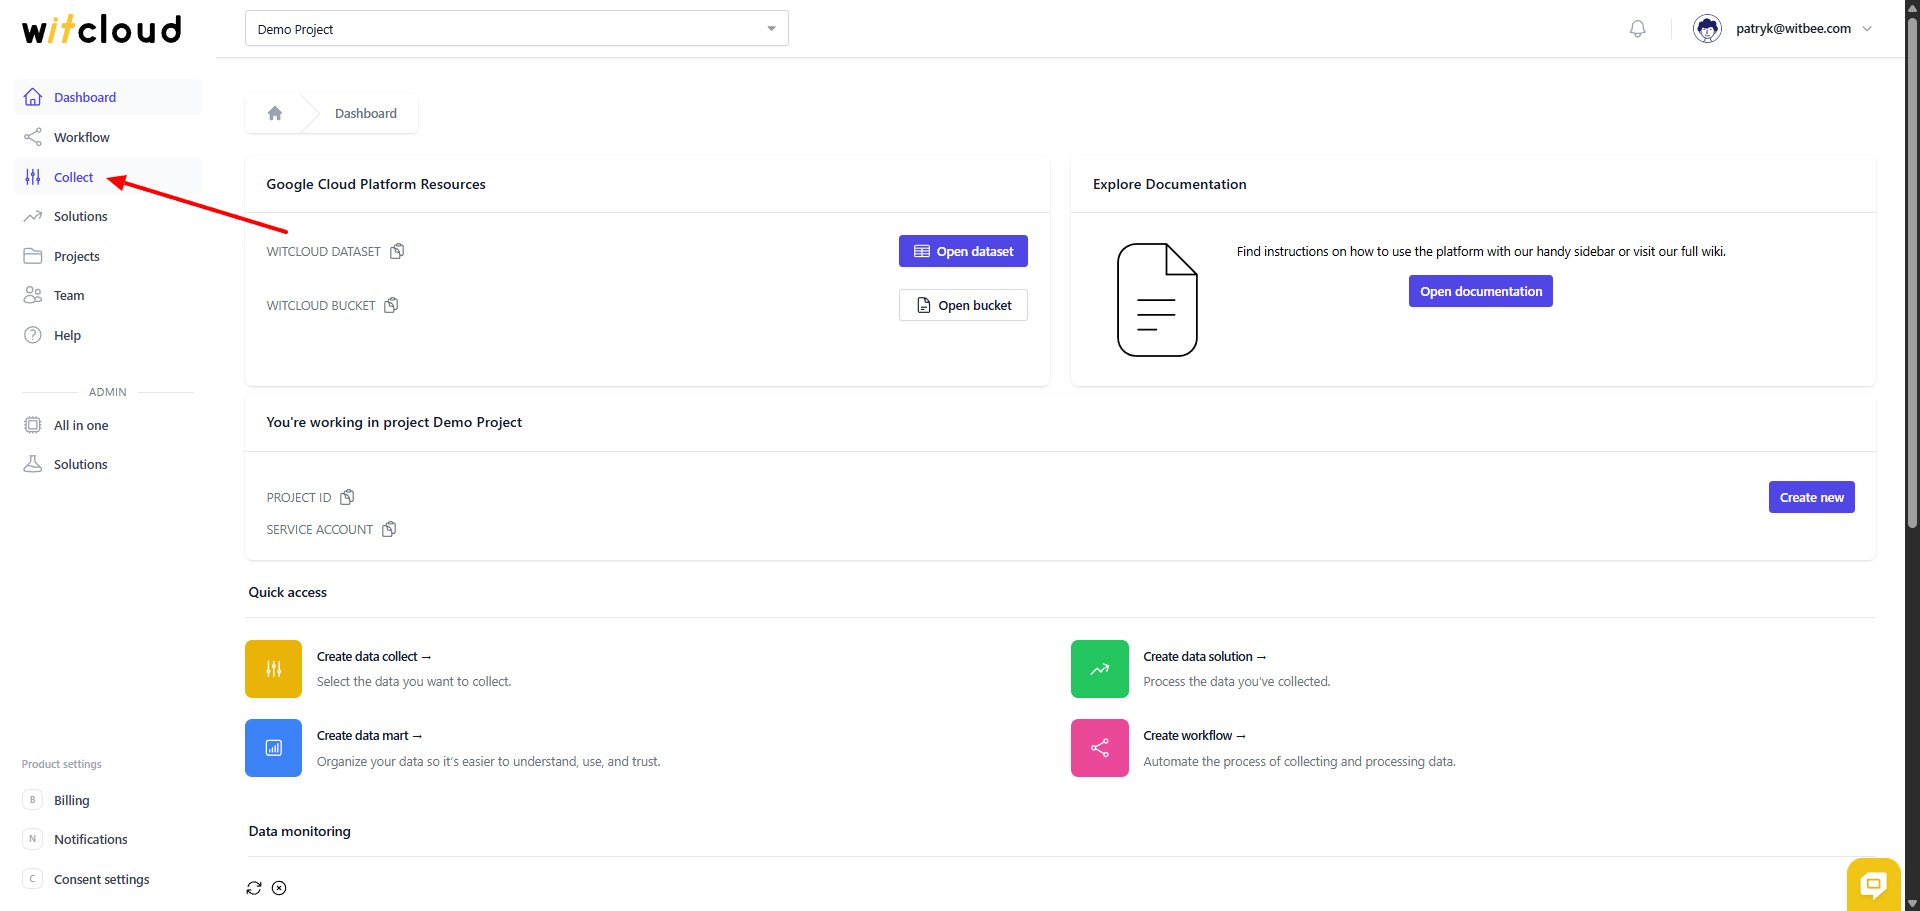
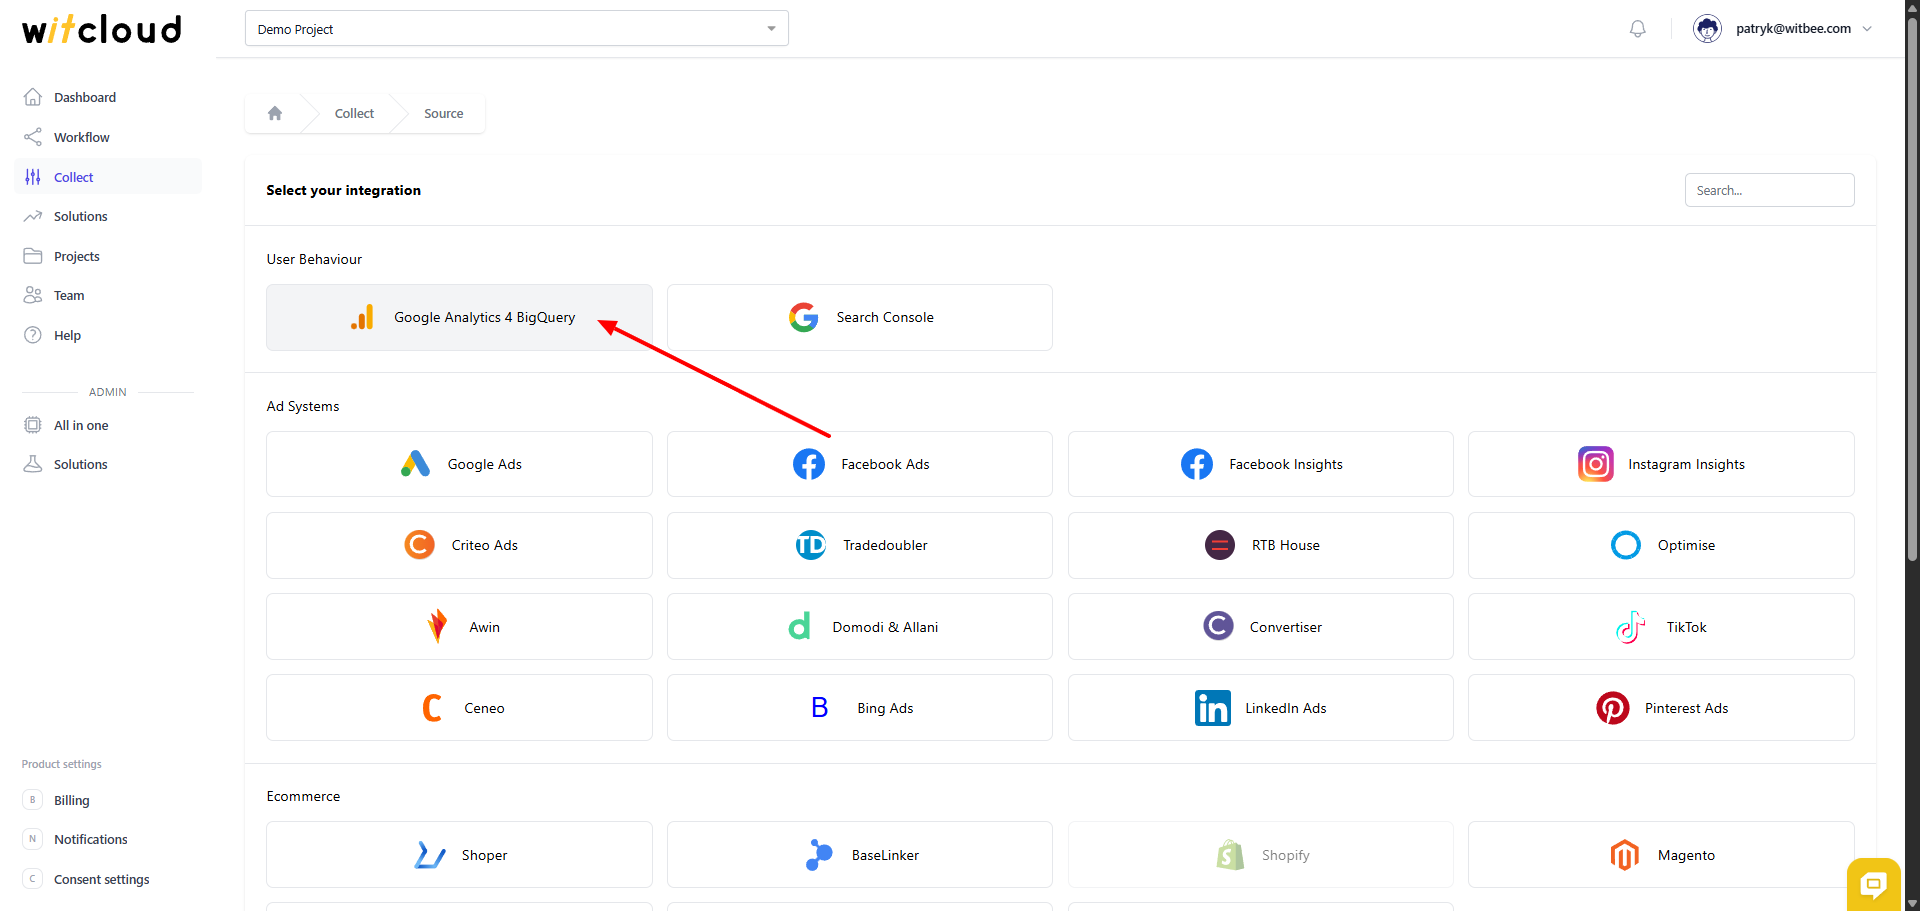
Go to the Collect section in the menu > Click Create Data Collect.
From the list of available integrations, choose Google Analytics 4 BigQuery.
Enter the Collector Name, e.g., "Analytics 4 Collect".
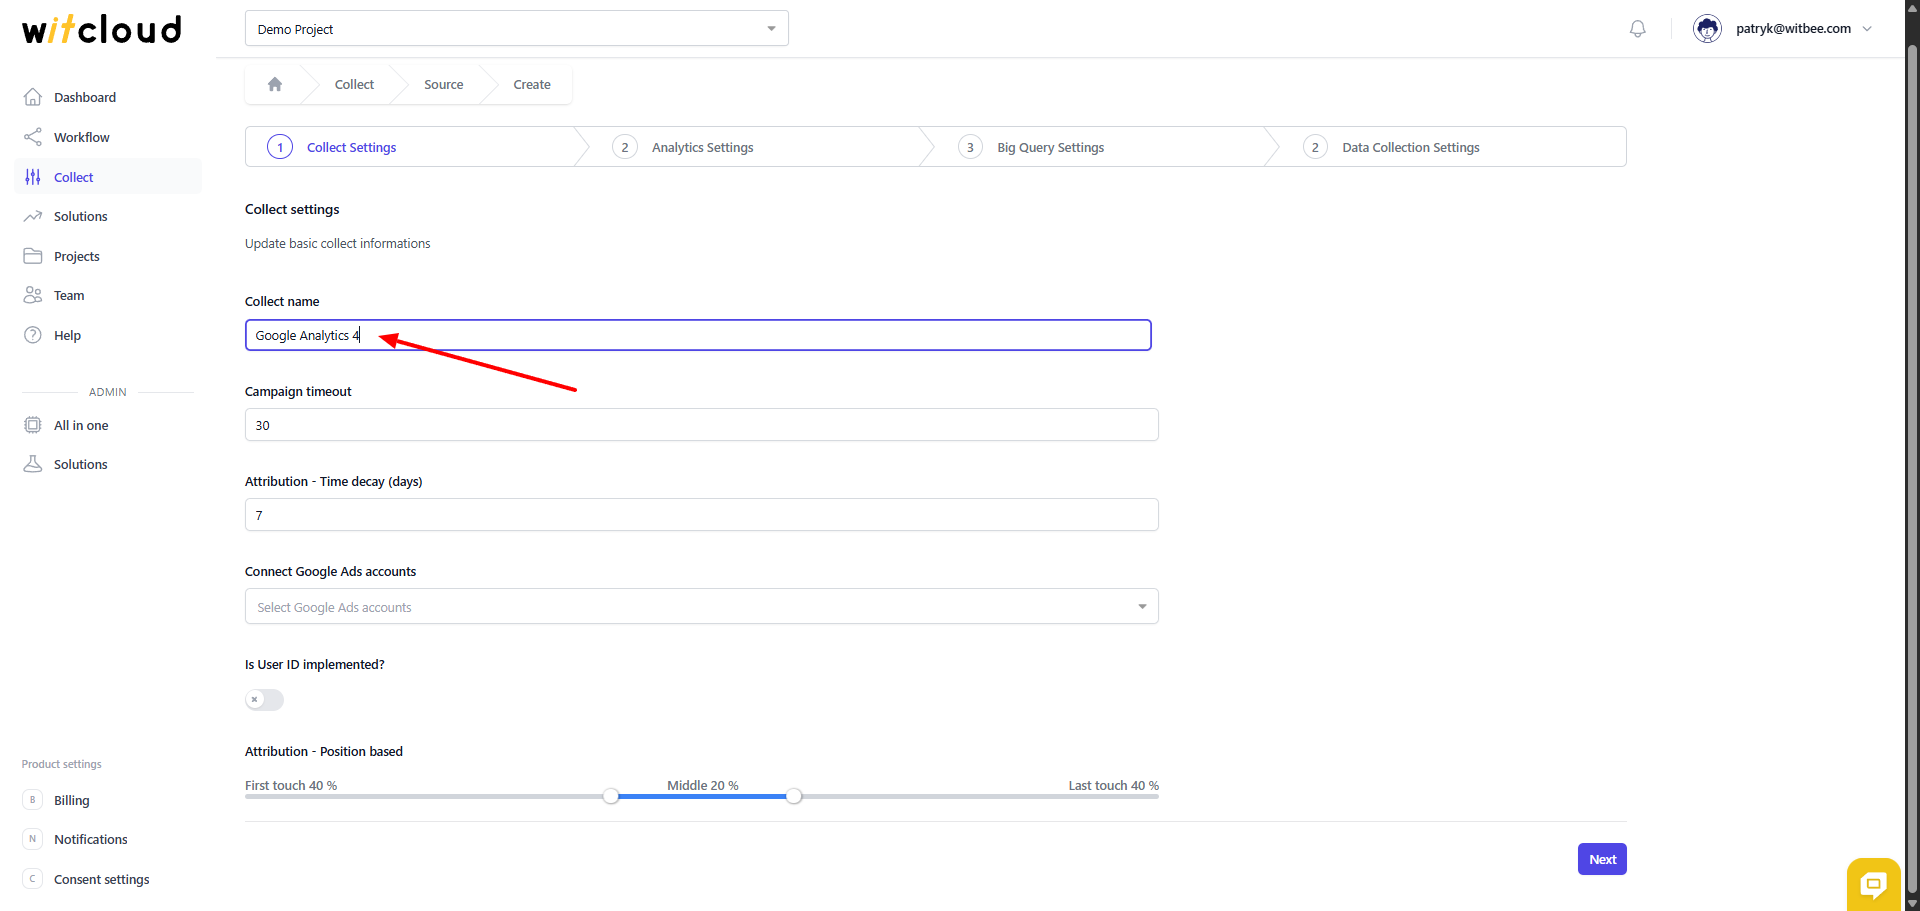
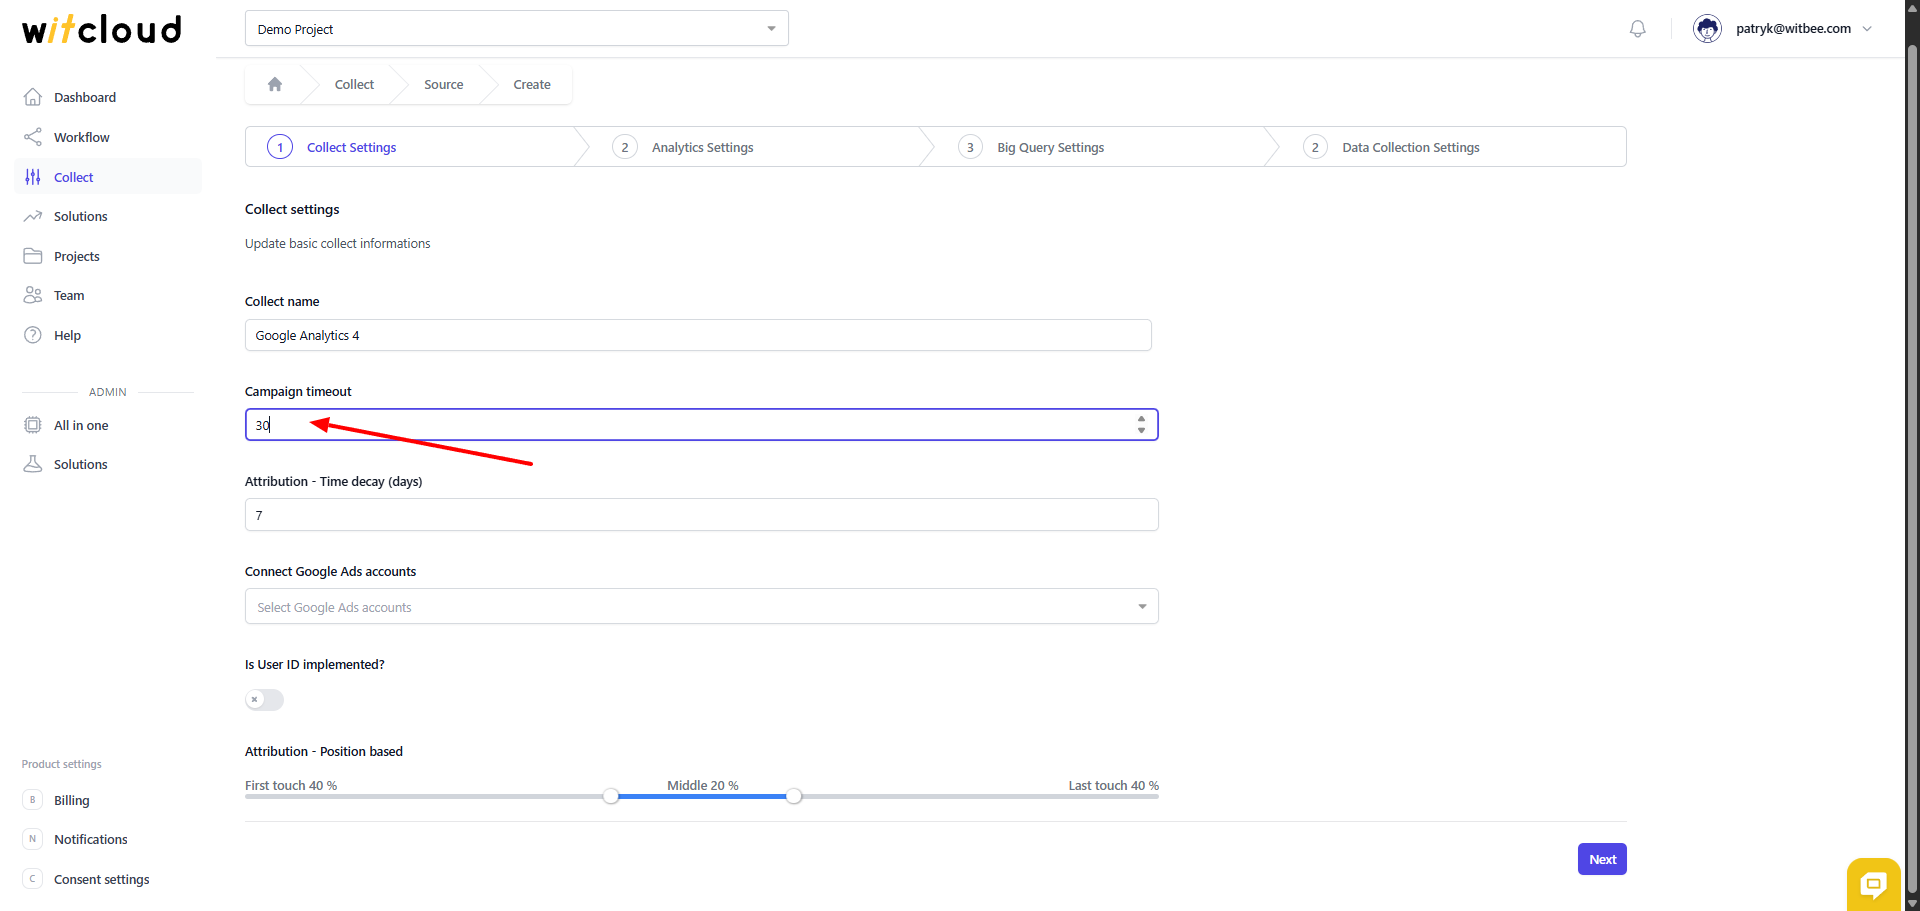
Campaign Timeout — the campaign timeout defines how long a given campaign or traffic source should remain associated with a user when calculating attribution for sessions and conversions. For Google Analytics 4 the default is 90 days; for Universal Analytics it is 180 days. Keep in mind that a longer campaign timeout will cause more information to be processed in Google BigQuery. WitCloud users, depending on the business type, most often set this between 30 and 90 days.
Attribution — Time Decay (days) — settings for the Time Decay attribution model. How it works: it assigns a higher share to traffic sources that occurred closer to the time of conversion. Credit is distributed using a 7-day half-life. This means interactions that took place 8 days before the conversion receive half the share of an ad interaction that happened 1 day before the conversion.
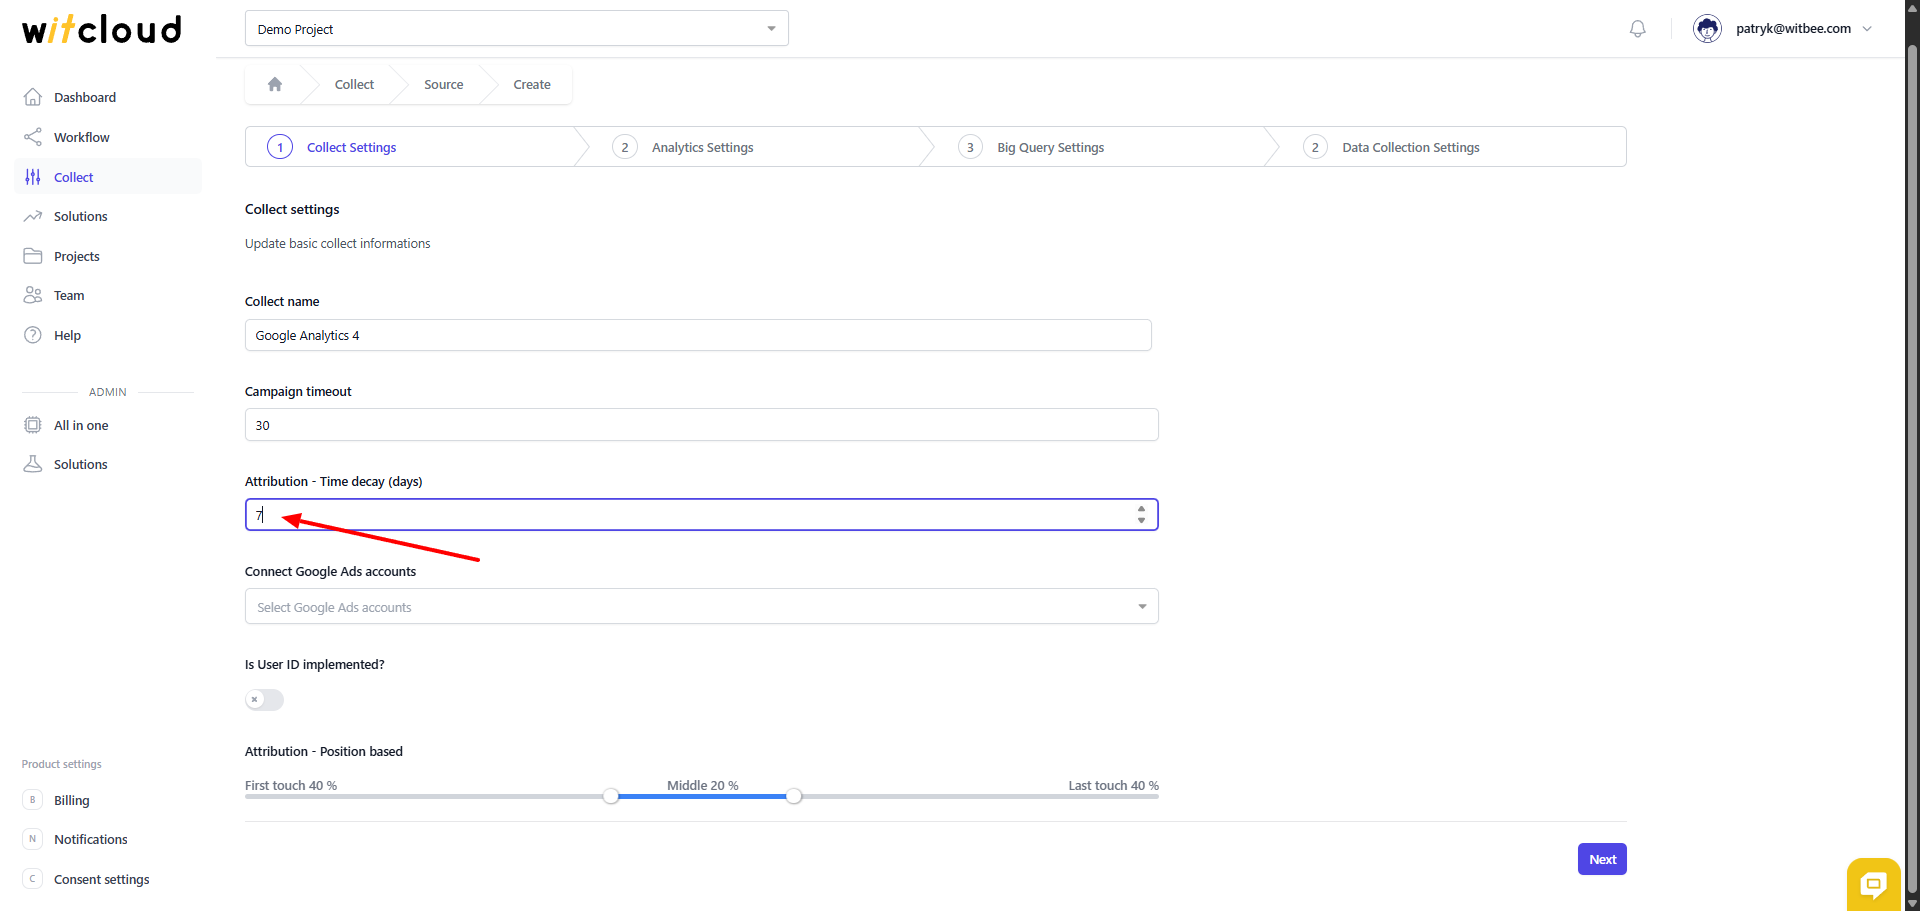
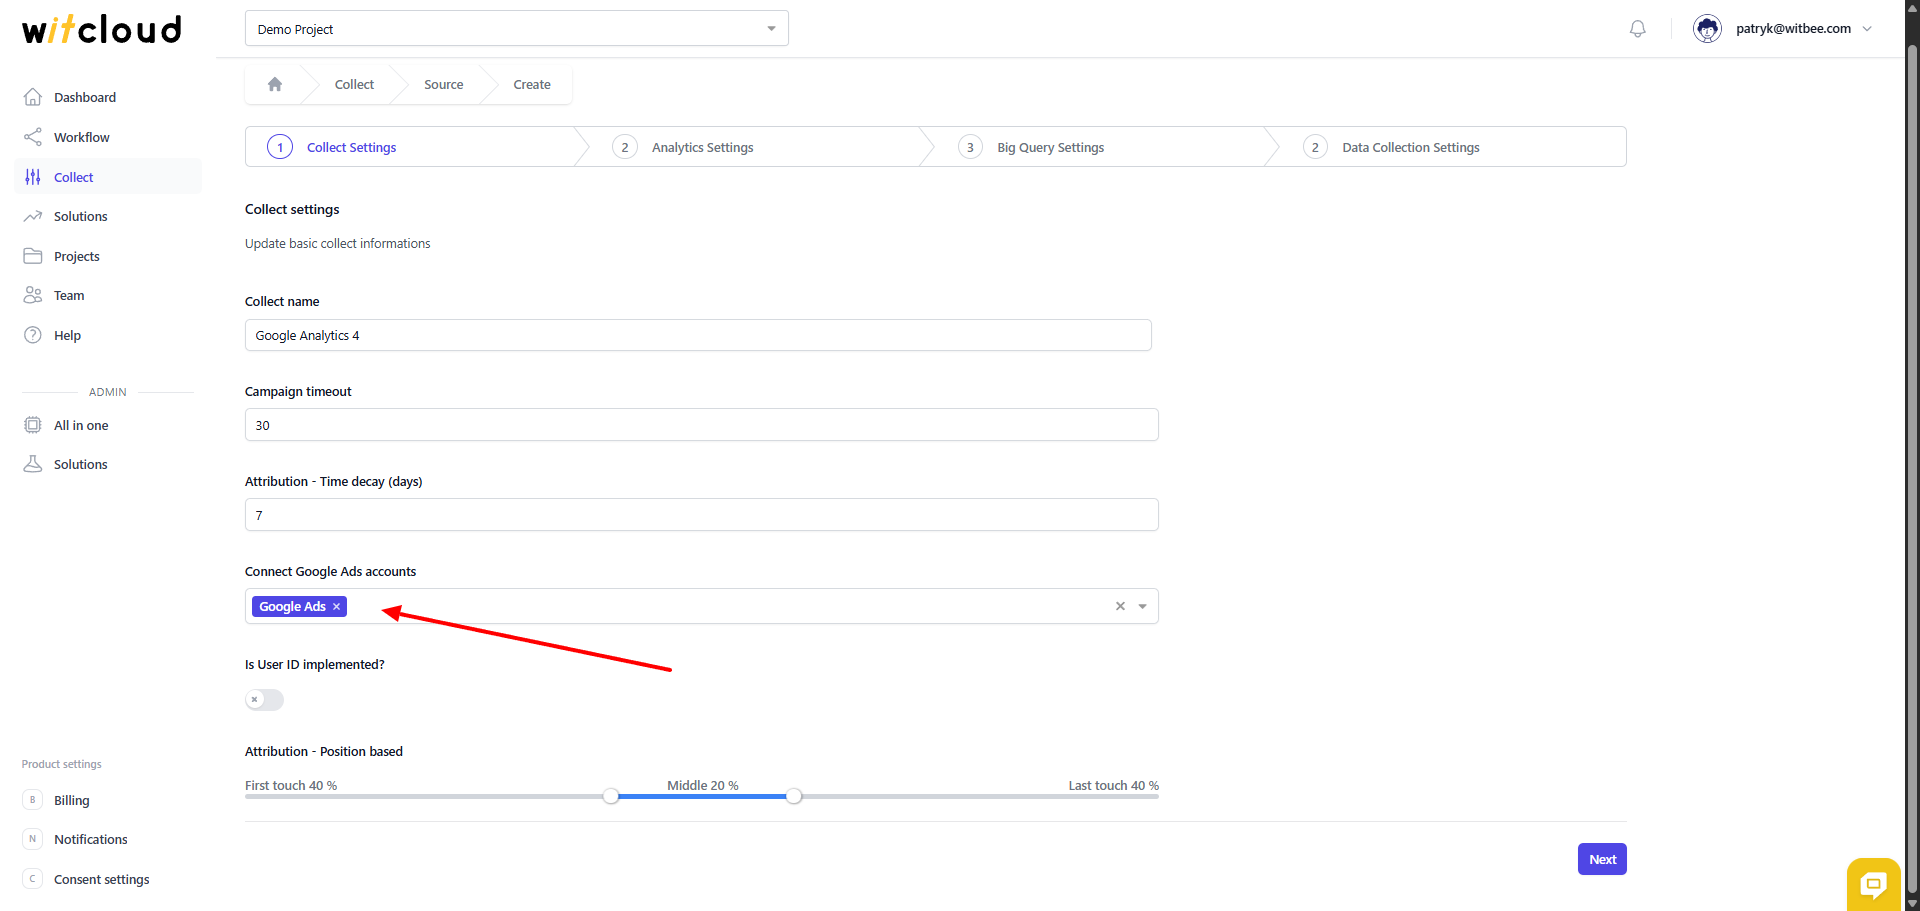
Connect Google Ads Accounts — i.e., connecting campaign data from Google Ads. After creating the Google Ads module in the WitCloud panel, the name of this module should appear in the dropdown list.
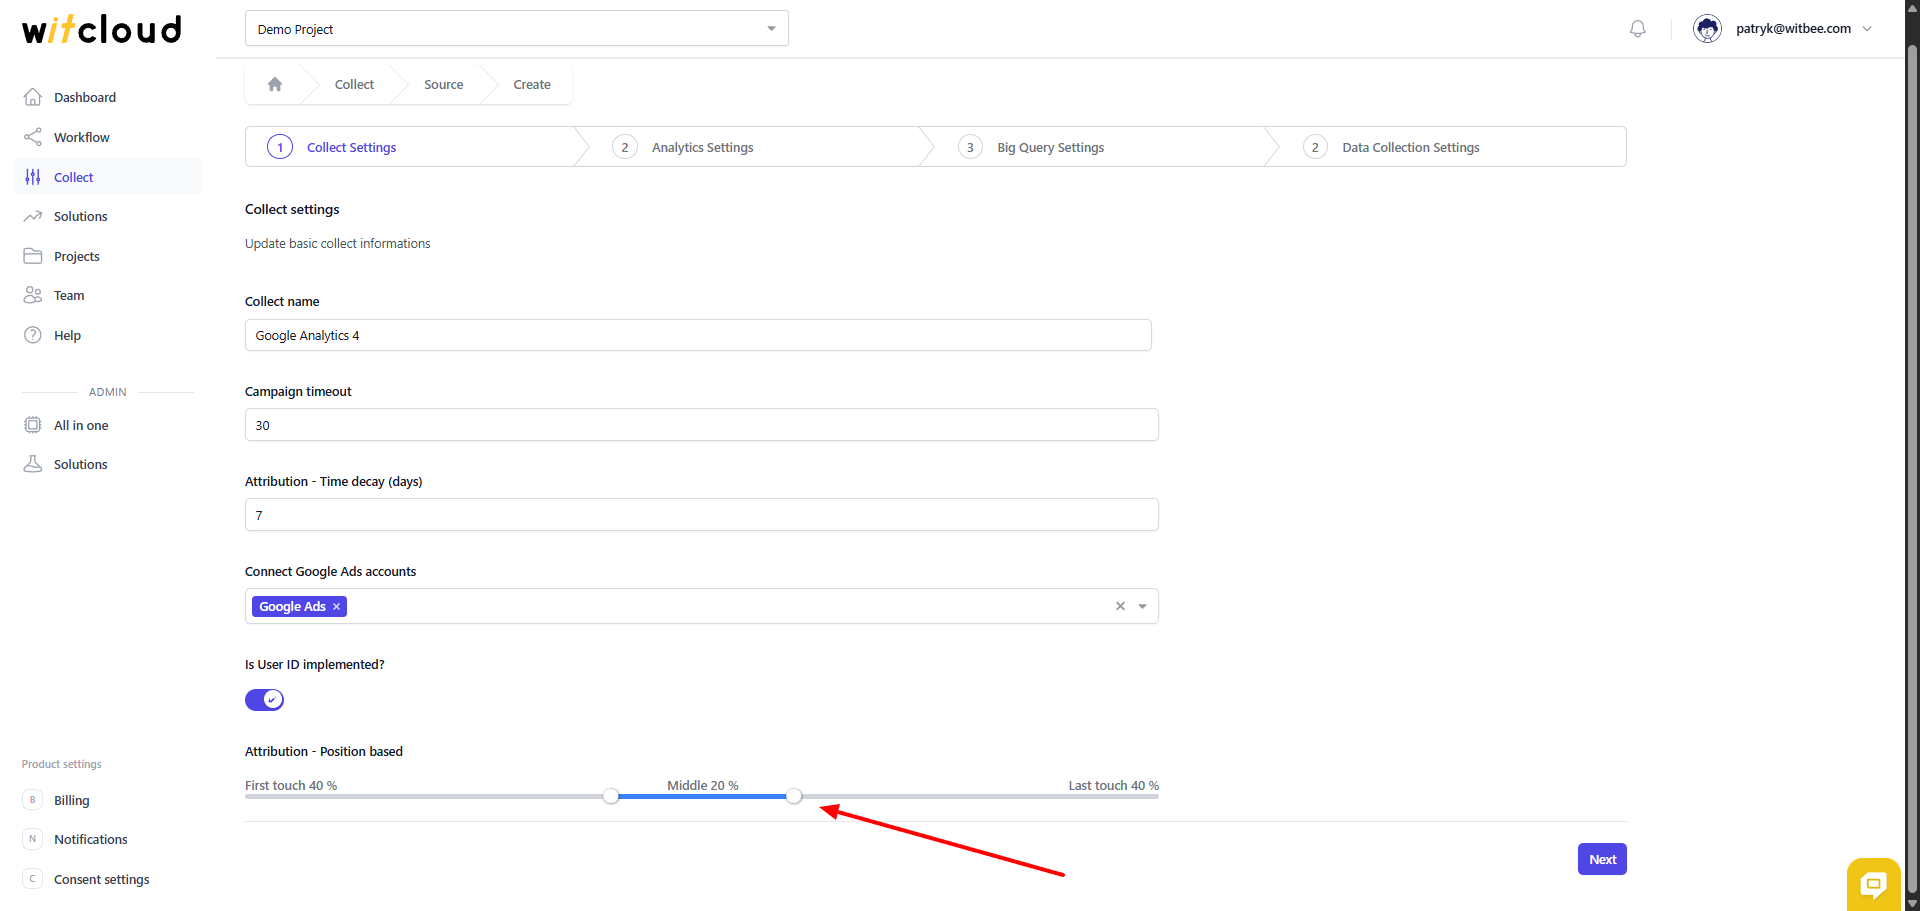
Attribution — Position Based — settings for the position-based attribution model. By default, the first and the last traffic source on the user path will each receive 40% of the conversion value. The remaining 20% of the conversion value is distributed among the sources in the middle of the conversion path.
🔑 Authorization
💡 Tip: Access to the GA4-exported data in BigQuery and to the Google Analytics 4 service is required.
To use this module, you need access to the events table exported to BigQuery by Google Analytics 4 and access to the property in Google Analytics itself. WitCloud operates on a copy of the Google Analytics tables, so the platform must be granted appropriate permissions.
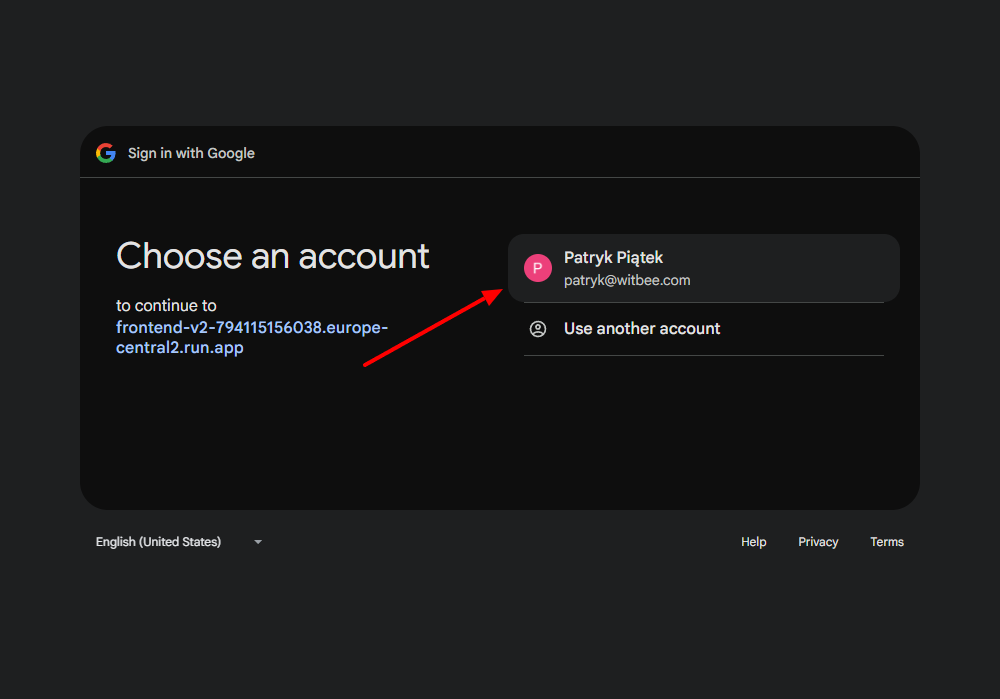
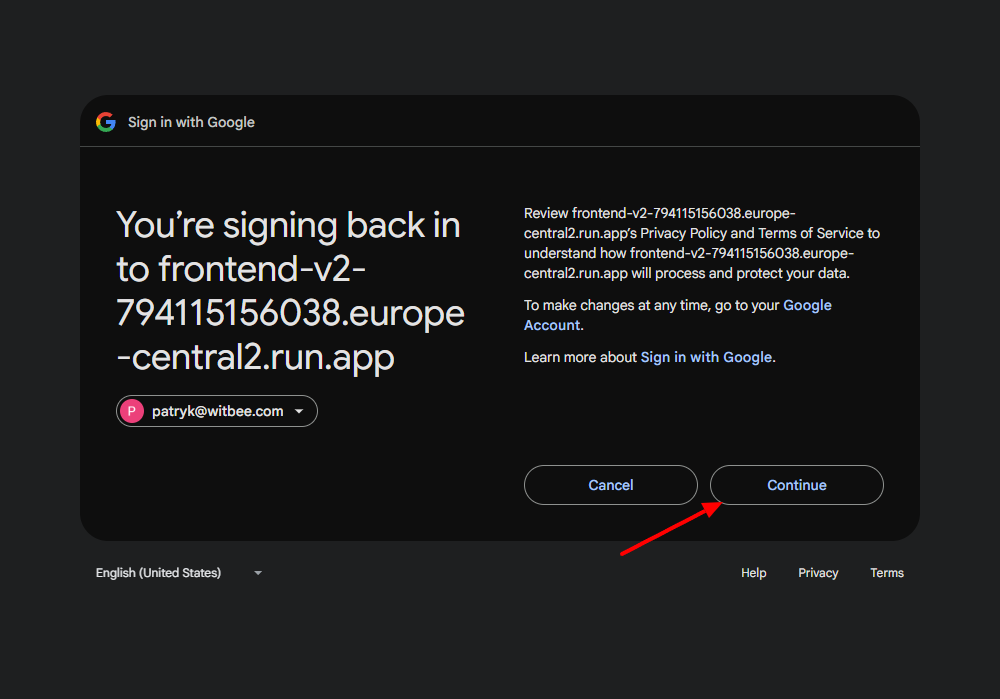
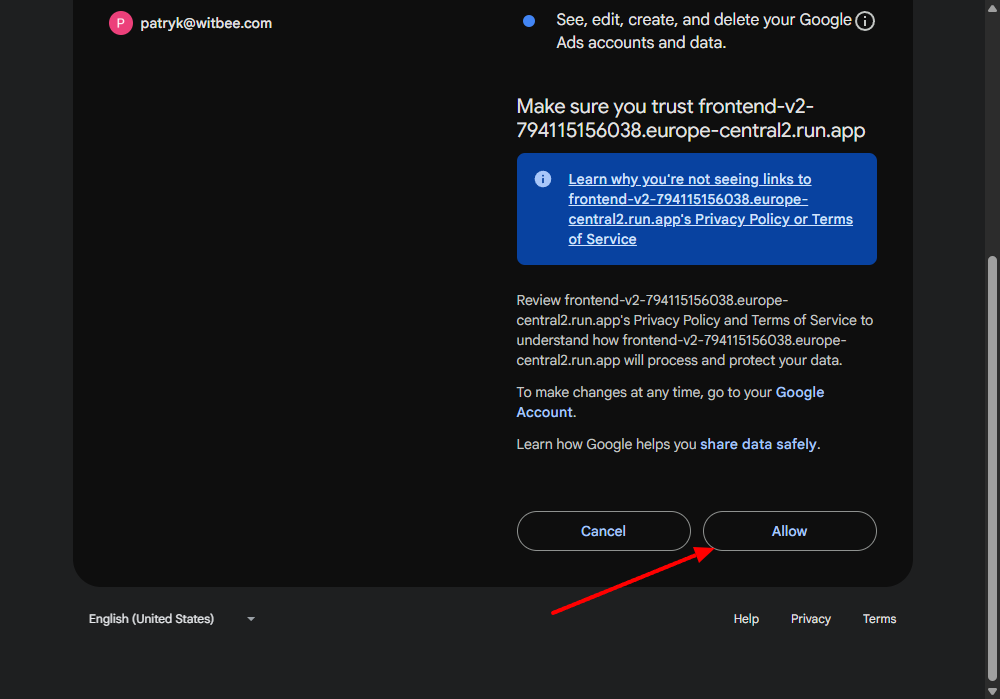
Click Authorize.
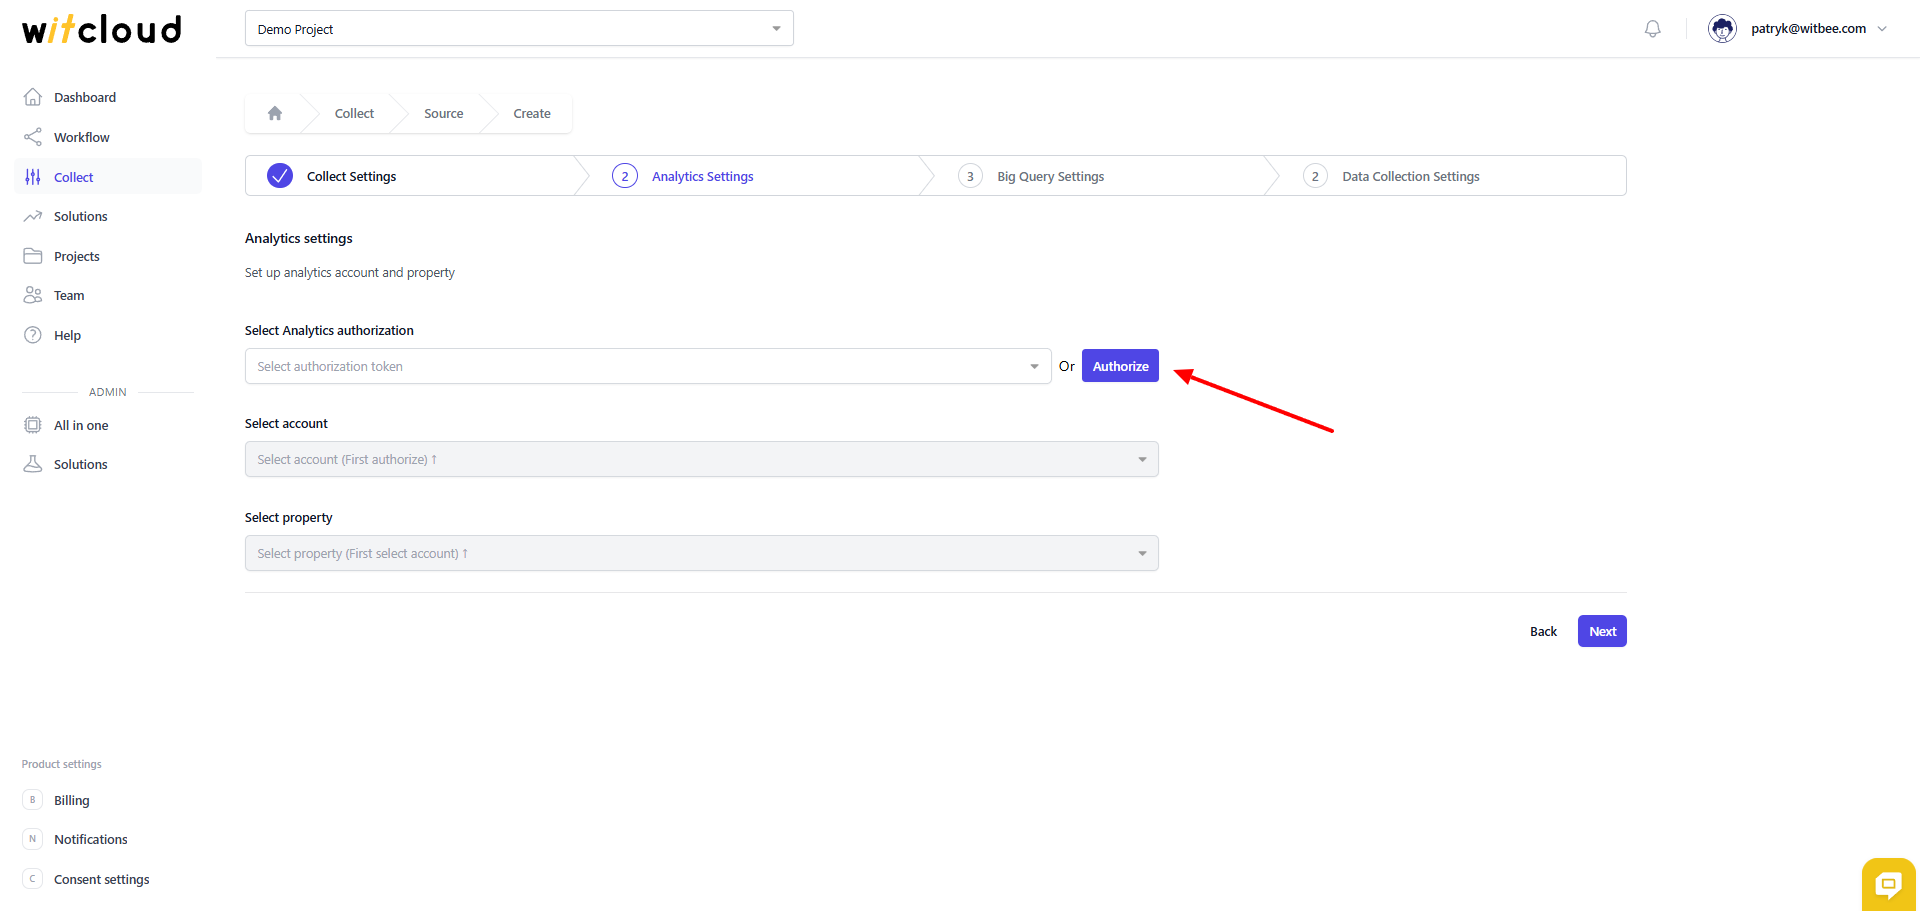
Sign in and grant the required permissions.
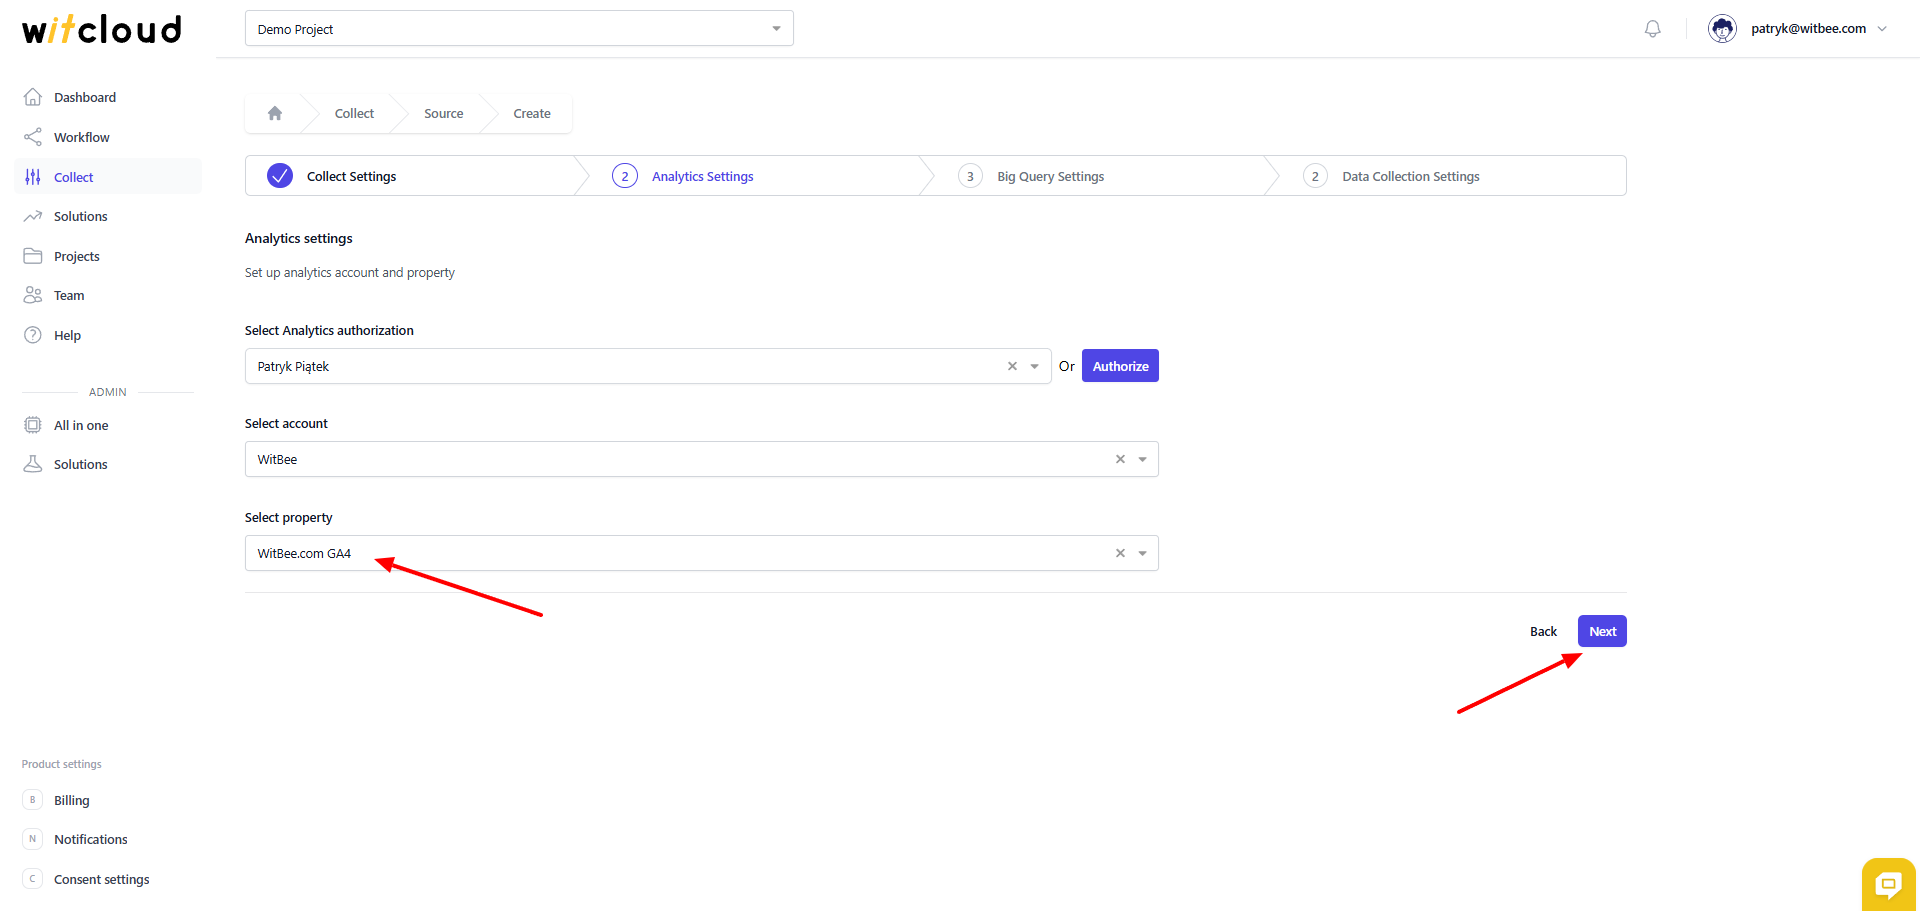
Choose the appropriate account from the dropdown.
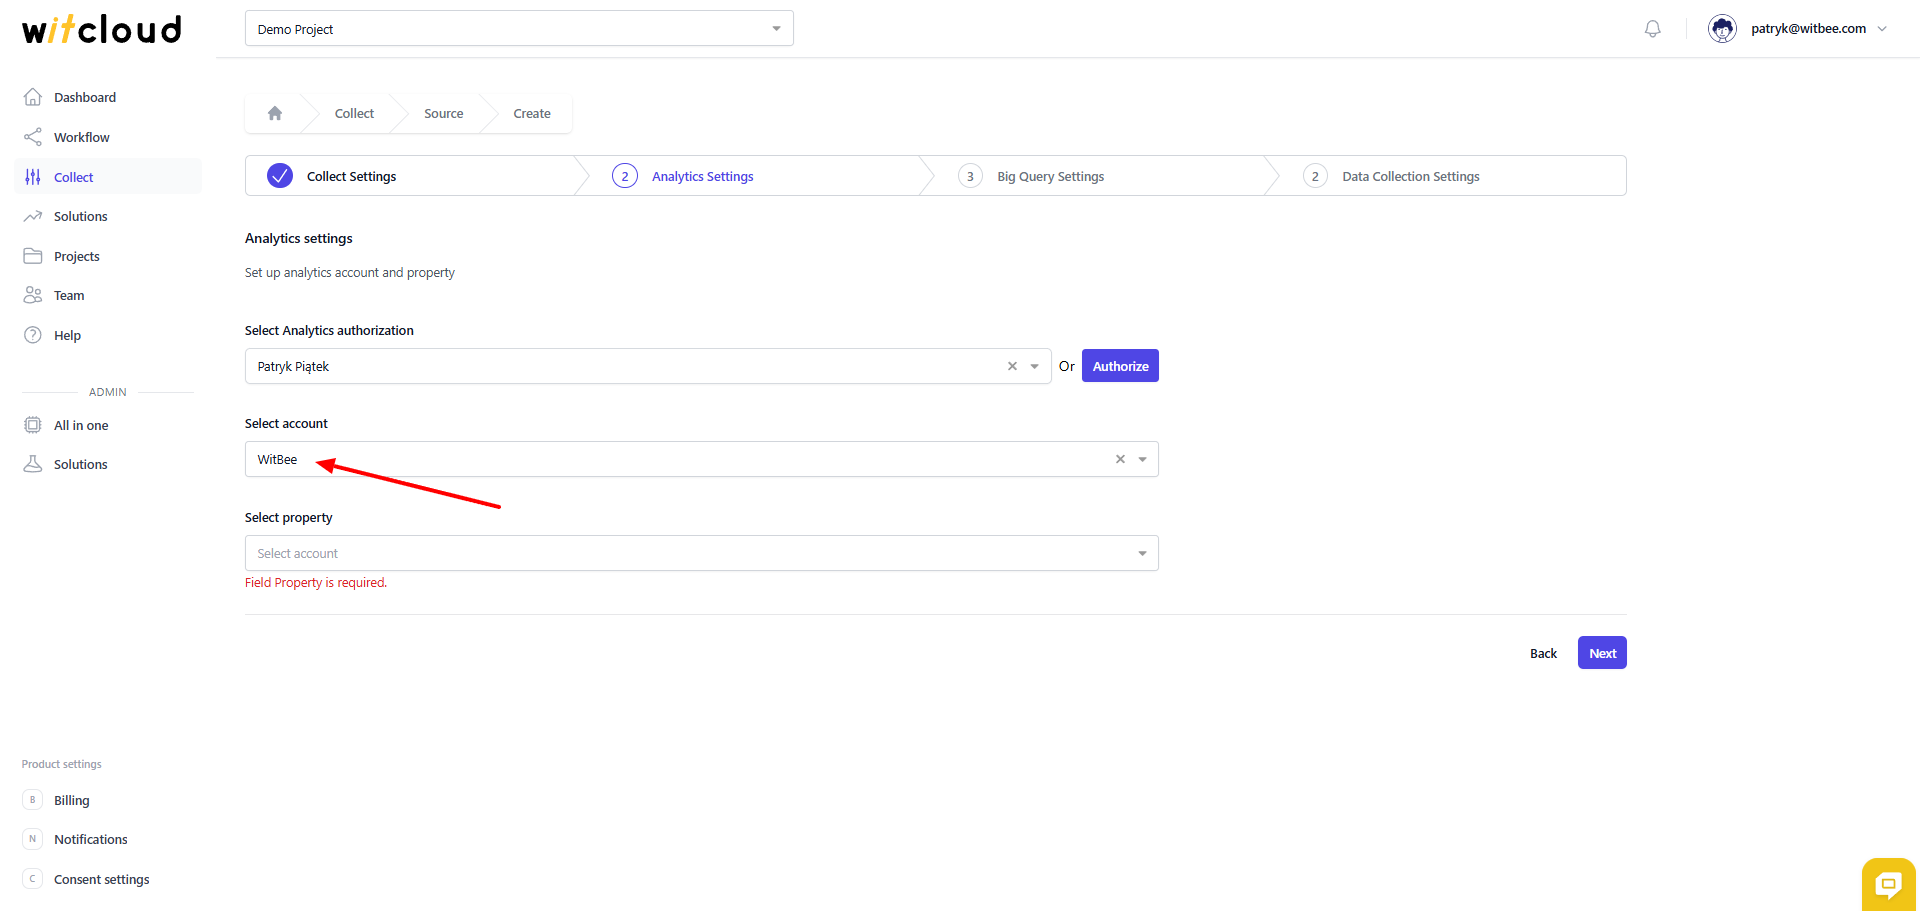
Next, select the appropriate Analytics property.
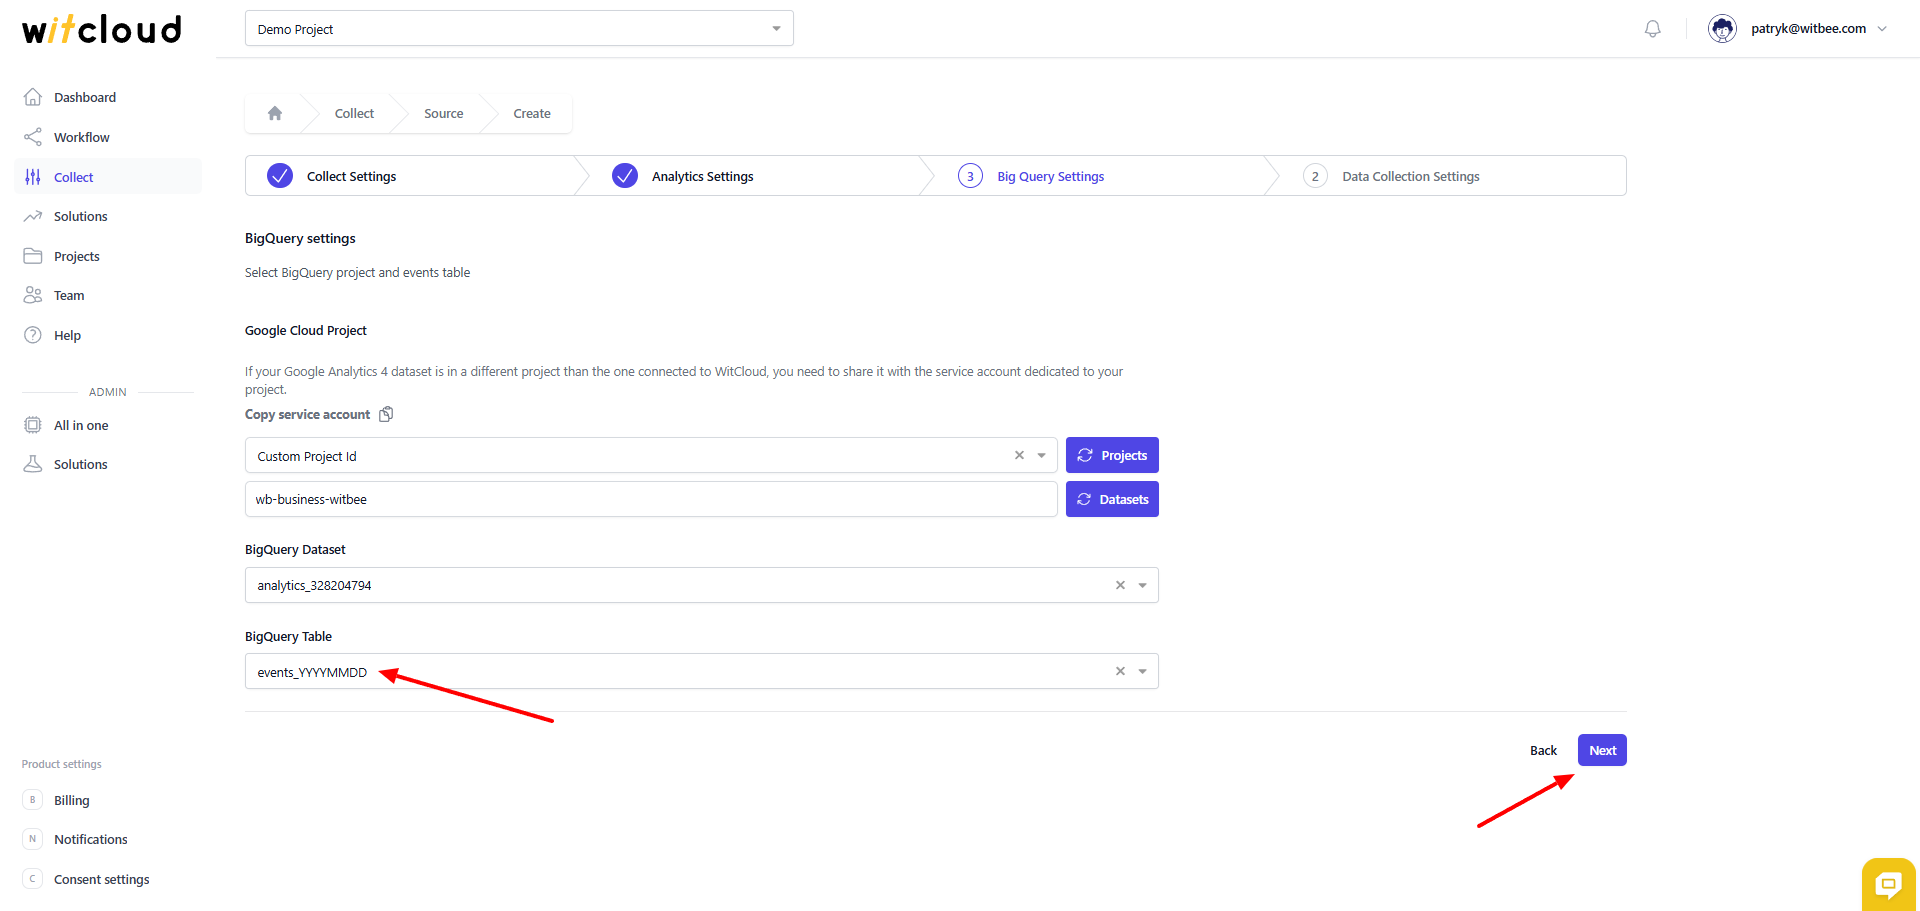
🔧 Connection to BigQuery
When we expand the project selection dropdown, we have 2 options:
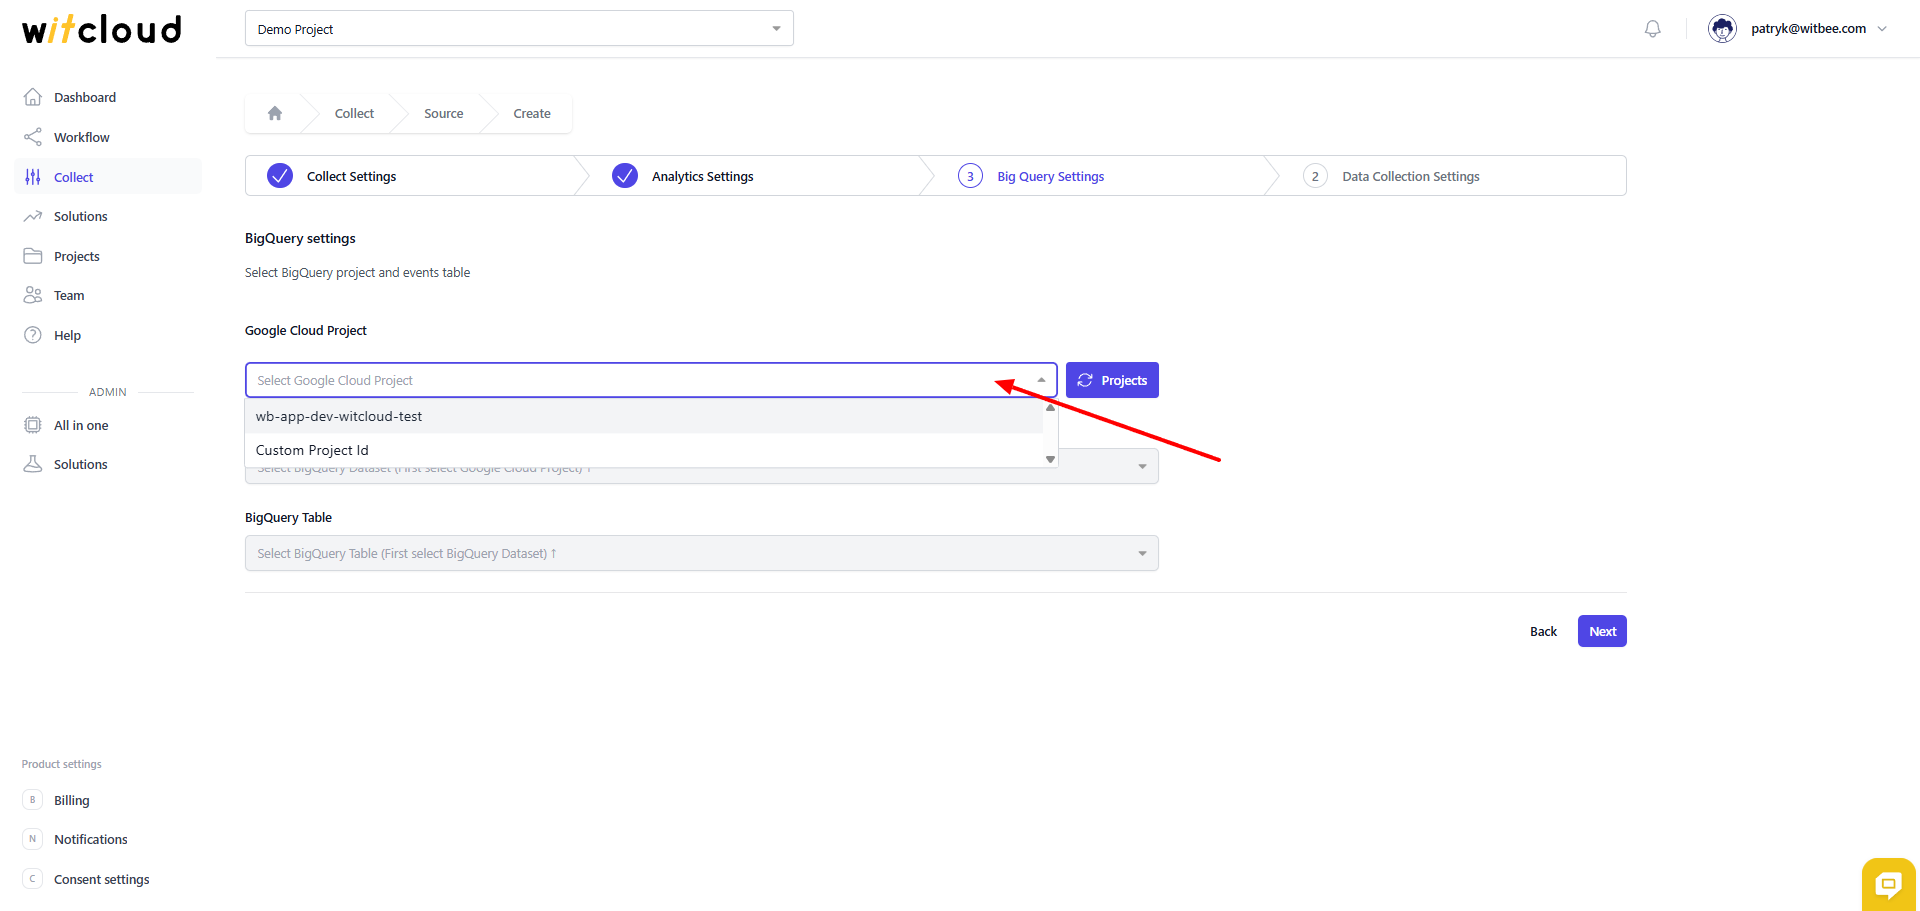
- The first option is your project connected to WitCloud — choose this if the GA4 export was set to the same project as the WitCloud connection.
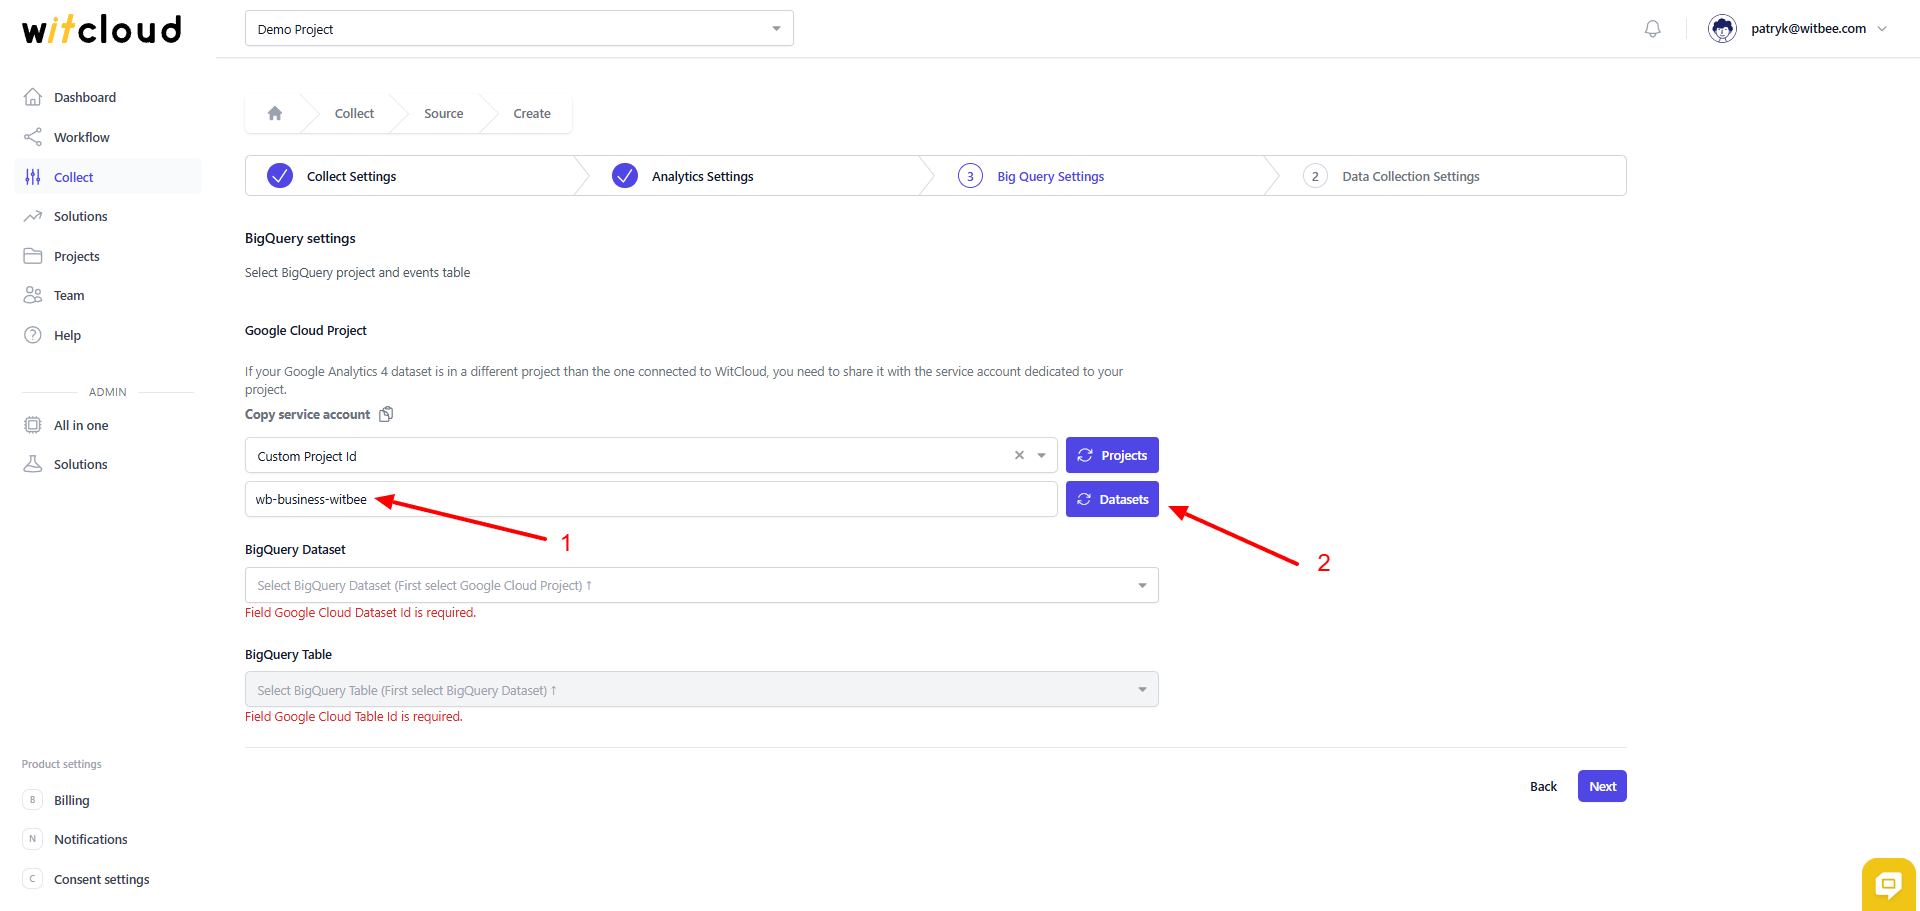
- Custom project ID — if the data exported by Analytics 4 is in a different project, choose this option.
💡 Tip: If you chose option 2, you must grant access to the dataset for the dedicated WitCloud address. Copy it and share the Analytics 4 dataset with it using BigQuery Admin access.
Enter the Project ID where the data exported by Google Analytics 4 is located, then press the Datasets button.
If the dataset with data is shared correctly, it should appear in the list.
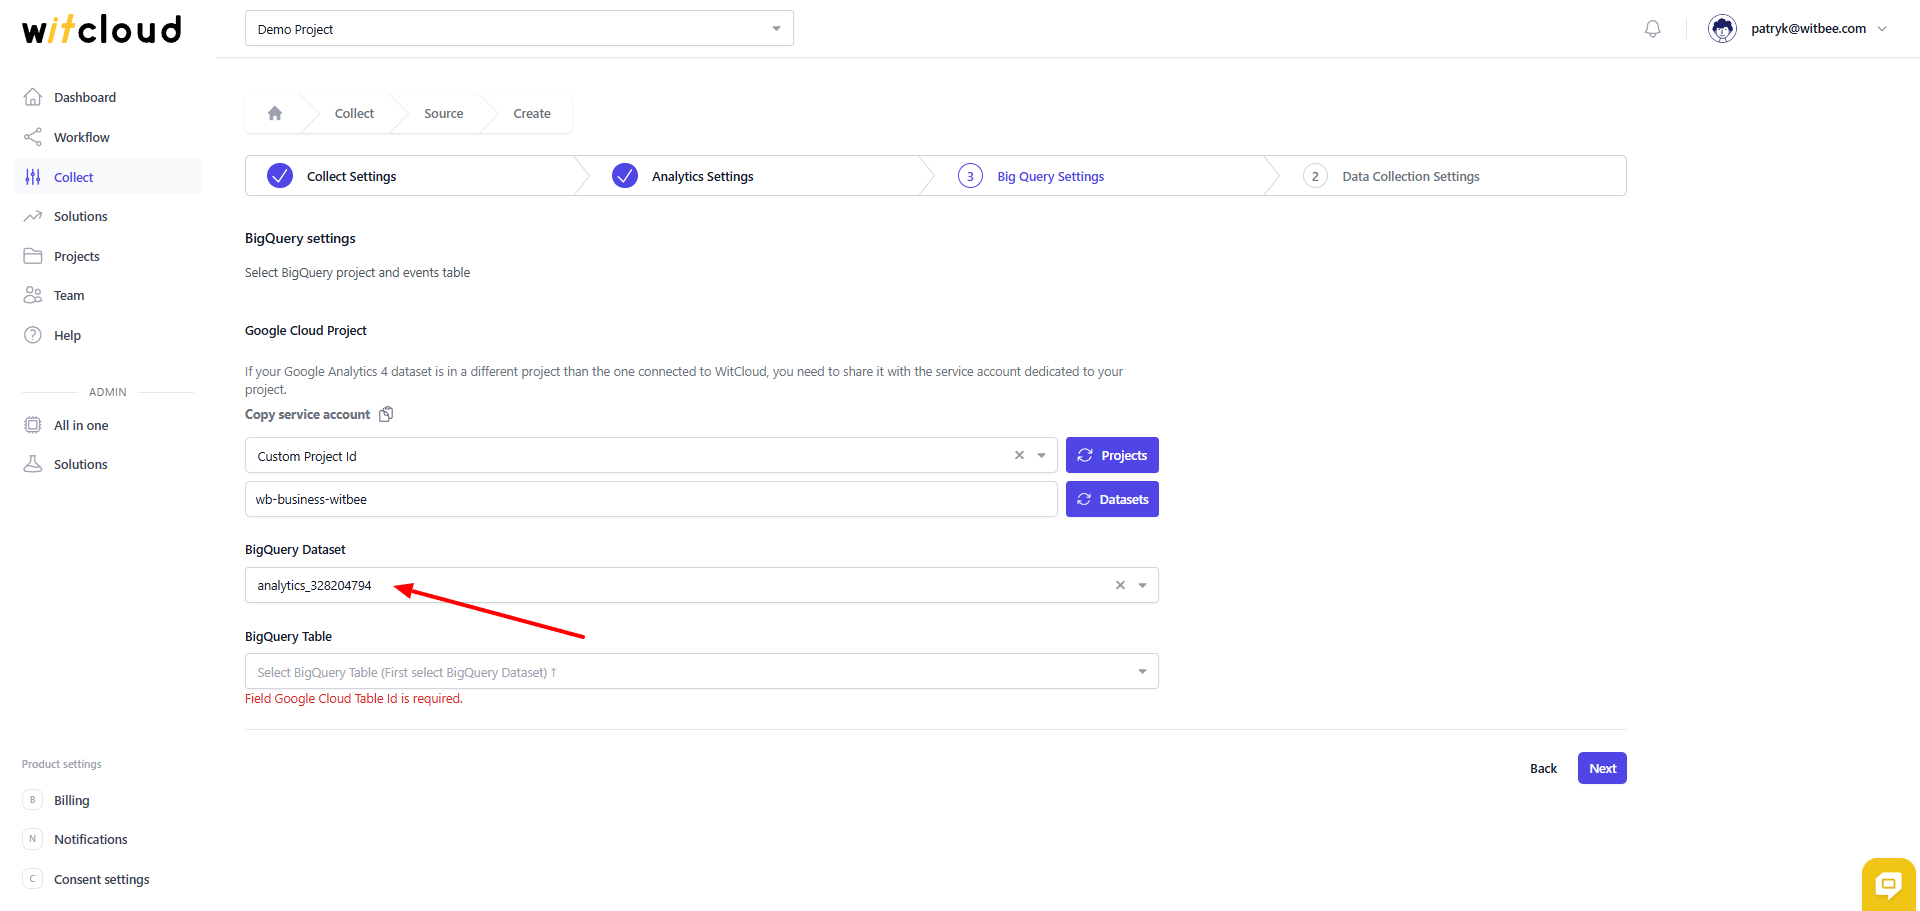
Select the events table that we will fetch and process.
⏳ Historical Data and Schedule
Choose the date range for which you want to fetch historical data.
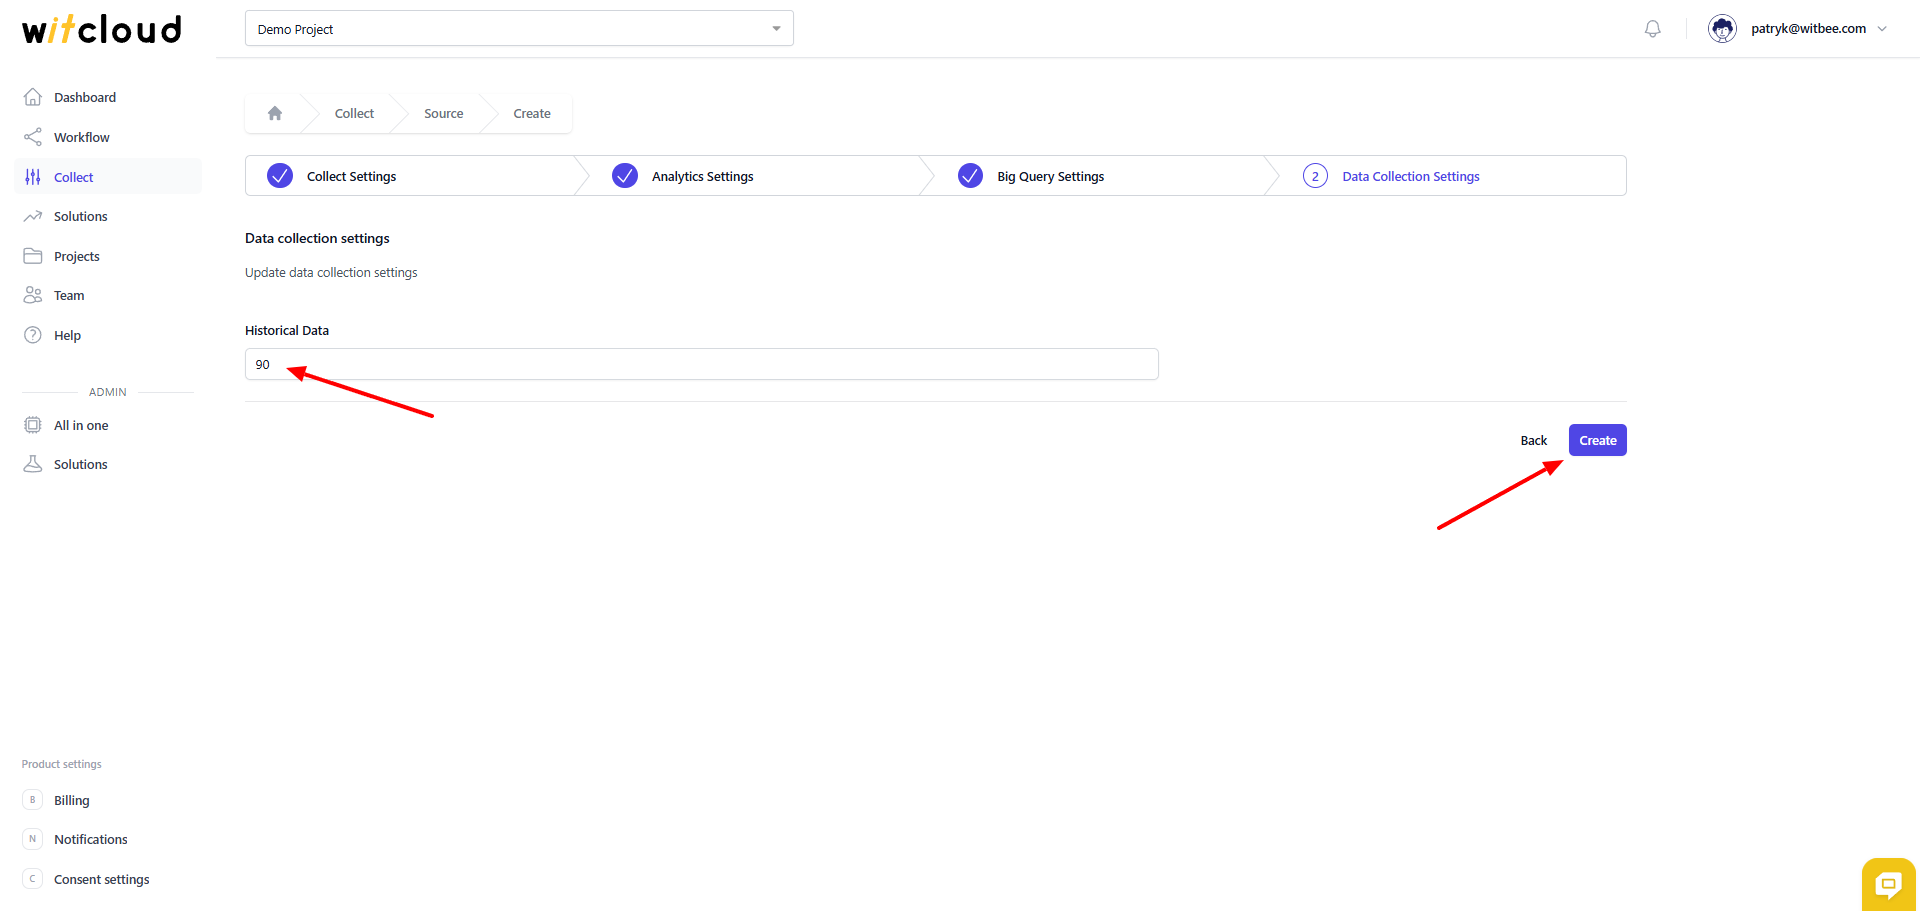
During the initial configuration, you can fetch data up to 12 months back, with the option to import older data.
The data synchronization schedule will be created automatically. You can find more information about this here.
Click Create to finish the configuration.
✅ All set! Data from Google Analytics 4 will now be synchronized with BigQuery, providing additional enriched data from the Analytics service.
📊 Data Schema
Expand the tables below to see the full schema of data collected from Google Analytics 4.