Save to storage
Export a BigQuery table or the saved result of a Custom Query to a CSV or AVRO file in your project's storage bucket, and refresh it on a schedule.
Updated
Introduction
The Save to storage integration exports data from BigQuery to a file in your project's storage bucket. Choose a table, or the saved result of one of your Custom Queries, and pick CSV or AVRO. Use it to archive data, to hand it to a system outside BigQuery, or to share it as a file with anyone who needs it. Add it to a workflow and the file is refreshed on every run.
Configuration guide
Creating a Save to storage integration needs an active billing account (or a trial) on the project.
Module setup
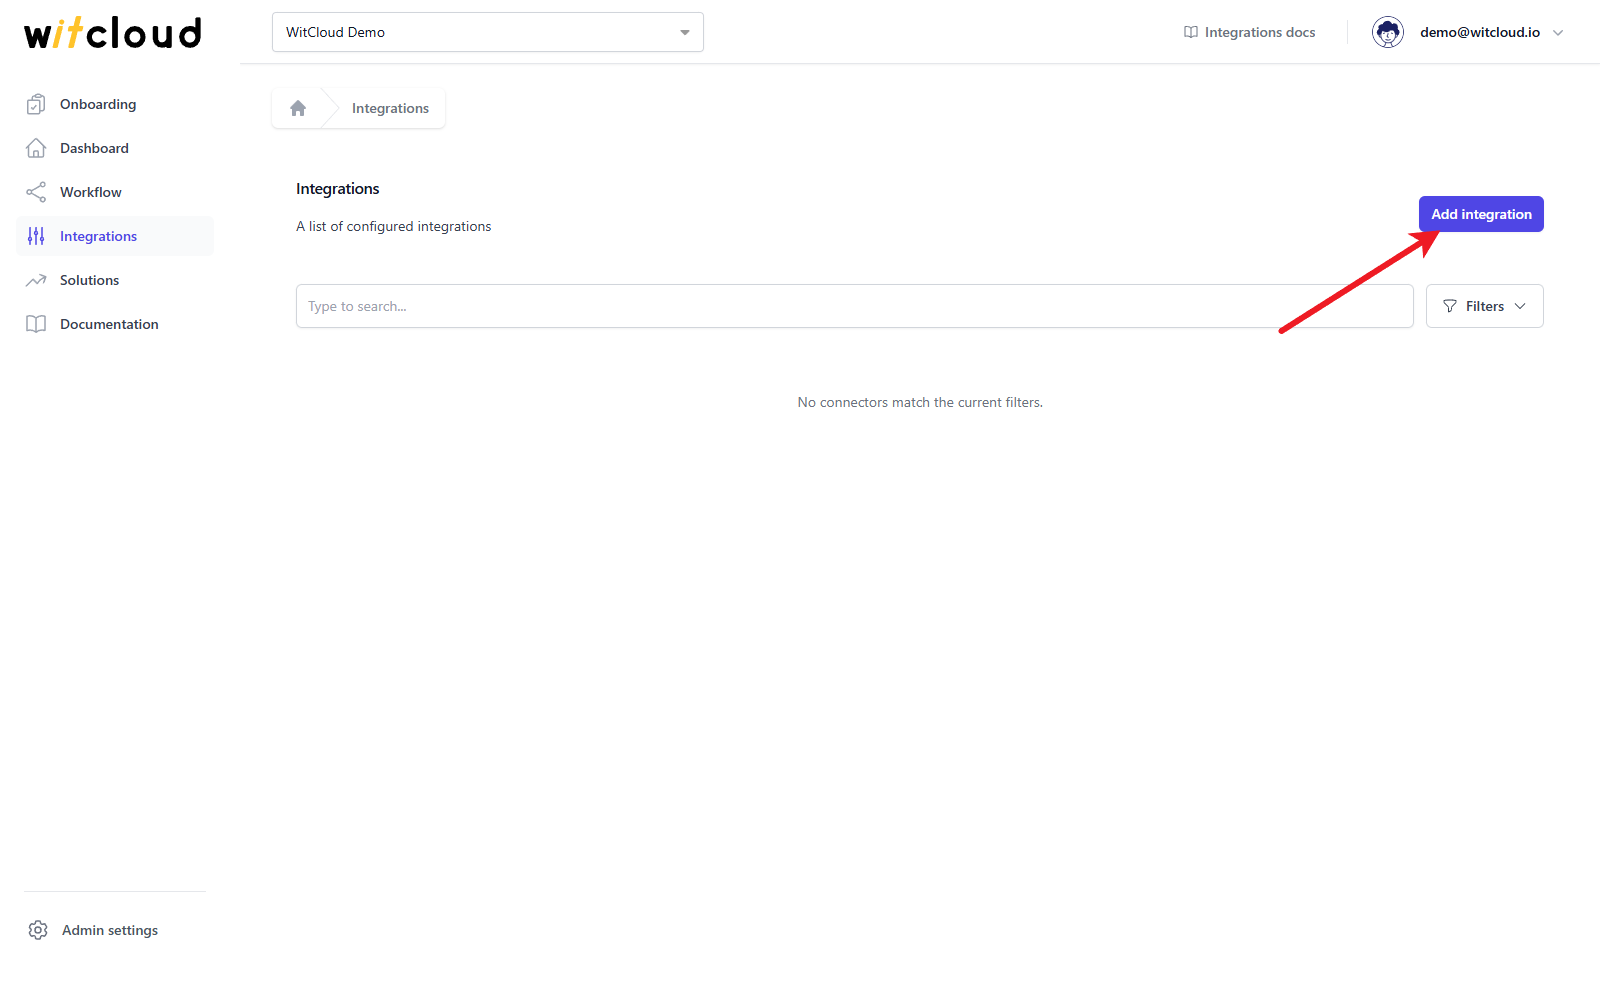
Go to Integrations and click Add integration.
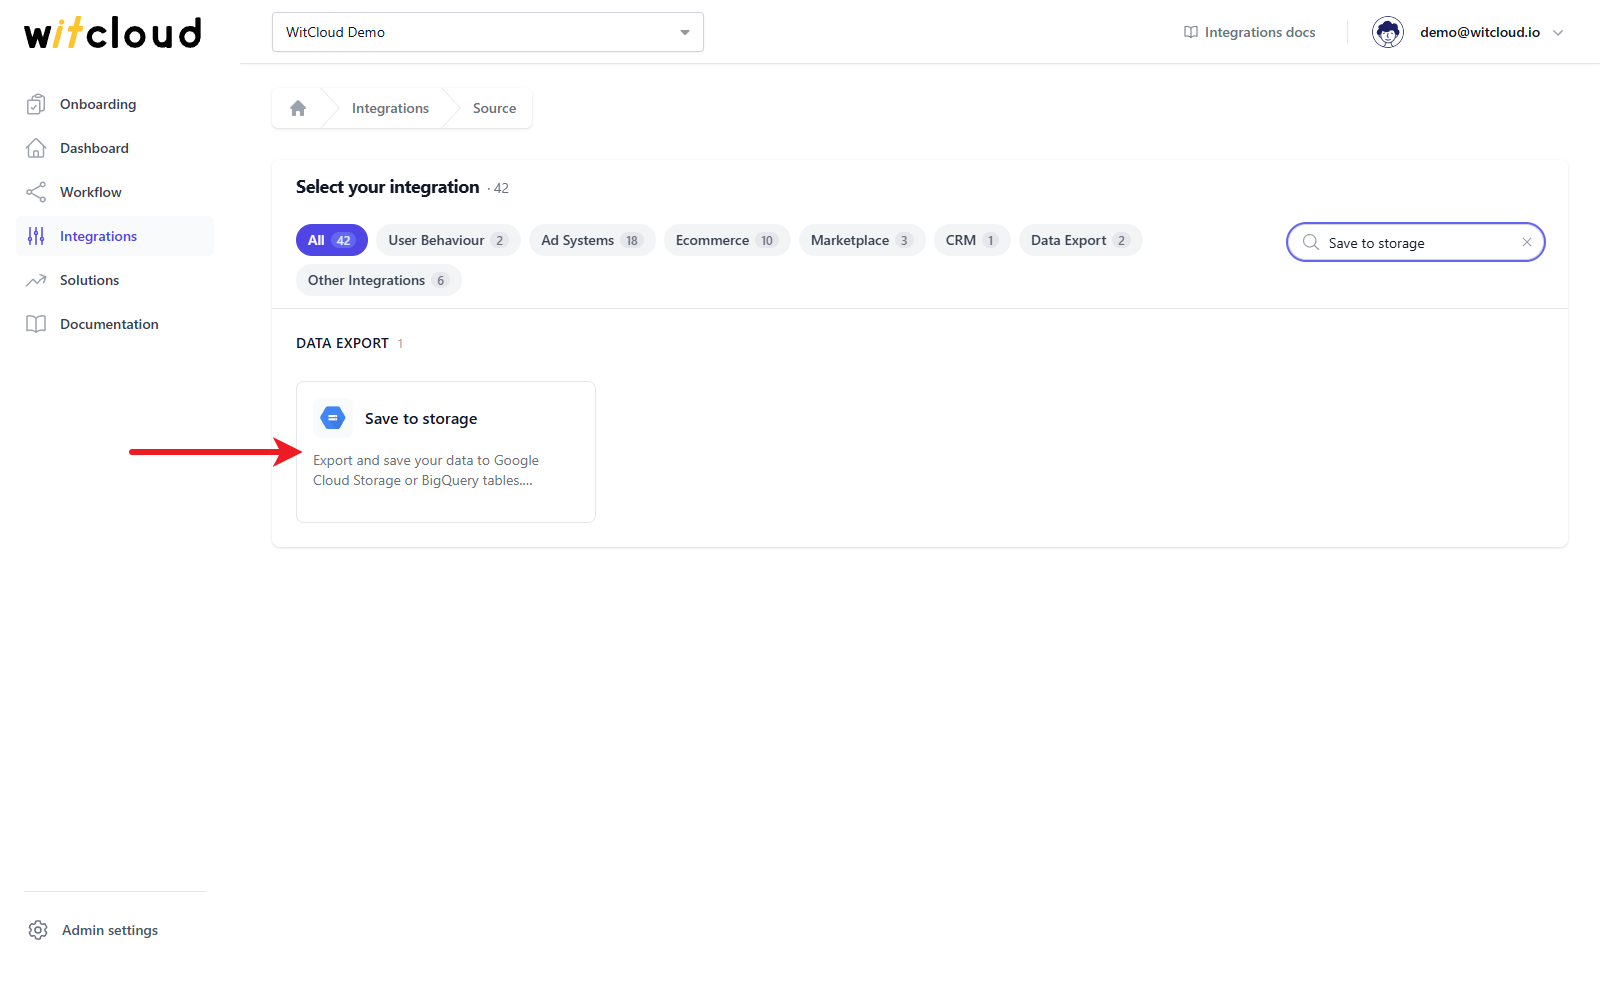
Find Save to storage (in the Data Export category) and click it.
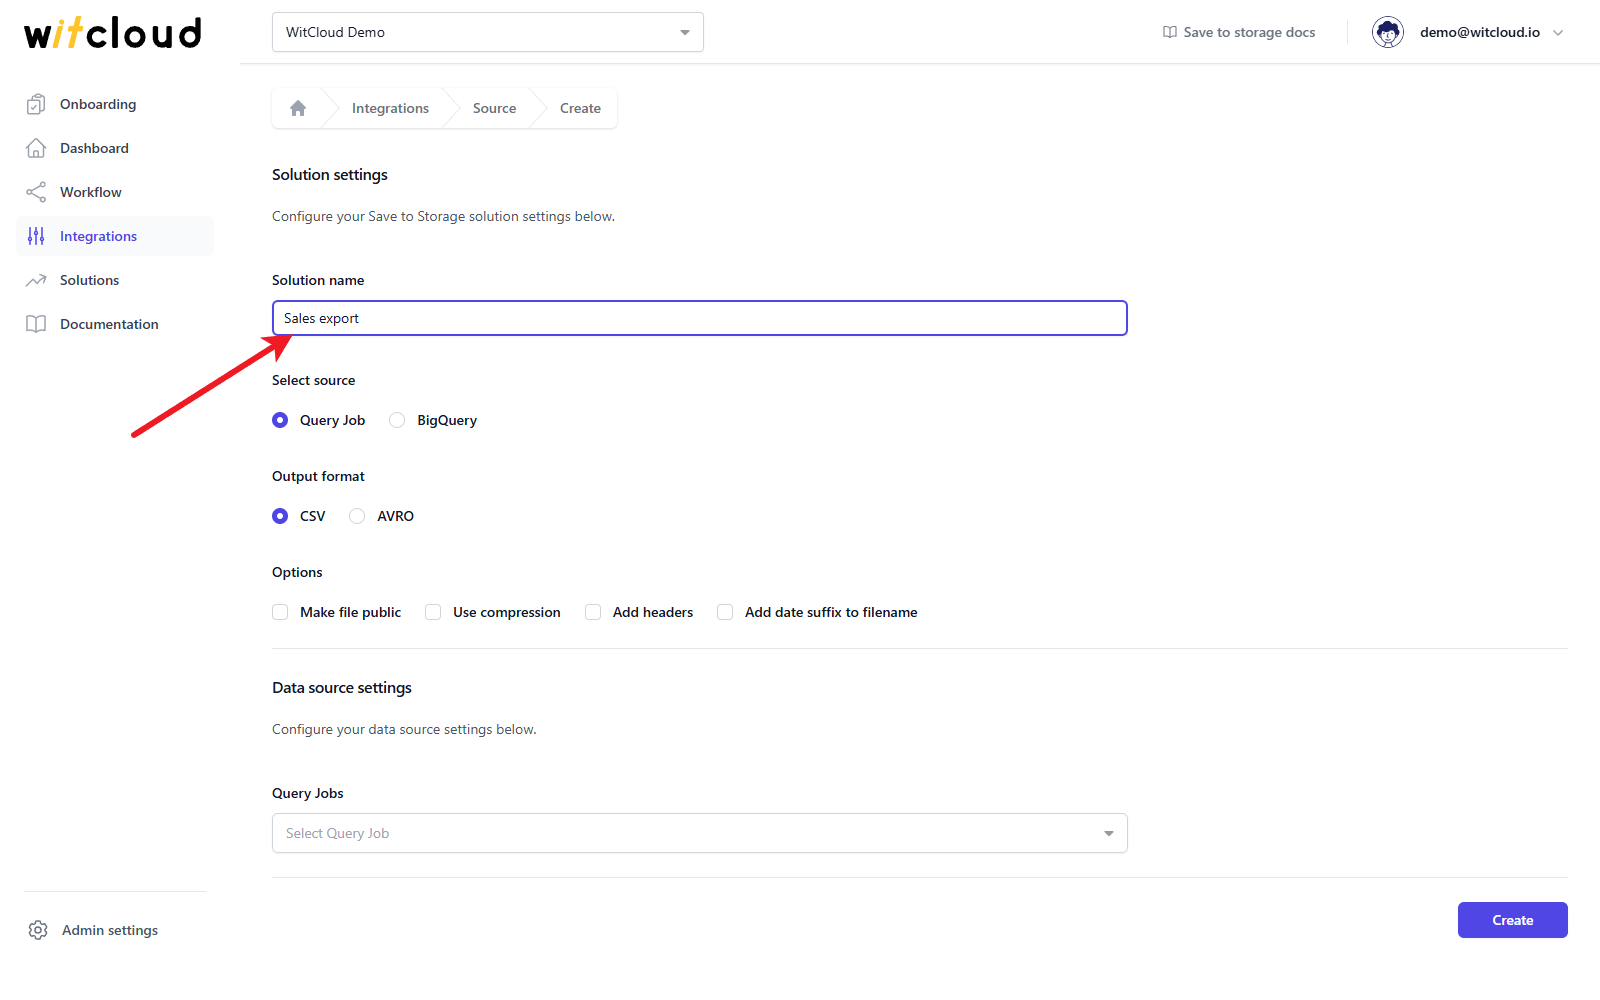
Enter the Solution name, e.g. Sales export.
Choose the data source
Under Select source, choose where the data comes from:
- Query Job (default) - the saved result of one of your Custom Queries.
- BigQuery - a table you pick yourself.
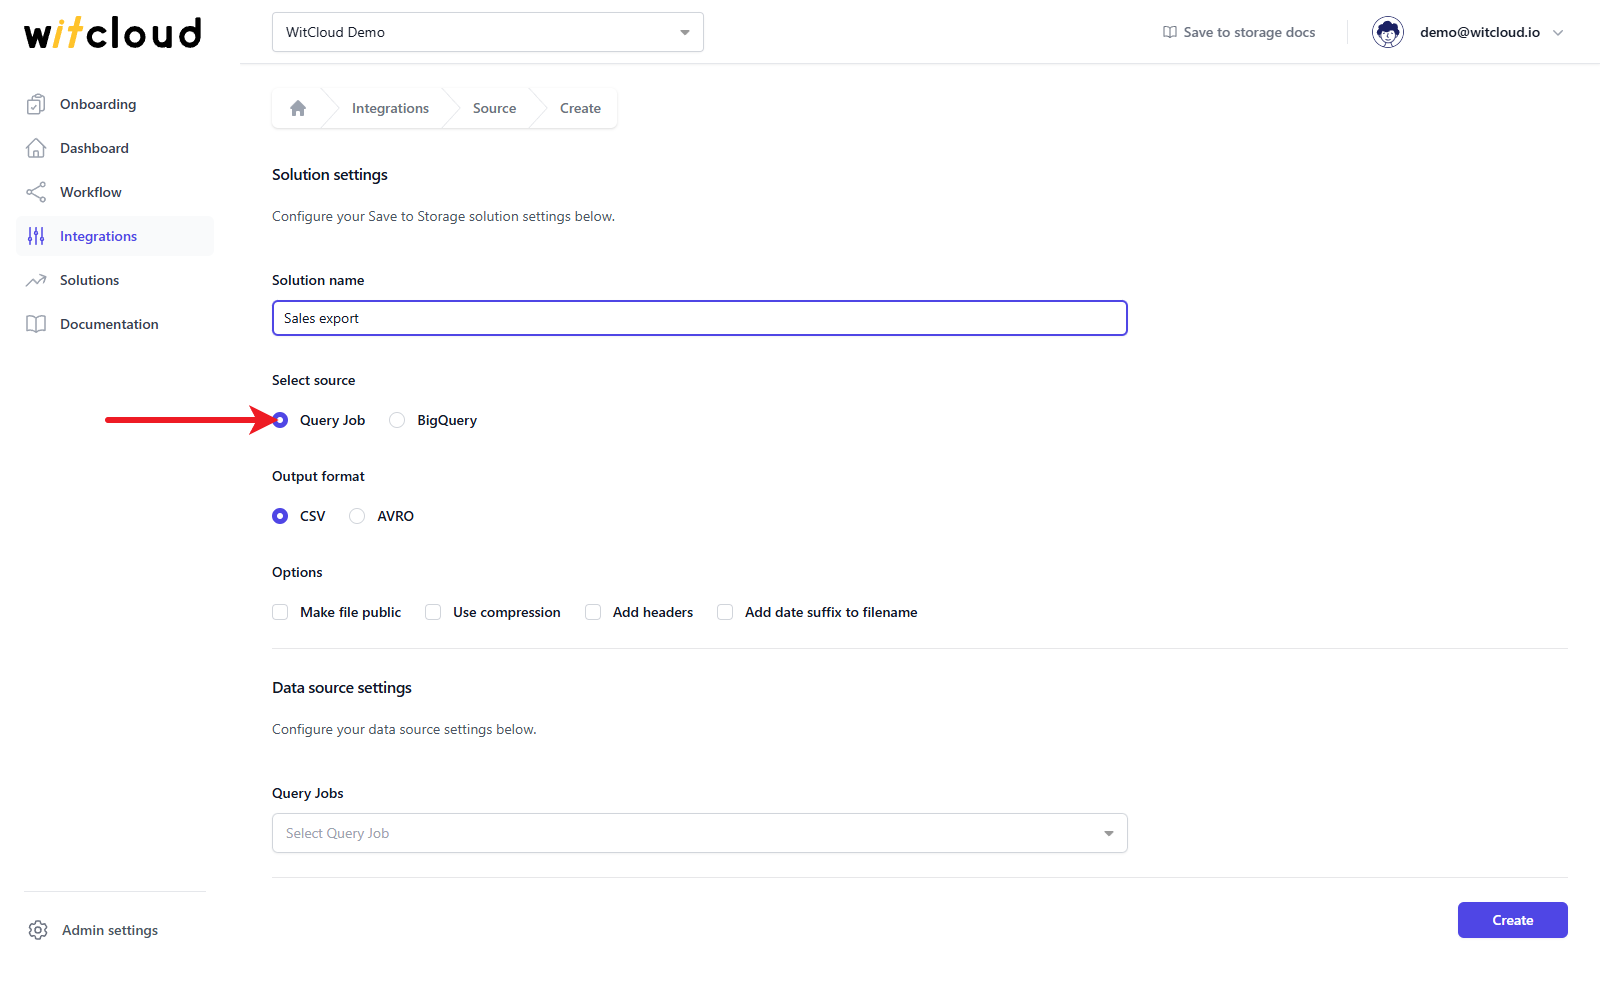
Query Job
Choose a Custom Query from the Query Jobs list.
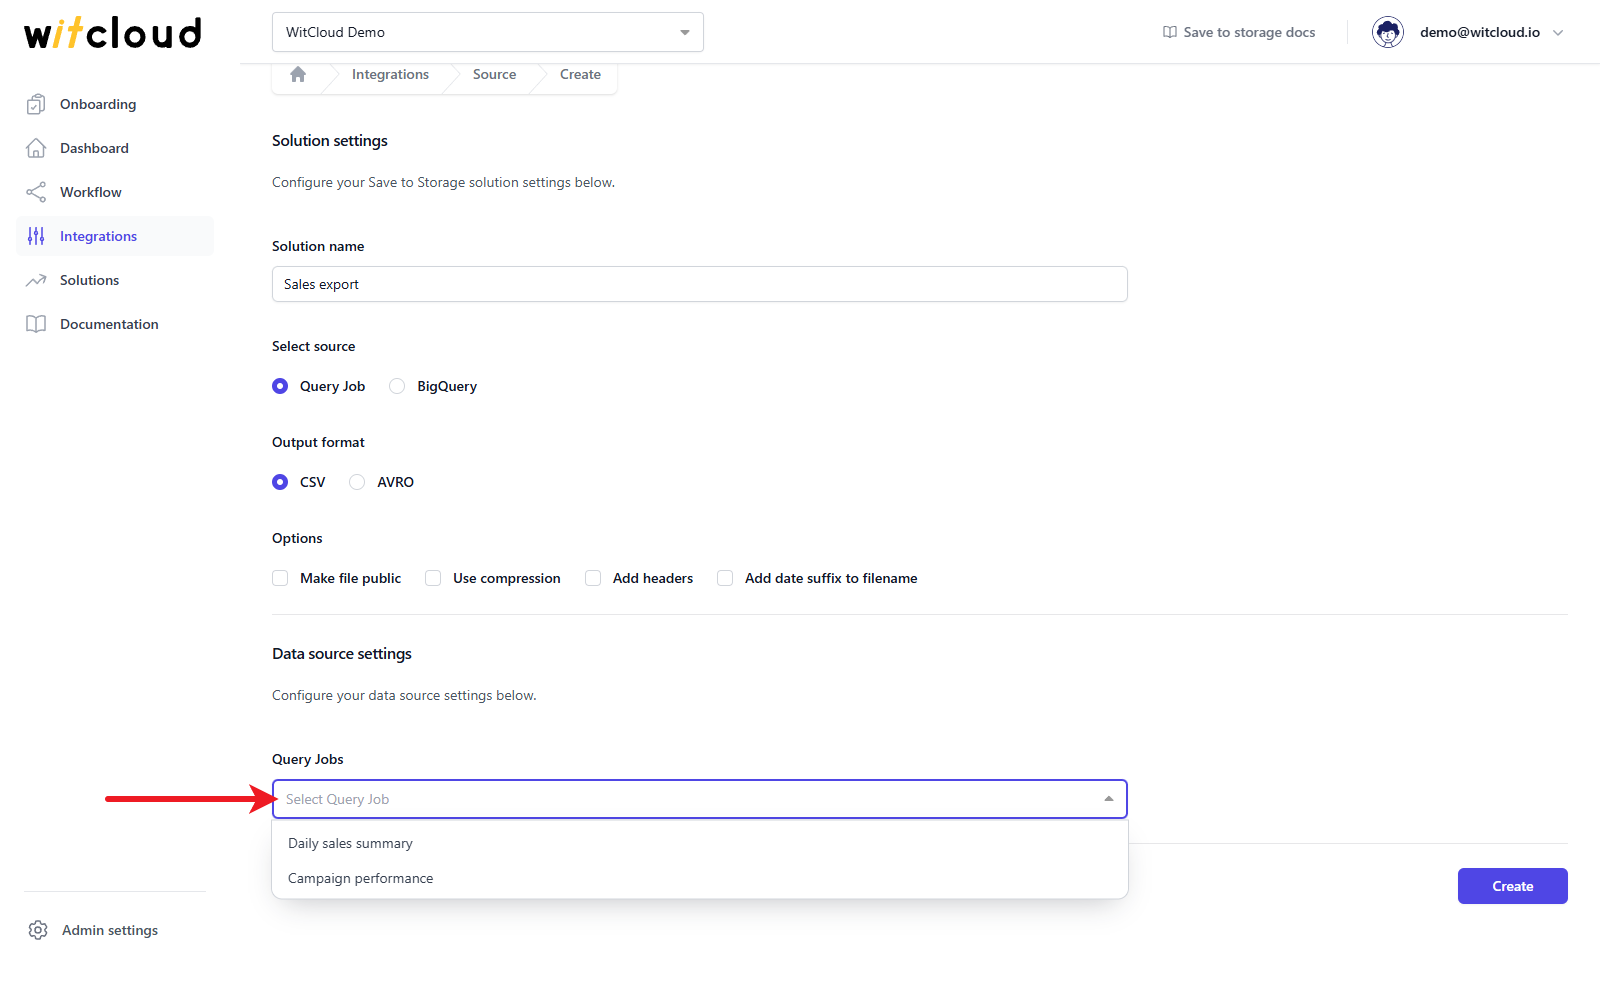
The query must have Save Query results switched on, and it must have run at least once, so that its result table exists. Without it the export fails. If the query's result table is partitioned by ingestion time, each run exports the partition of the date the run processes. Otherwise it exports the whole table.
BigQuery
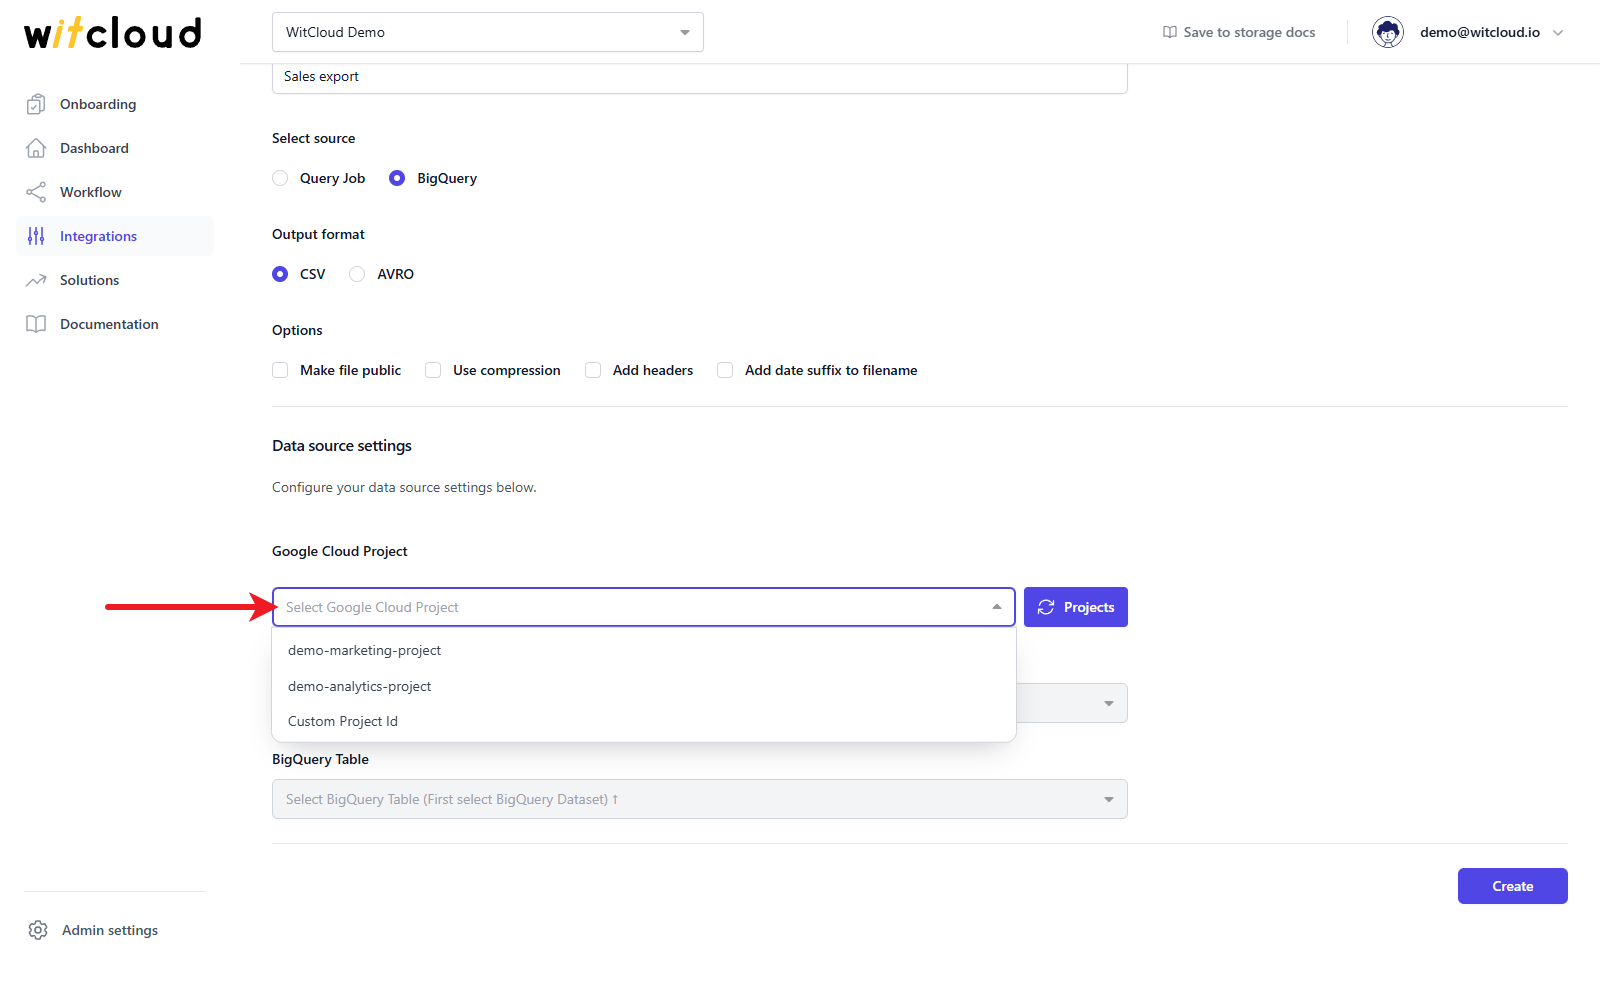
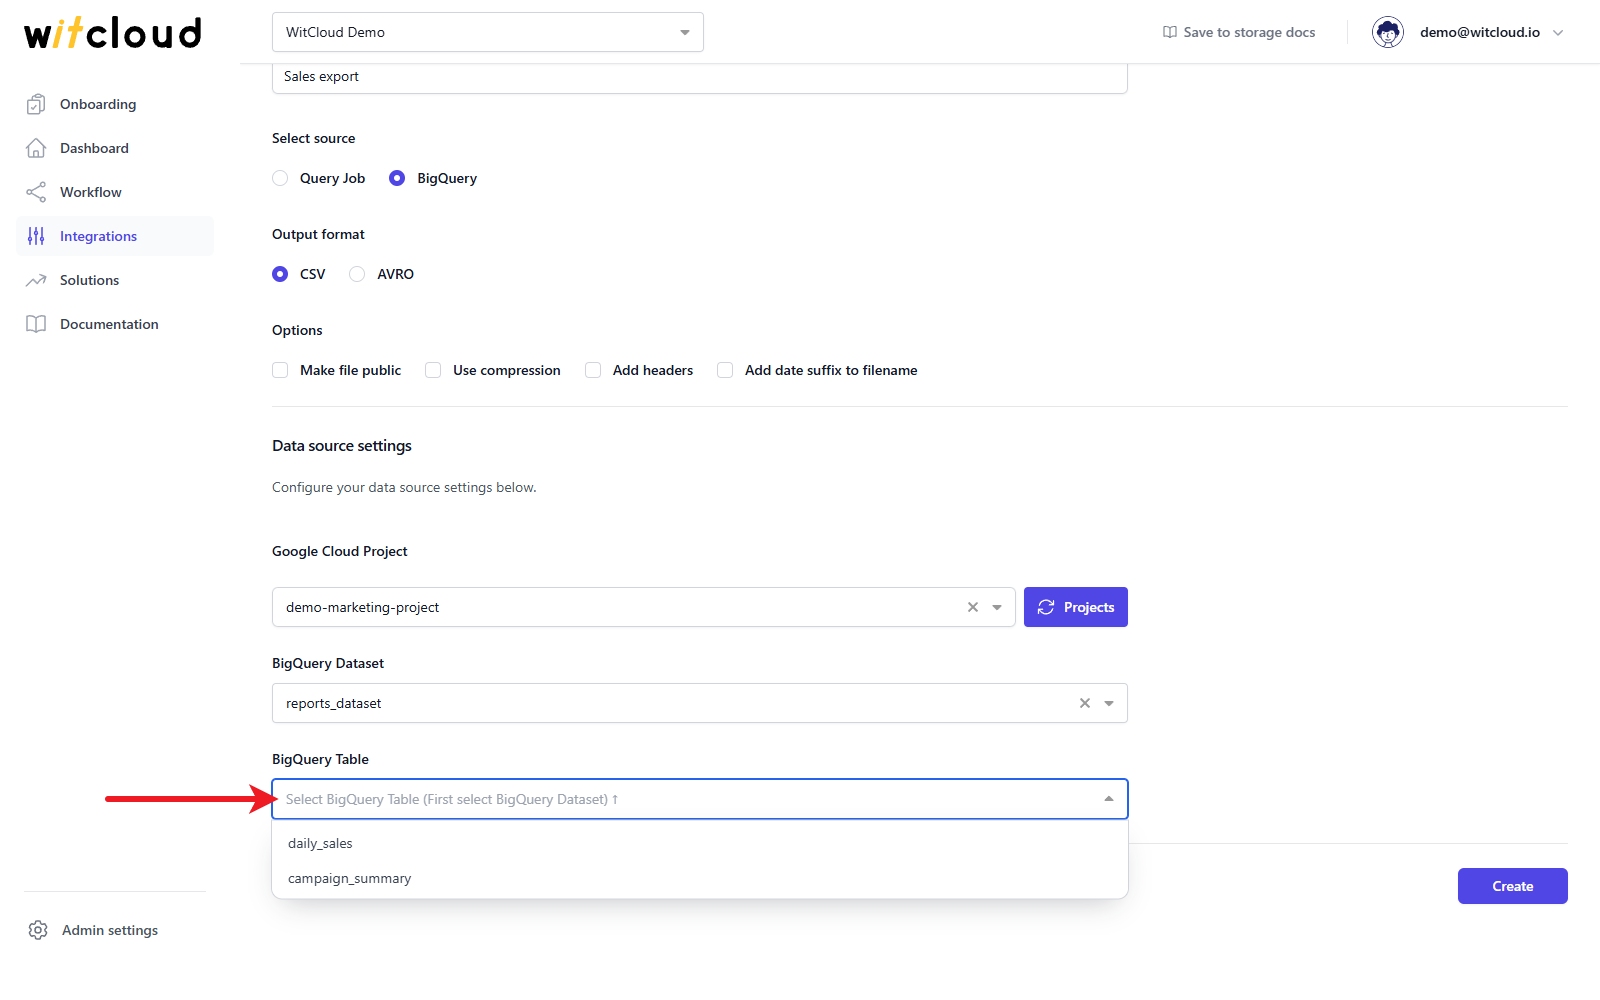
Select the Google Cloud Project where the table is stored. Custom Project Id at the end of the list lets you type the ID of a project that is not on the list.
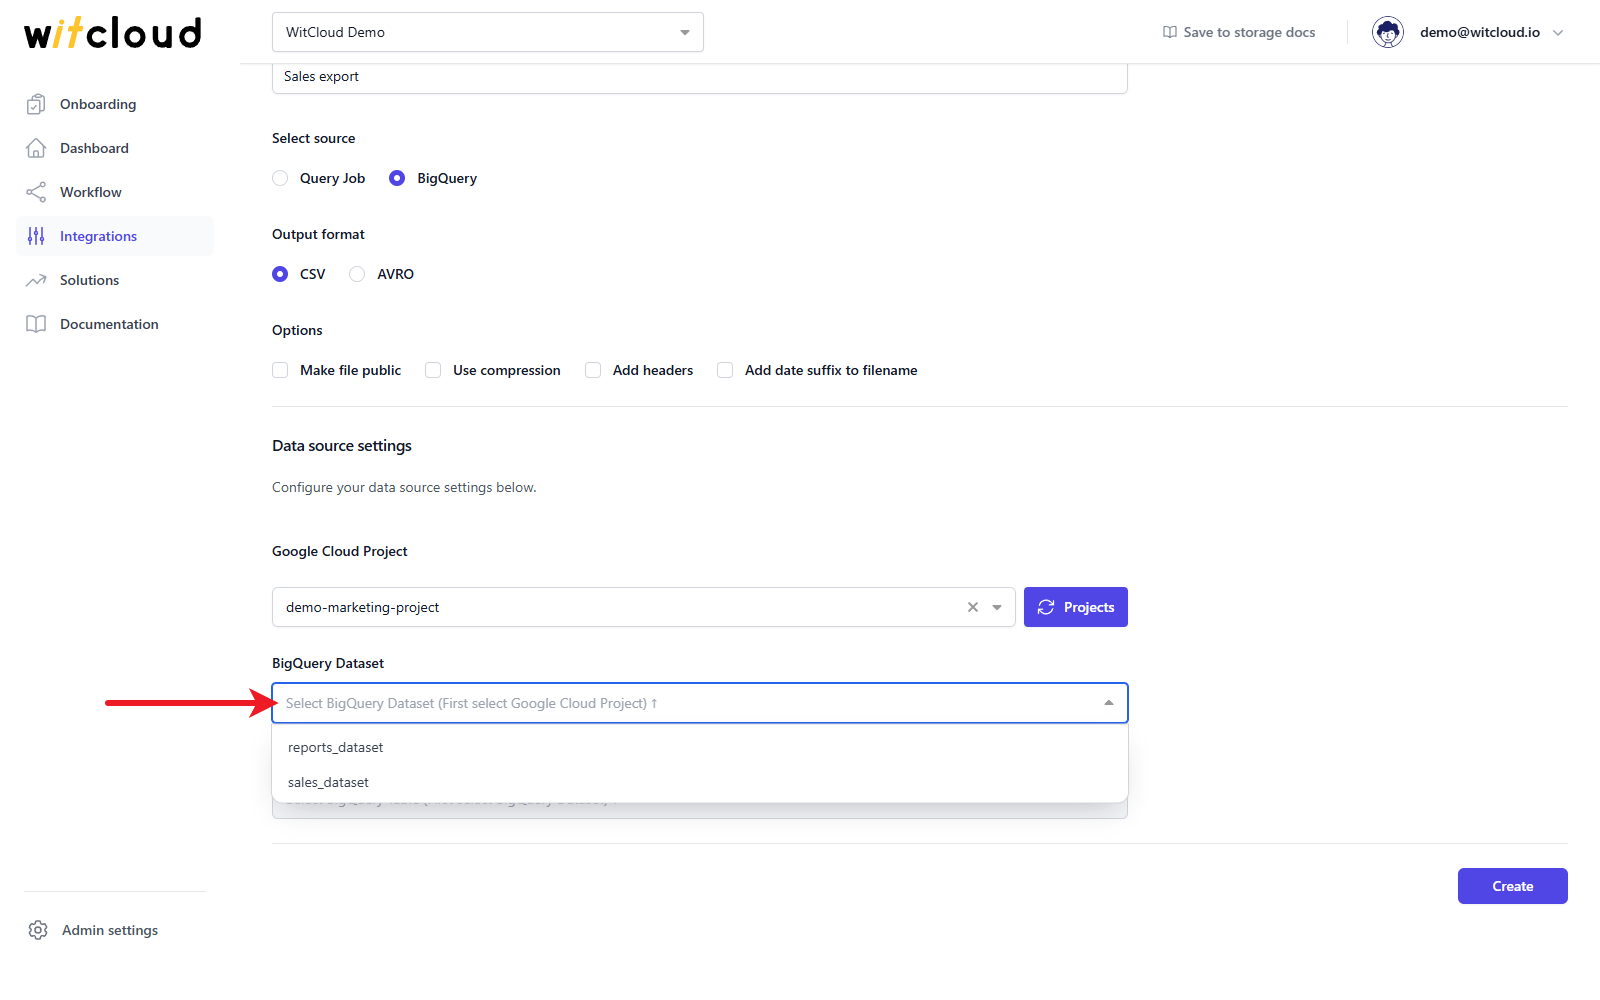
Pick the BigQuery Dataset that contains the table.
Choose the BigQuery Table to export. Every run exports the whole table, including a partitioned one.
Output format
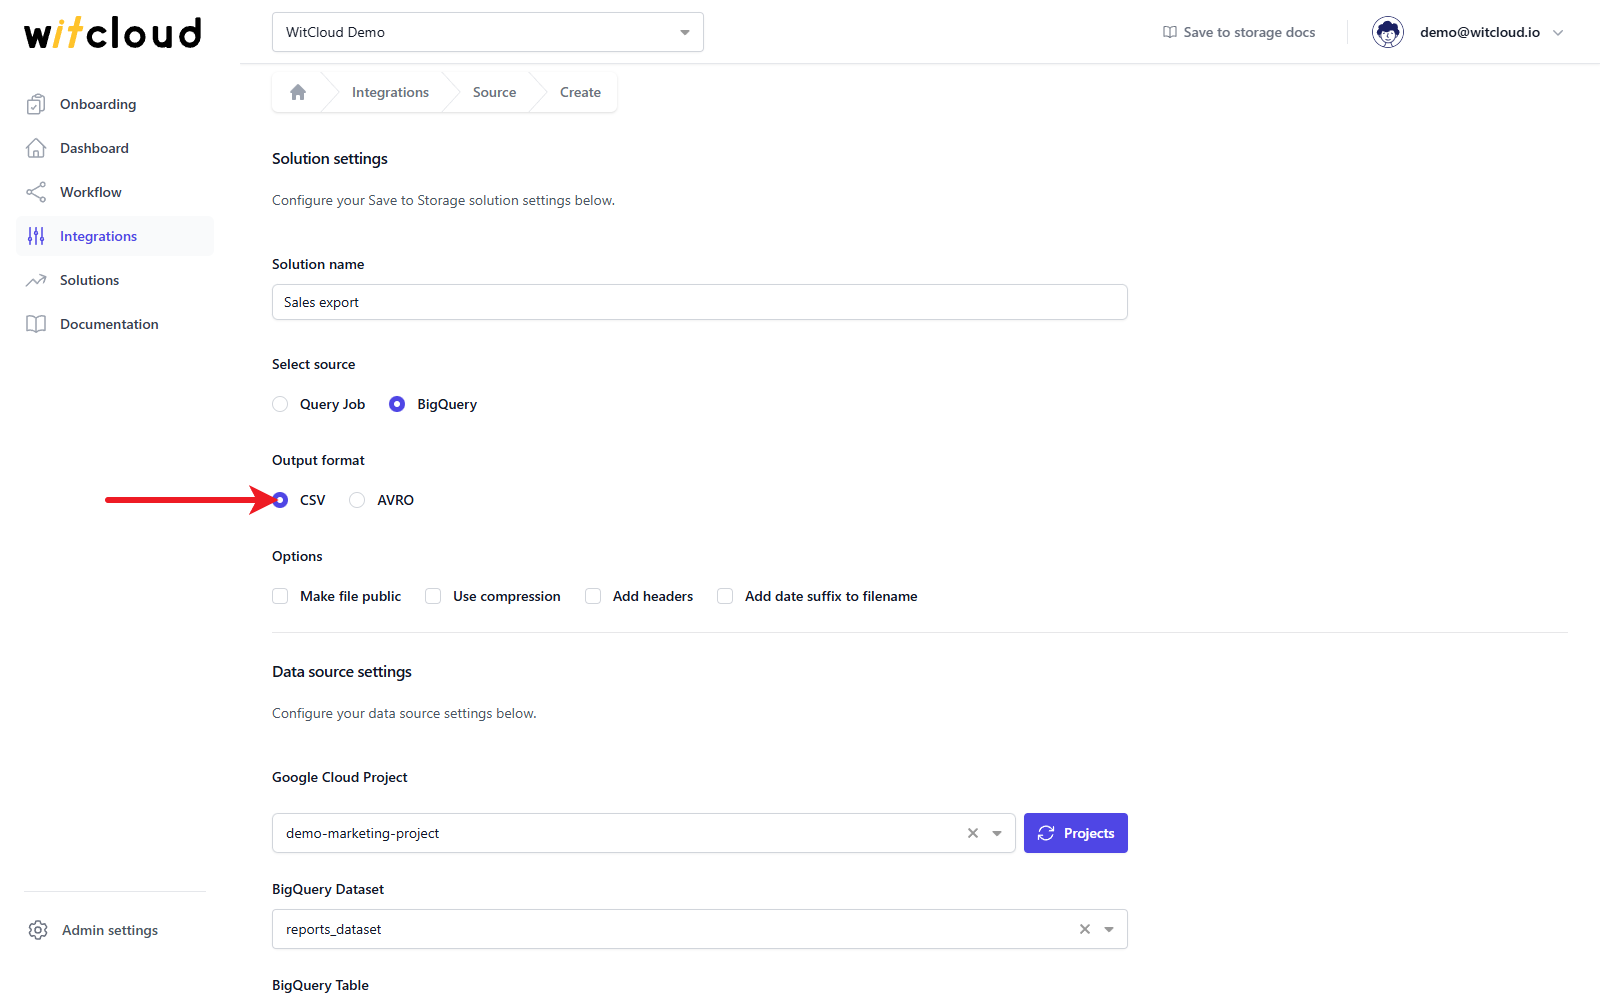
Under Output format, choose the file type:
- CSV (default)
- AVRO
Options
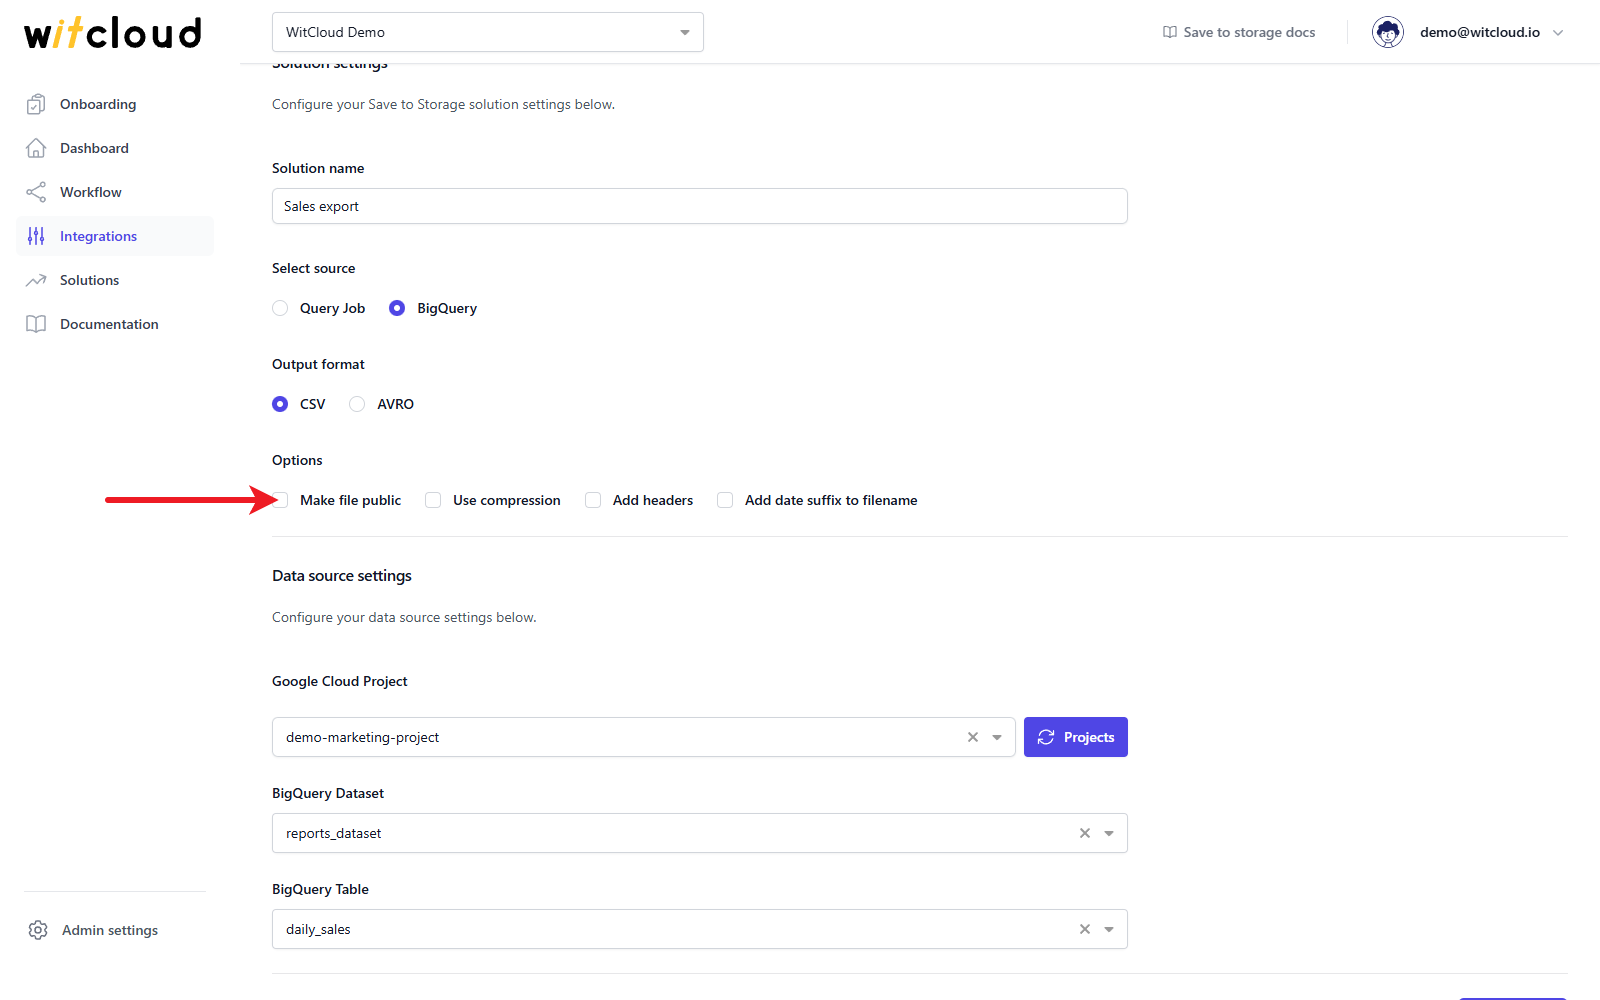
Under Options, tick what you need. All four are off until you tick them.
- Make file public - anyone with the file's link can download it, without signing in.
- Use compression - compress the file (gzip for CSV, Snappy for AVRO).
- Add headers - write the column names as the first row. It applies to CSV only.
- Add date suffix to filename - add the run date to the name, e.g.
daily_sales_20261008.csv, so that every run creates a new file instead of replacing the previous one.
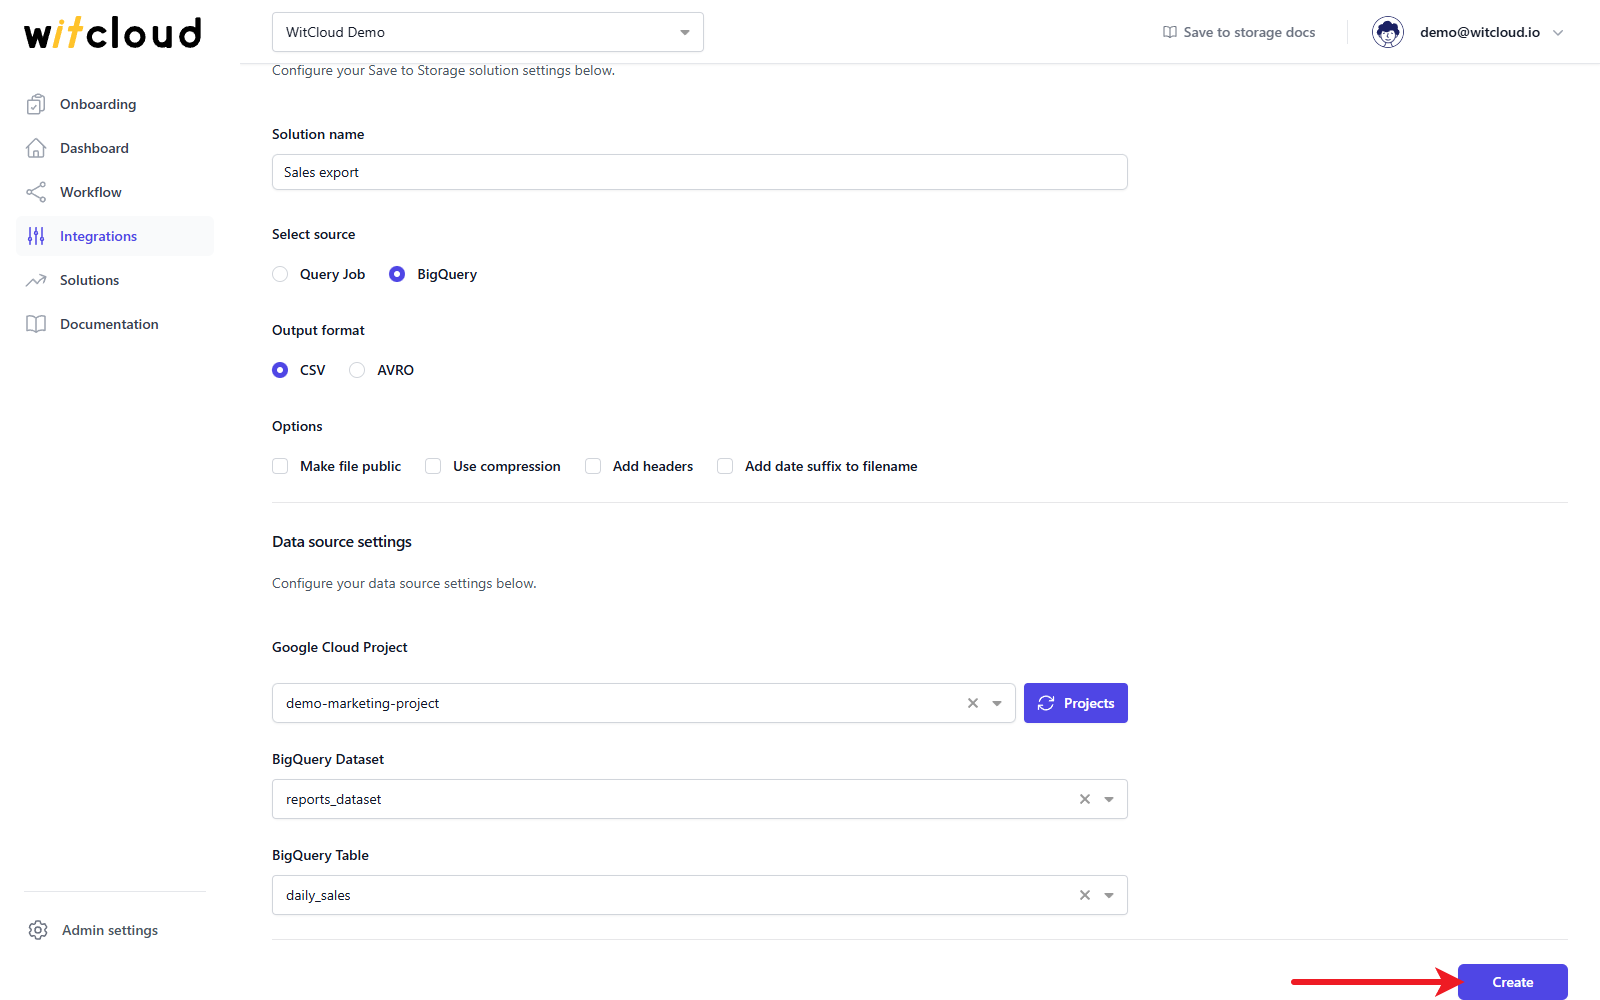
Click Create.
Done! The integration is on the Integrations list. To change it, click Update (the wrench icon) in its row, edit the settings and click Save.
Execution and scheduling
Save to storage does not run by itself: add it as a task to a workflow, run the workflow and give it a schedule to keep the file up to date - see Create a workflow. The file appears after the first successful run.
Where to find the file
The file is saved in your project's storage bucket, in a folder named save-to-storage- followed
by the integration's ID. For a table, the file is named after the table (daily_sales.csv); for a
Custom Query, the name starts with query_job_result_. Every run replaces the file, unless
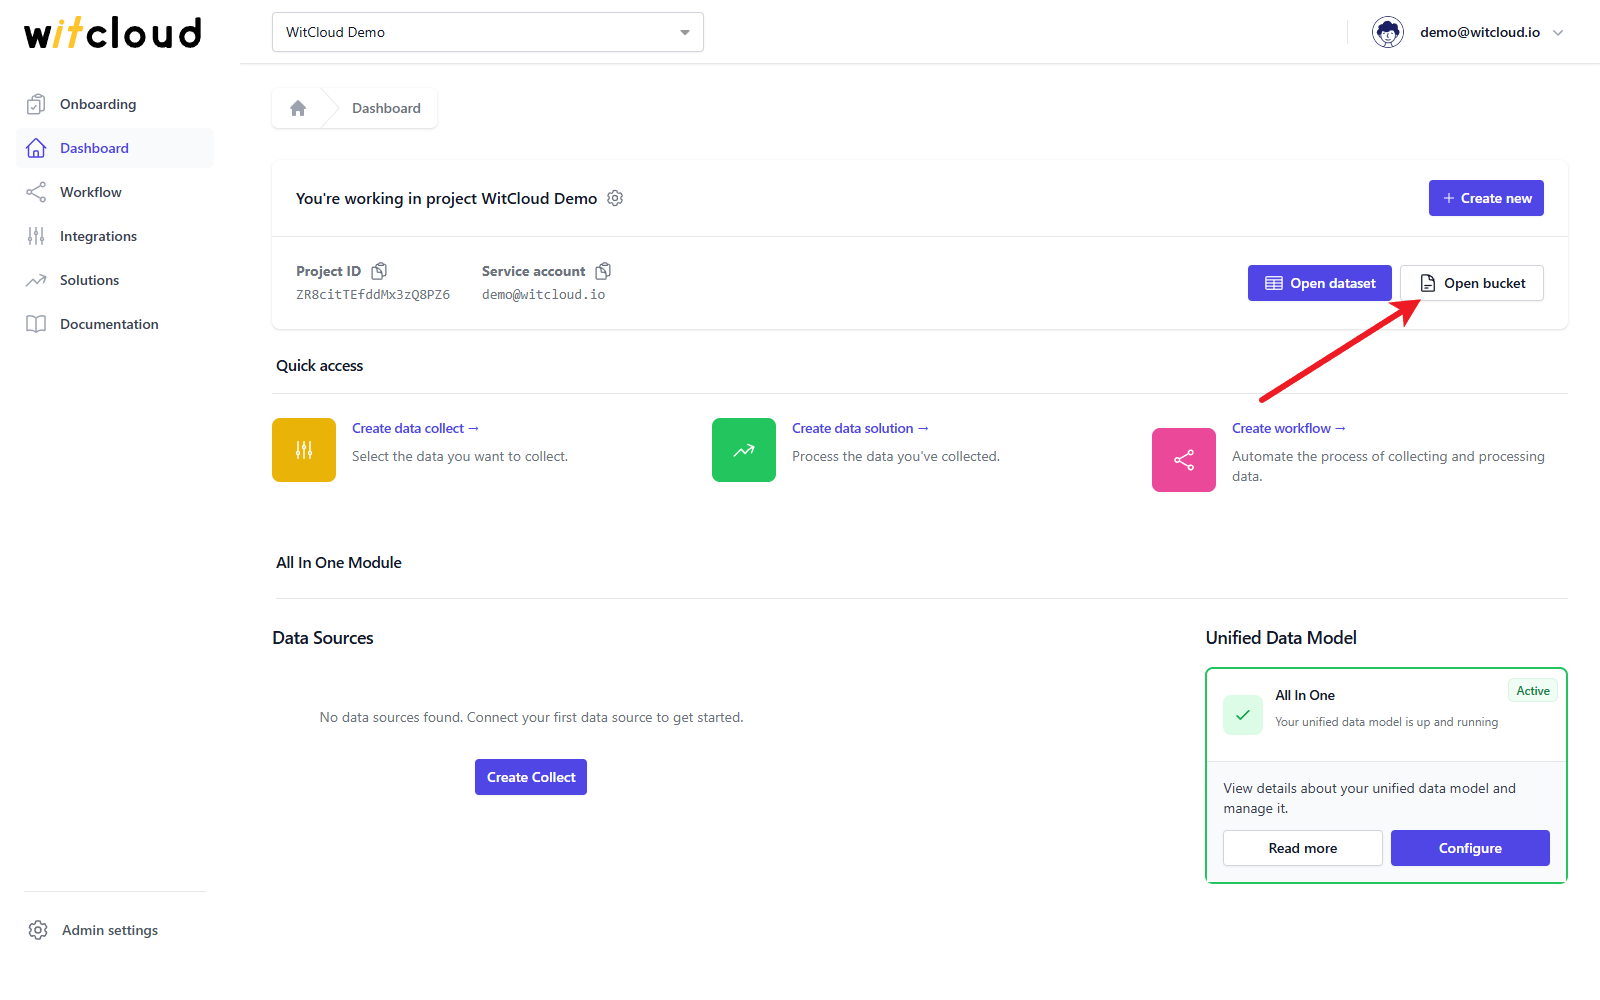
Add date suffix to filename is on. Open the bucket with Open bucket on the Dashboard.