
Custom Hook integration
Send an HTTP request (GET or POST) to any URL from a WitCloud workflow - to trigger your own API, webhook or automation with the date being processed.
Updated
Introduction
The Custom Hook integration lets WitCloud send an HTTP request (GET or POST) to any URL you choose. Use it to call your own API, a webhook or an automation tool - for example to start a process in another system once fresh data has landed in WitCloud.
It does not collect data and creates no tables in BigQuery. It only sends the request, and it does so when a workflow runs it - you decide when by placing it in a workflow, for example right after the integrations that load the data.
Configuration guide
Follow the steps below to set up a Custom Hook.
Module setup
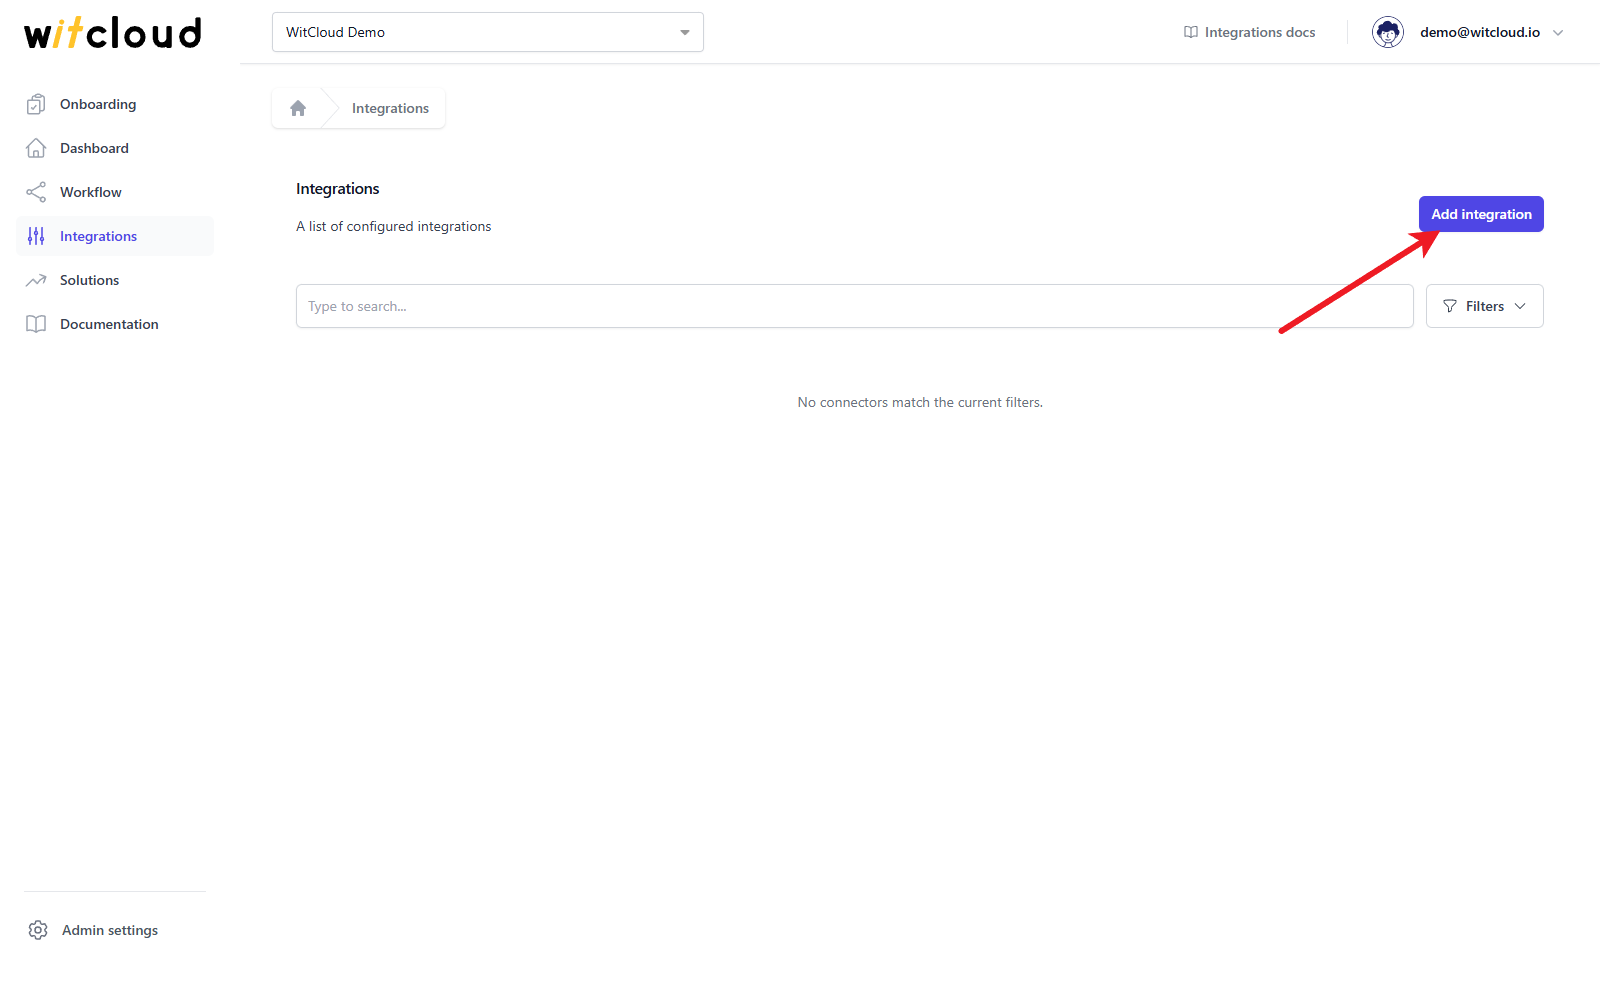
Go to Integrations in the menu and click Add integration.
Select Custom Hook from the list of available integrations. You find it under Other Integrations.
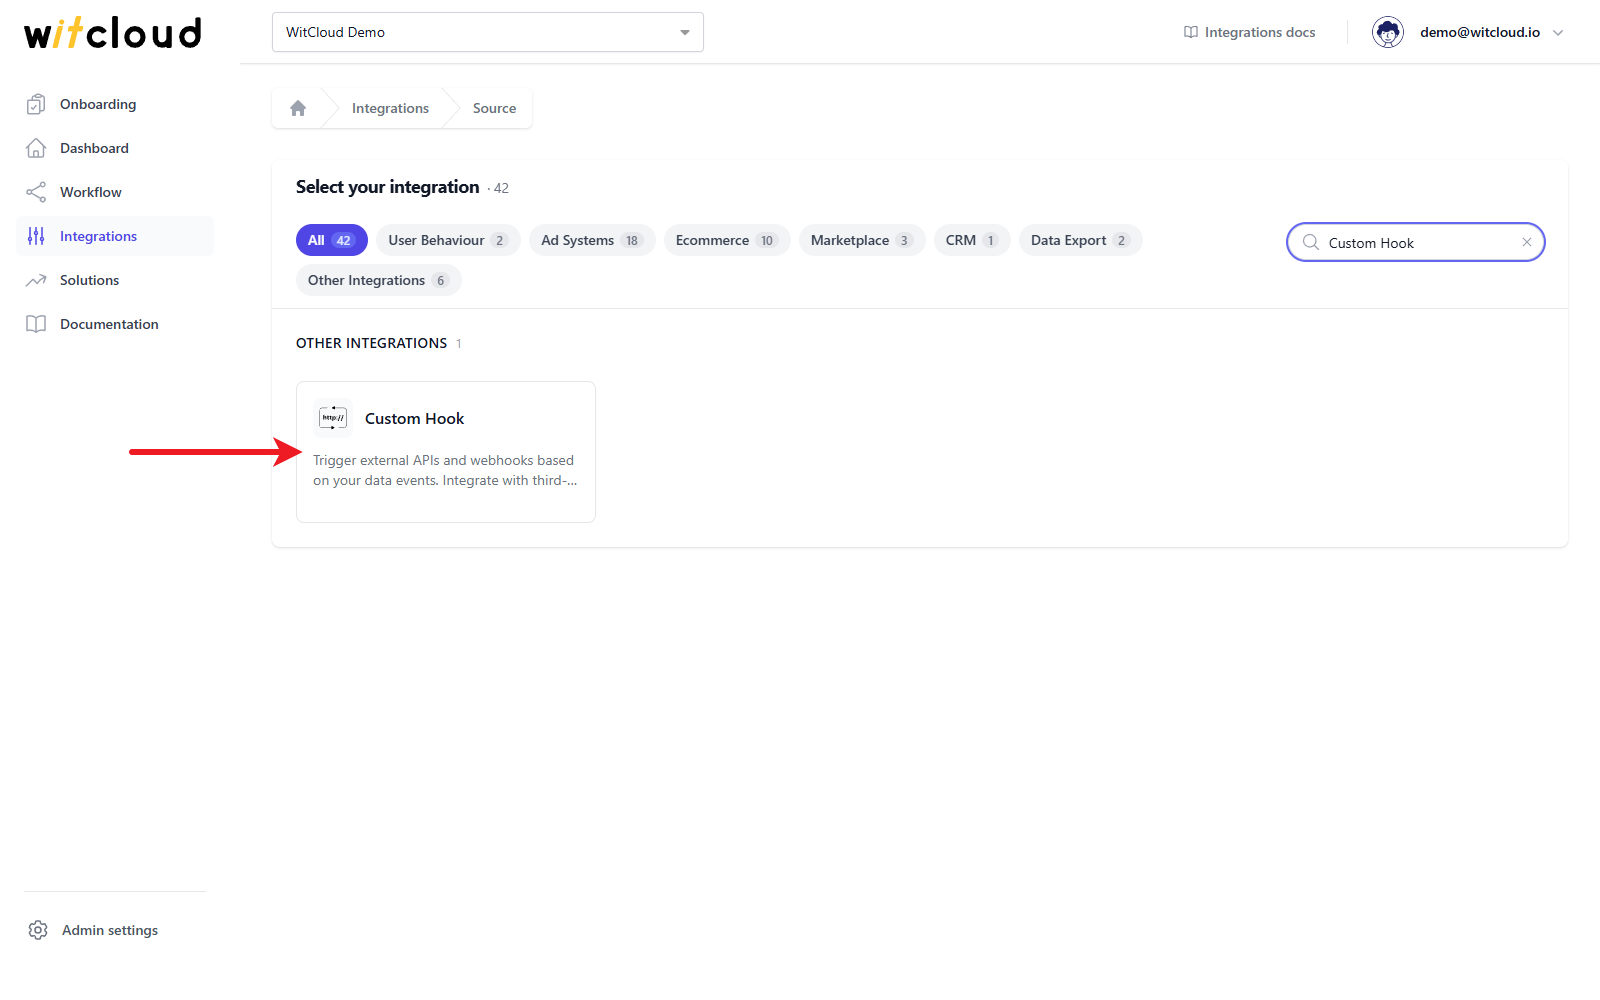
The panel also calls this integration Withook - for example in the form text and in the Subtype column of the integrations list. It is the same integration.
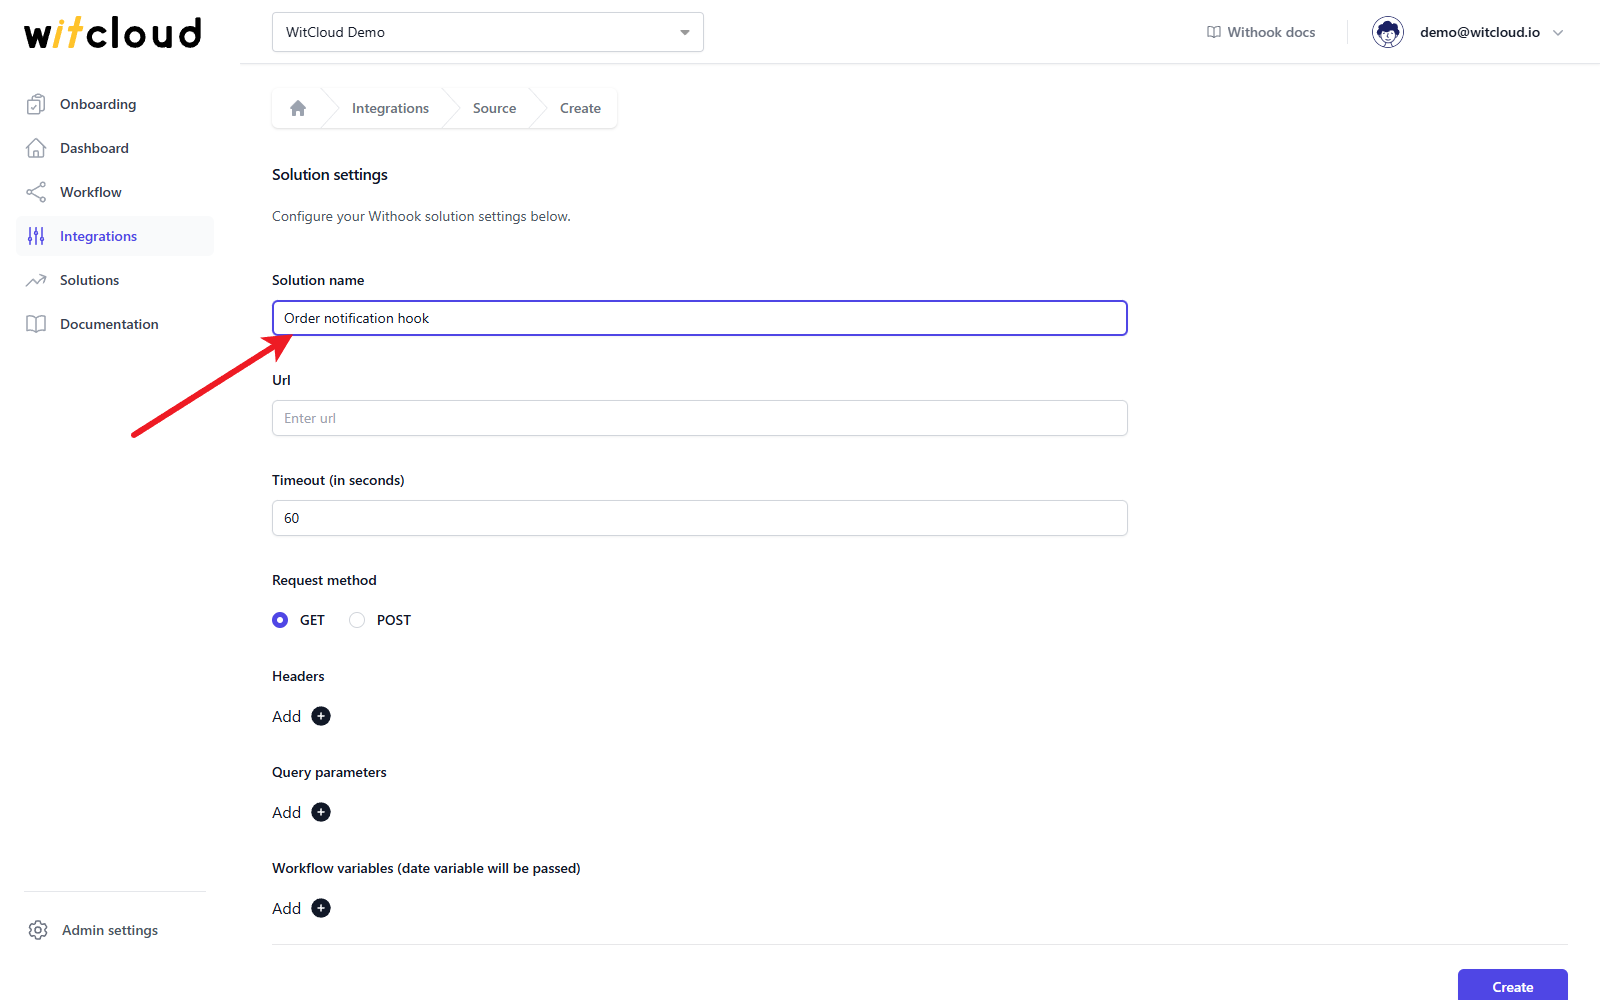
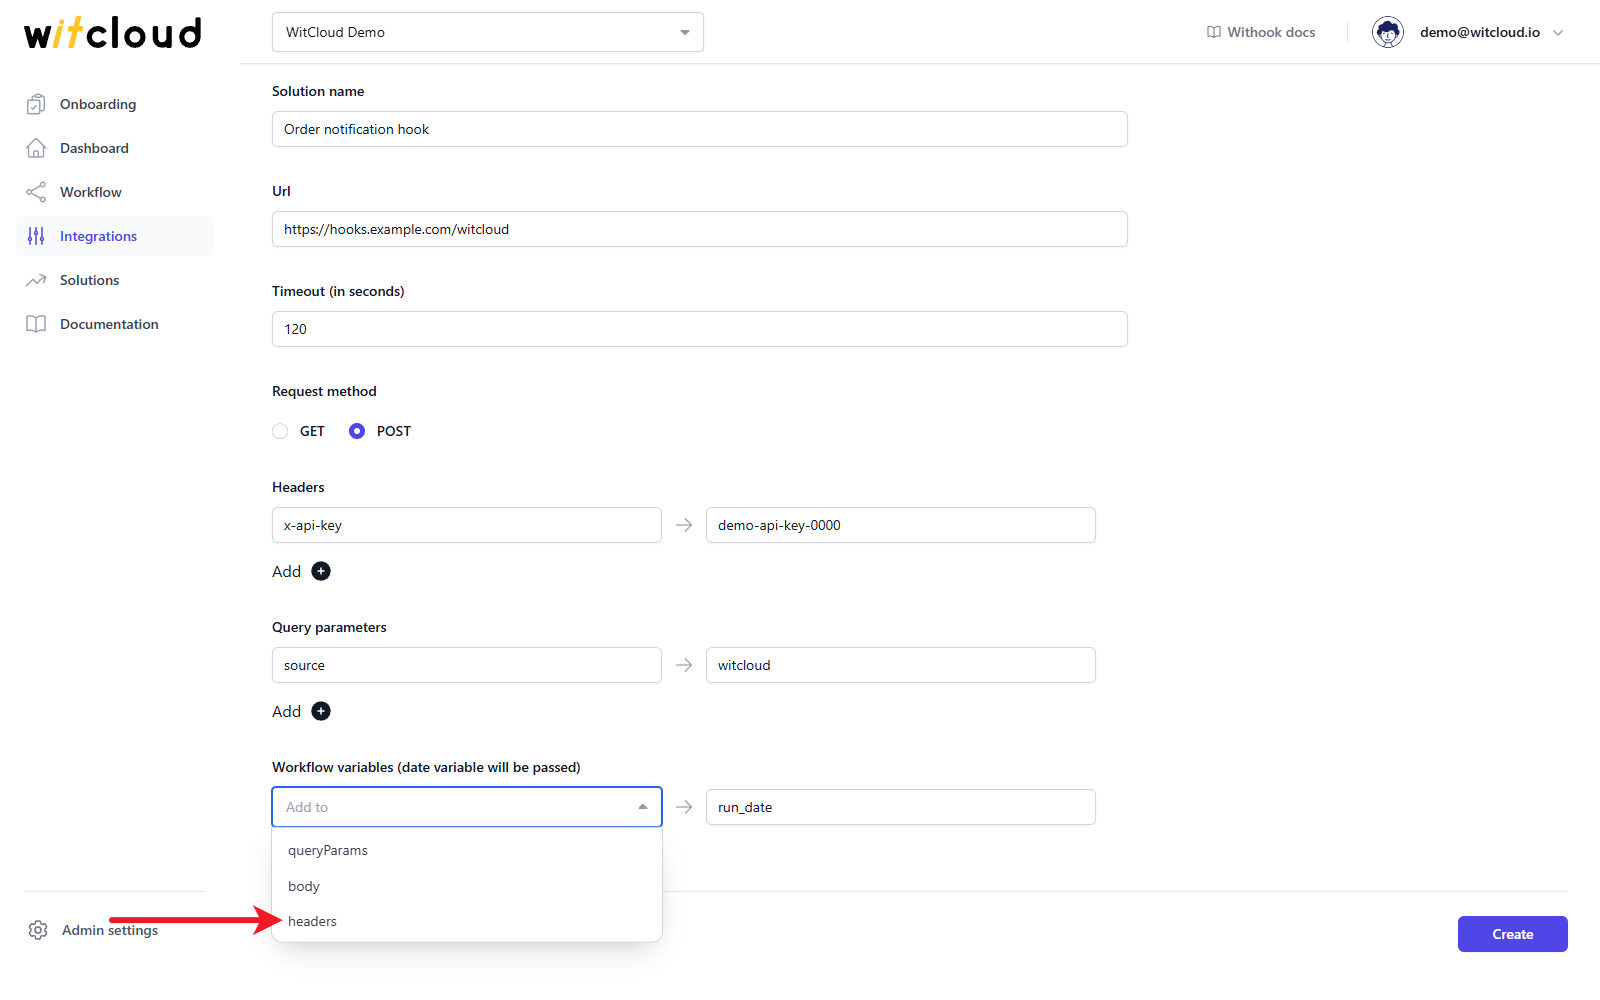
Enter the Solution name, e.g., "Order notification hook".
Request settings
Enter the Url of your hook. It must be a valid address.
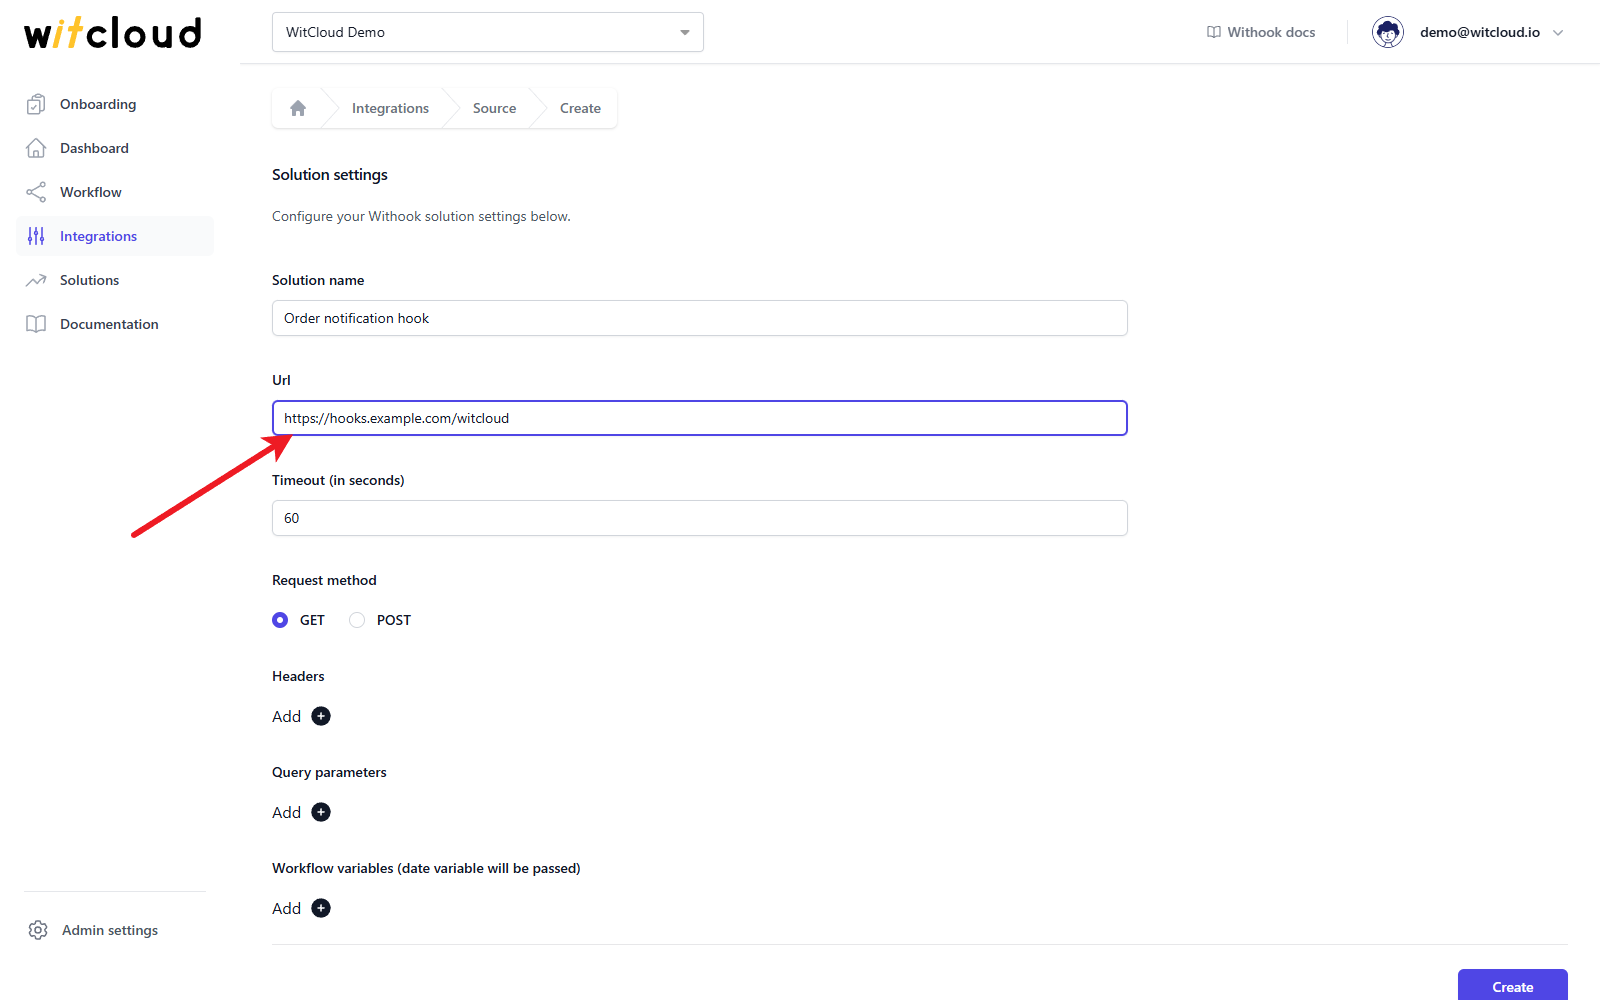
In Timeout (in seconds), set how long WitCloud waits for the answer. The value is between 60 and 900 seconds; the default is 60. If your service does not answer in time, the run fails.
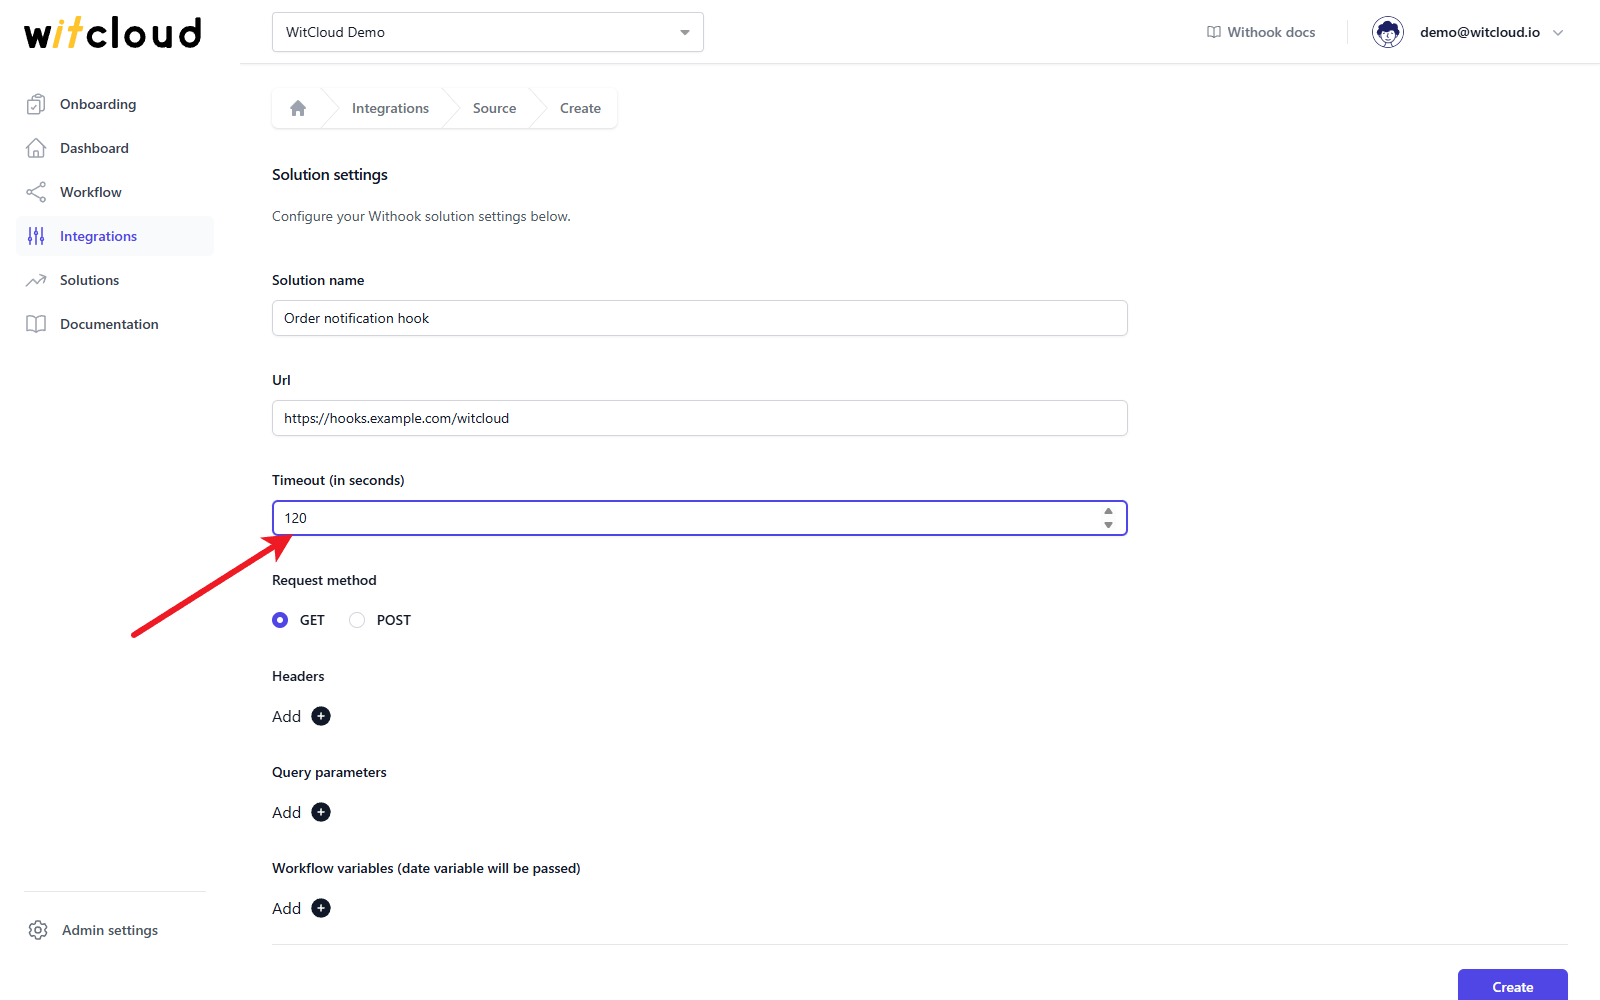
Choose the Request method: GET (the default) or POST.
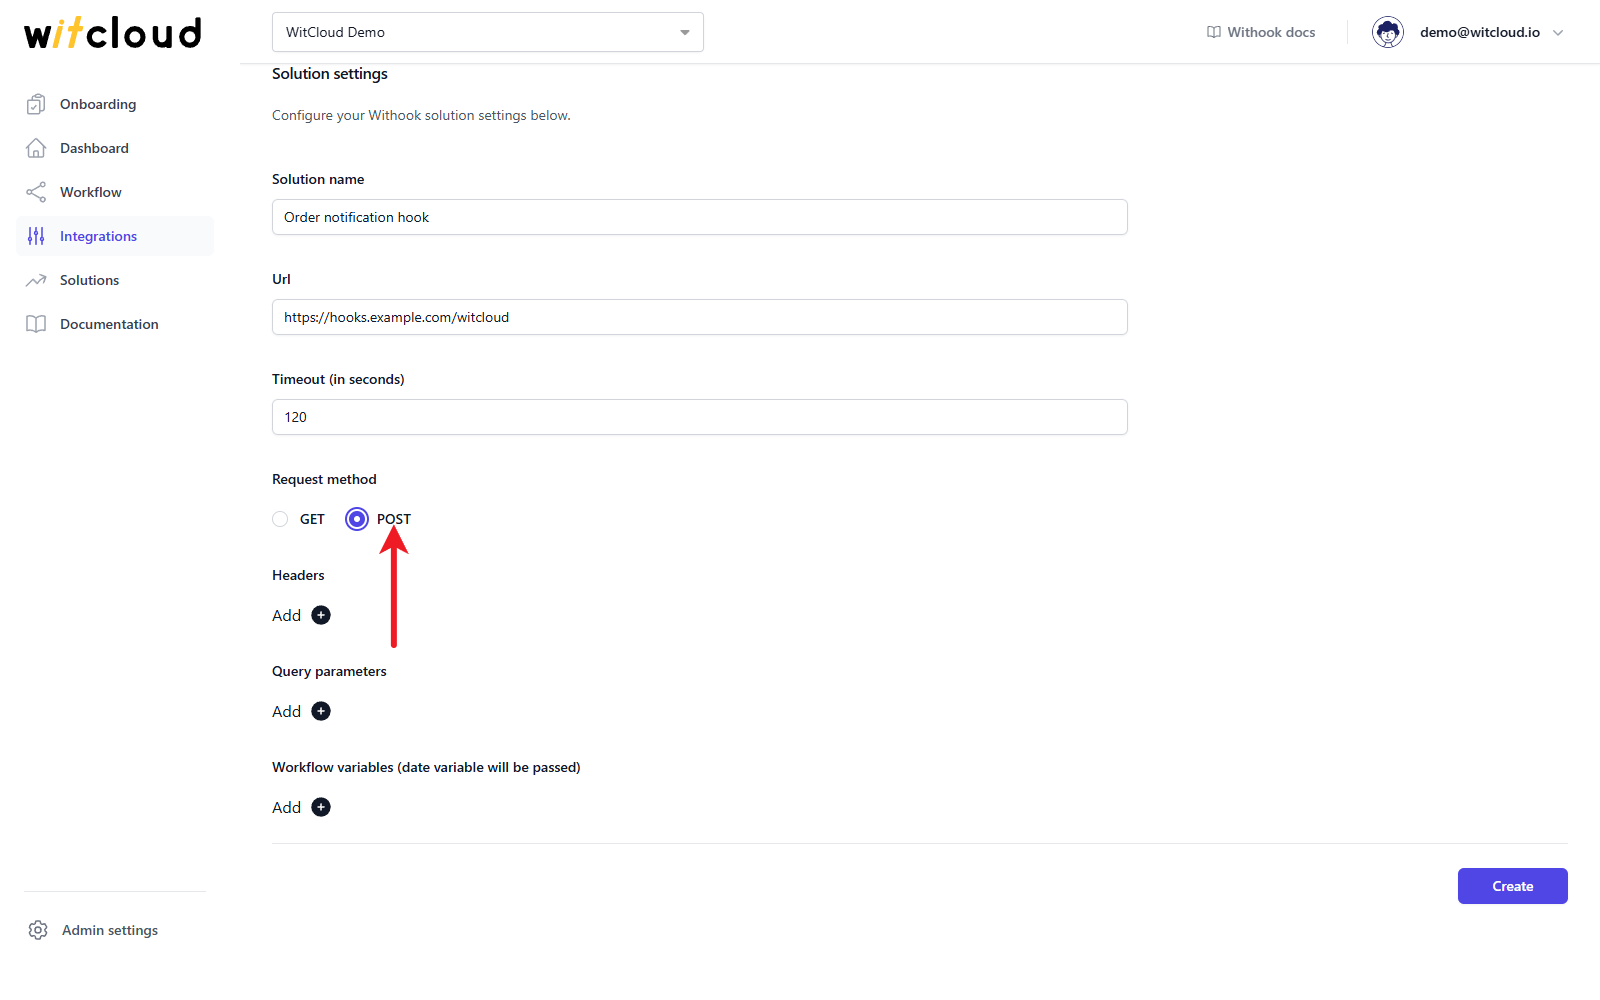
In Headers, click Add to pass a header to your hook - for example an API key your service checks. Enter the header name on the left and its value on the right. Header names are saved in lowercase and cannot contain spaces.
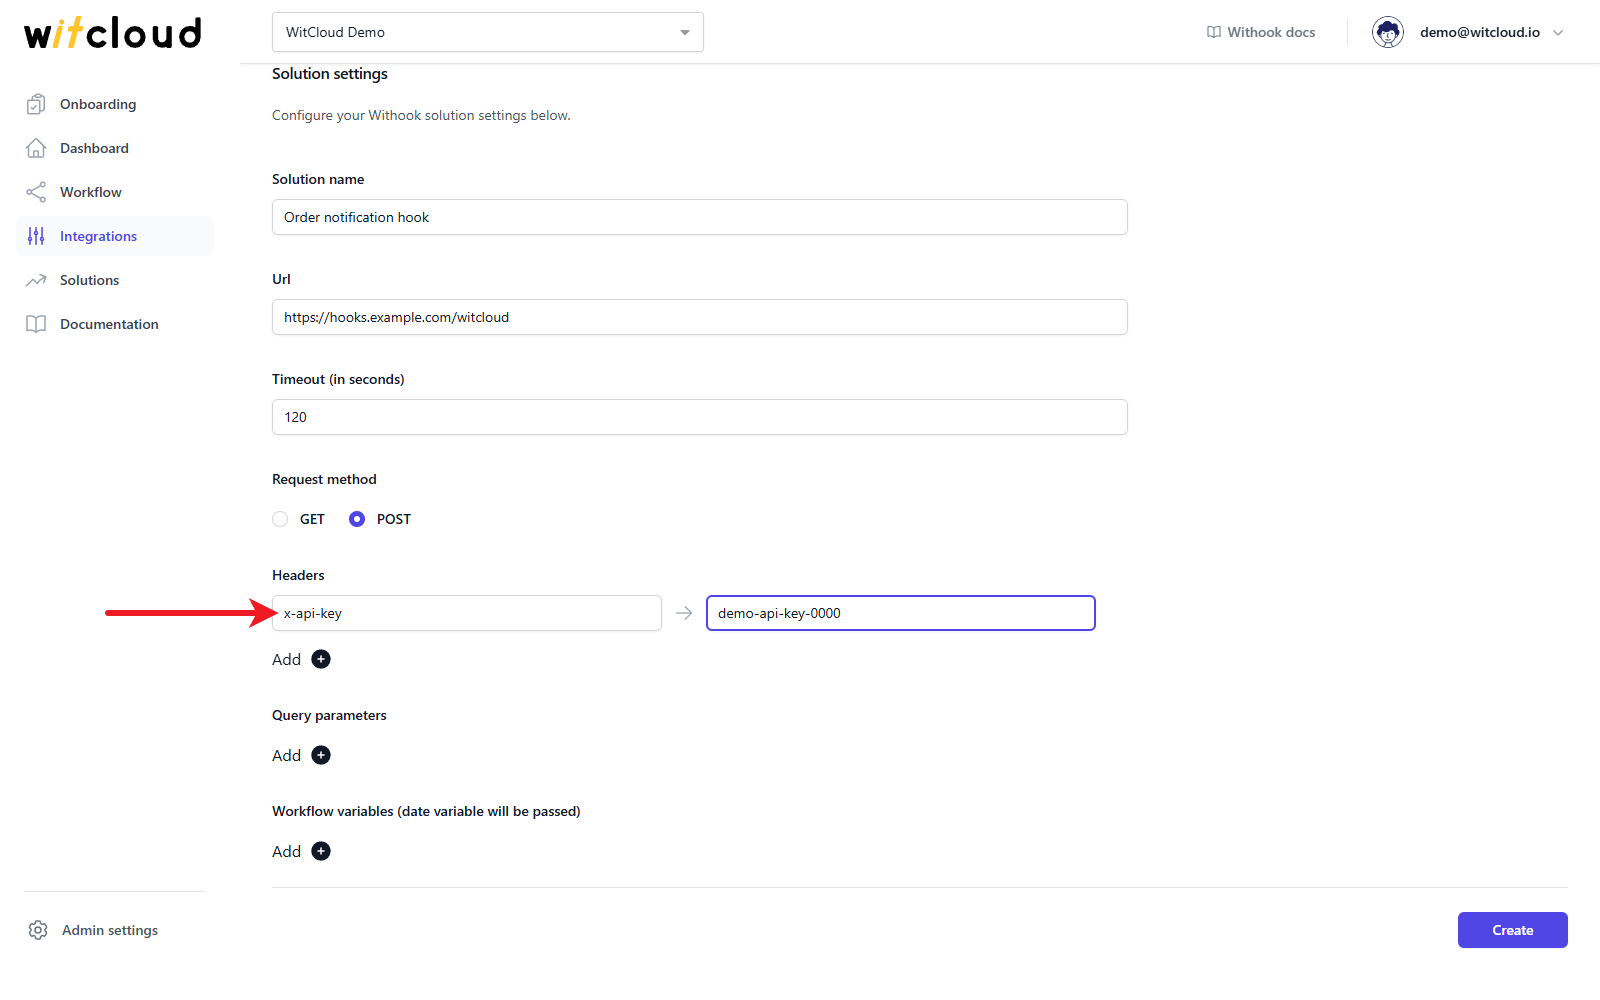
Header values are saved as plain text in the integration settings, and everyone who can open the integration can read them. Use a key made only for this hook, with no more access than the hook needs.
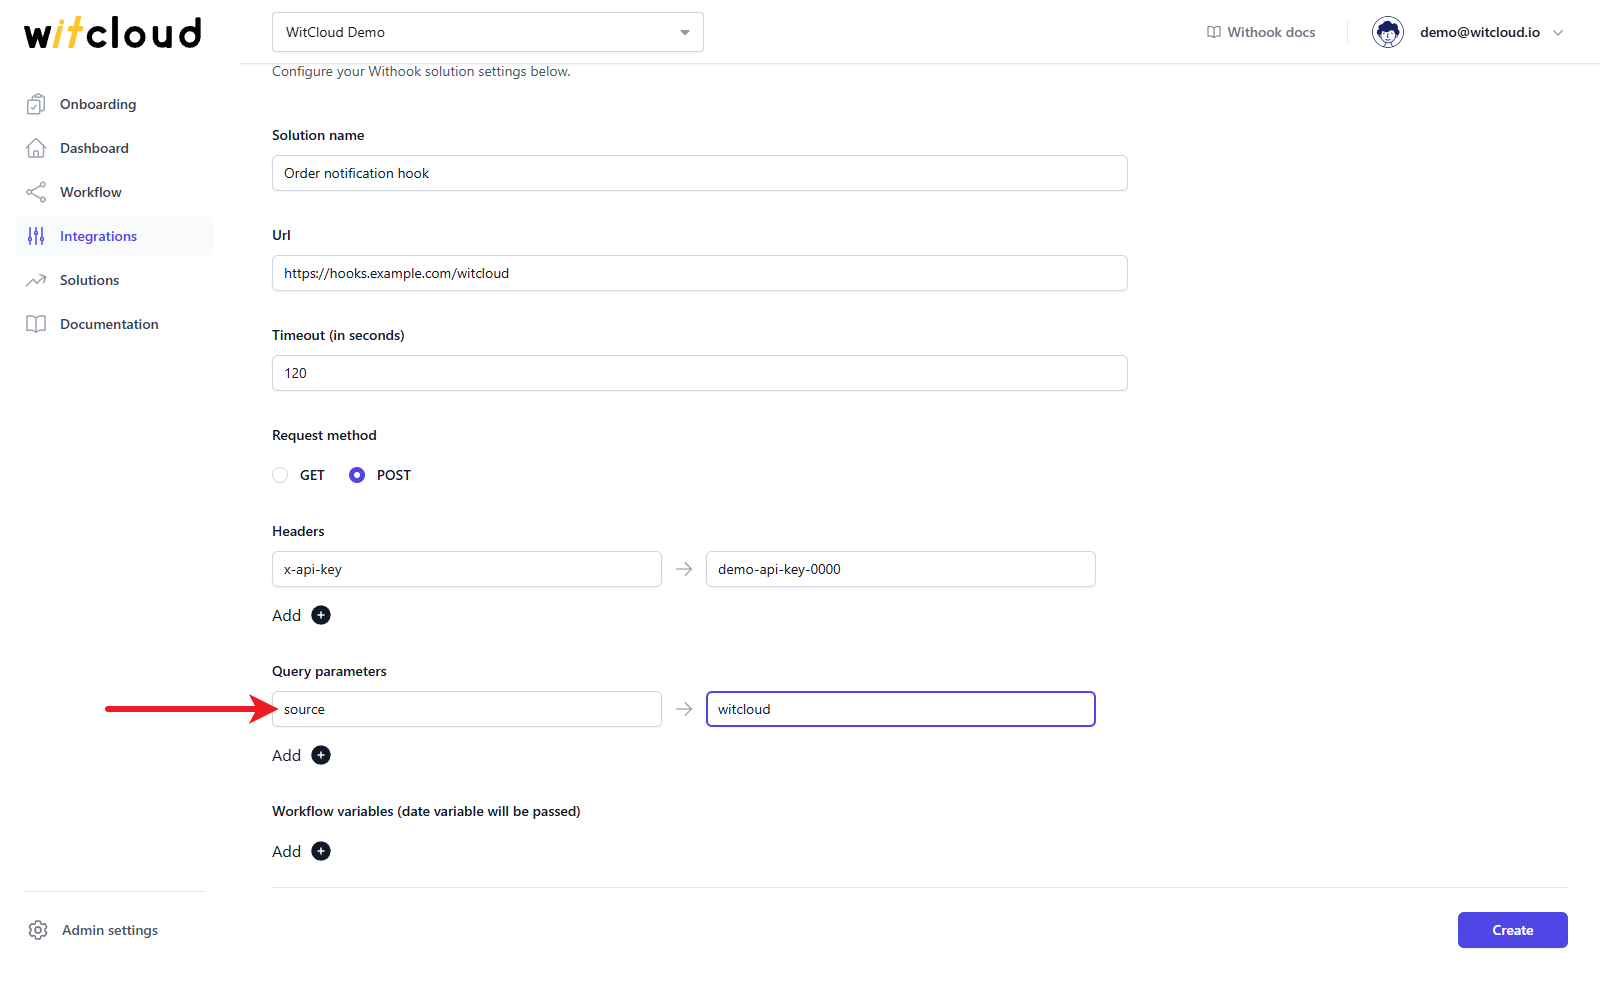
In Query parameters, click Add to pass parameters in the address of your hook. Enter the name on the left and its value on the right.
Workflow variables
In Workflow variables (date variable will be passed), you can pass the date the workflow is processing to your hook. Click Add, then:
- In Add to, choose where the value goes: queryParams, body or headers.
- In Variable key, enter the name your service expects, e.g.
run_date.
The value is the date the task is processing, in the format yyyymmdd - for example 20261008. With body, it is sent as a field of the request body.
Click Create. The hook appears on the Integrations list.
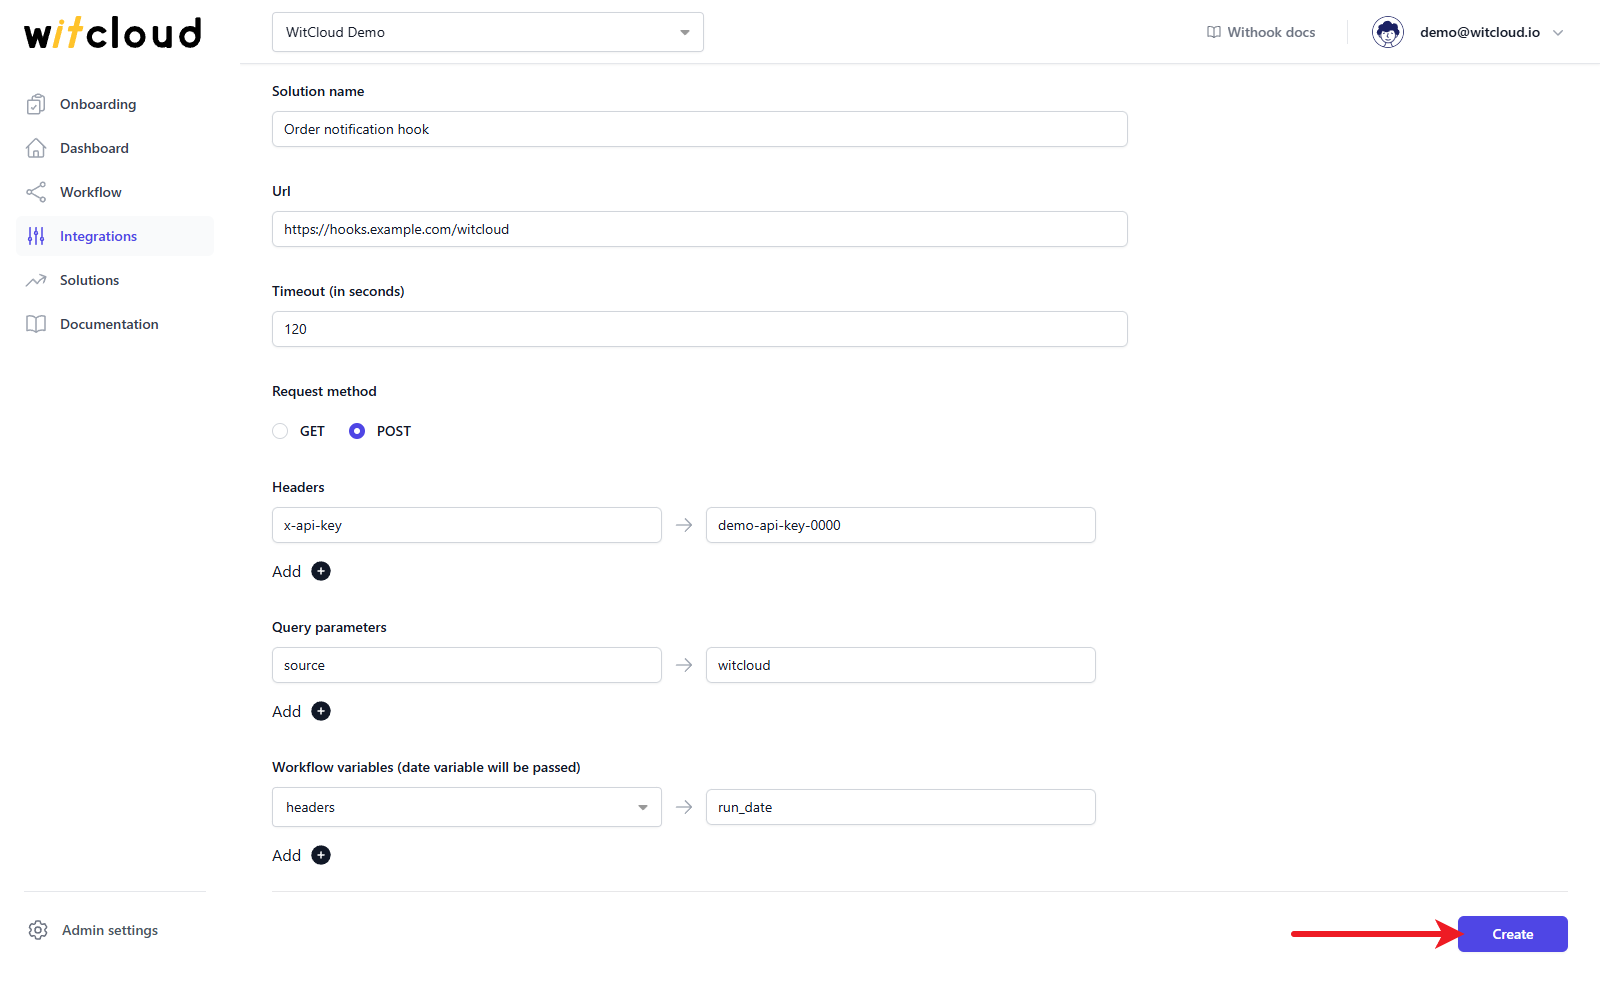
Done! The Custom Hook is ready to use. To change it later, open it from the Integrations list, edit the settings and click Save.
Creating a Custom Hook needs an Admin or Editor role and an active billing account.
Execution and scheduling
The hook does nothing on its own. To send the request and to set a schedule, add the Custom Hook as a task in a workflow - see Create a workflow. The request is sent once for every date the task processes, so a task that processes several dates calls your hook several times, once per date.
When a request fails
A run counts as successful when your service answers with a success status. If it answers with an error, does not answer within the Timeout, or cannot be reached, the run fails. You see it in the workflow's run report, with the error message. To try again automatically, turn on Retry options in the task settings of the workflow. WitCloud does not save the answer your service returns.